
Paint removal sanding: Feathering Edges Like a Pro
There’s a certain quiet you only find early on a Saturday—garage door half-open, a thermos of coffee sweating on the bench, and that one piece of trim or siding that’s been nagging at you for months. You finally pulled the scraper across it and watched tired paint lift like old bark. Underneath, the wood still has life, but the surface now looks like a relief map—highs of stubborn paint, lows of bare grain, and a hard ridge where the two meet. If you paint over that ridge, the line will telegraph right through your top coat. It’s the DIY equivalent of wearing a crisp shirt with a wrinkled collar: clean, but obviously not right. That’s where paint removal sanding and feathering come in.
I’m Lucas Moreno, and in the workshop I’m always chasing two things—durability and clean lines. Feathering those edges before priming is where durability and clean lines meet. Do it well and your finish looks like it came from a mill; skip it and you’ll be staring at that edge forever. I’ve seen pros move too fast and gouge channels, and I’ve seen steady hobbyists get glass-flat transitions just by respecting grit progression and using a block. This isn’t about brute force; it’s about controlled strokes, reading the surface, and stopping at the right moment.
Picture this: you run your fingertips across the transition and feel nothing but one plane. That’s your green light for primer. The trick is learning how to get there without over-thinning adjacent paint, polishing bare wood smooth like marble (bad for adhesion), or loading your paper with gummy dust. In the next sections I’ll walk you through choosing the right tools, exactly how to feather, which primers lock the edge in place, and the simple checks I use to confirm I’m truly flat—before any brush ever touches the surface.
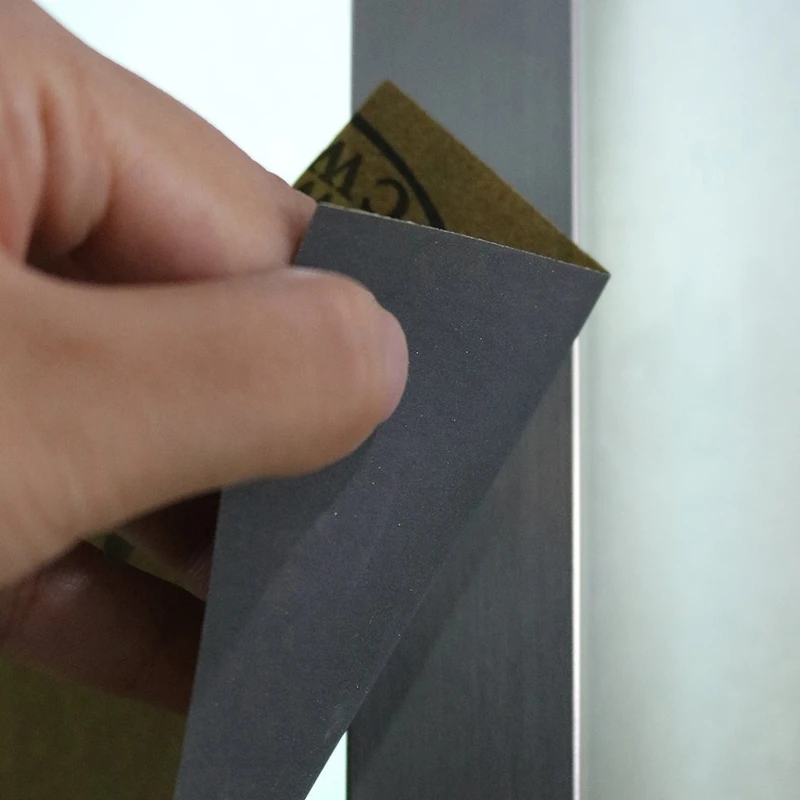
Quick Summary: Feather edges by stepping through smart grits on a sanding block, blending paint to bare wood smoothly, then lock the transition with the right primer.
Know your surface and paint history
Feathering starts with reading what you’ve got. You don’t have to strip a whole door or siding run if most paint is bonded, but you do need to understand where it’s weak. Start with a sharp scraper and light, controlled pulls. If paint pops off in sheets, you’ve got poor adhesion or moisture trouble and may need more aggressive removal. If it powders and leaves a clean break at solid paint, you’re a candidate for local feathering.
Identify the paint type. Latex over oil can peel easily; oil over oil is usually tougher. A quick test: dab denatured alcohol on a rag and rub an inconspicuous spot. If it gets tacky, it’s likely latex; if it doesn’t, oil is in play. Also check for chalking—rub the old paint with your hand; a heavy chalk transfers means you’ll need extra cleaning and possibly a bonding primer later.
Safety is part of surface reading. If your home was built before 1978, assume the paint could contain lead. Don’t dry-sand lead paint. Use lead-safe methods—score/wet scrape, keep surfaces damp while sanding, and capture dust with a HEPA-rated vacuum. Wear a P100 respirator and work under containment if you suspect lead, or hire a certified pro under EPA RRP guidelines.
Finally, look at the wood. If you see gray weathering, that surface has been UV-damaged and will benefit from a light re-toothing sand on the bare spots before priming. If you see resinous knots in softwoods like pine, plan on spot-priming those with shellac later to block bleed-through. Check moisture with a meter if you have one; above 15–16% and you risk trapping moisture under paint. And always clean first—dust, oils, mildew, and chalk are adhesion killers. A mild TSP substitute rinse and a good dry-off set you up for success when you start feathering.
Actionable checks:
- Do a “fingernail test” across the ridge; if you can catch your nail, you’ll see it through paint.
- Alcohol rub to distinguish latex vs. oil.
- Moisture meter target: under 15% before priming or painting.
Tools that make paint removal sanding efficient
You can feather by hand and get pro results, but the right tools make it consistent and fast. Keep a sharp carbide scraper for initial cleanup. After scraping, your best friend is a hard sanding block or a flat sanding sponge that won’t telegraph finger grooves. A block keeps pressure even so you remove the high paint edge without dishing the soft bare wood next to it.
For grits, think in short stair-steps: 80 or 100 to knock the ridge, 120 to blend, and 150–180 to refine for primer. Avoid jumping straight to fine grit; you’ll just polish the ridge instead of flattening it. If you’re comfortable with power, a 5-inch random-orbit sander set to low speed with a medium-density interface pad and dust extraction can speed the first two grits—just keep it moving and finish by hand on a block to stay dead-flat.
Dust control matters. Dust clogs paper and rounds edges. Hook power sanders to a HEPA shop vac, and for hand work, vacuum frequently and wipe with a damp microfiber. Raking light is a secret weapon: aim a bright light across the surface at a low angle to highlight the ridge and any swirl marks. I also keep a carpenter pencil—scribble a light “guide coat” over the ridge before sanding. When the pencil line disappears evenly across the blend, you’re flat.
Small edges or profiles? A card scraper with a slight burr can feather stubborn lips without fuzzing adjacent wood. For trim with detail, flexible sanding sponges shaped to the profile help you keep the crisp lines untouched.
Actionable tips:
- Use a hard block on flats; reserve sponges for profiles to avoid dishing.
- Mark the ridge with a pencil guide coat; sand until it’s gone uniformly.
- Keep a vacuum hose in your non-dominant hand; dust-free paper cuts flatter and cooler.
- Stop power sanding 1–2 inches shy of corners and finish by hand to avoid blowouts.
Step-by-step: feather those edges dead flat
Here’s my reliable sequence for crisp feathering after scraping and before priming:
- Clean and inspect
- Vacuum, wipe with a TSP substitute, and let dry. Identify all ridges where paint meets bare wood.
- Score and stabilize
- With a utility knife, score any loose edges to avoid lifting during sanding. If there are hairline gaps, consider a dab of exterior-grade wood filler and let it cure.
- Knock down the ridge with 80–100 grit
- Wrap paper on a hard block. Set the block so it bridges from old paint onto bare wood at about a 5–10° angle. Sand in short, controlled strokes across the edge, not just along it, to flatten the high paint lip. Keep the block centered so you’re always half on/half off the ridge.
- Blend with 120 grit
- Expand the feather zone a bit wider—think 2–4 inches well beyond the original edge. Crosshatch your strokes (45° one way, then the other) to avoid creating troughs. Vacuum often and check with raking light.
- Refine with 150–180 grit
- Lighten pressure. You’re not removing material now, you’re tightening the scratch pattern so primer lays smooth. If the bare wood looks burnished like glass, ease off; you still need a tiny bit of tooth.
- Check with touch and solvent preview
- Run your fingertips lightly across the blend. If you can’t feel a step, you’re close. Wipe a small area with mineral spirits or water to simulate how sheen will reveal imperfections; any visible line means go back one grit.
- Dust off and seal repairs
- Vacuum thoroughly. If you used filler or epoxy, sand it flush and spot-prime those spots later to check flatness.
- Final readiness test
- Hold a card edge across the blend under raking light. No daylight under the card means the surface is plane-true.
According to a article, once you’ve scraped and feather-sanded clean, priming before paint is the right order and the surest way to hide transitions.
Pro tips that save time:
- Don’t over-feather. Widen the zone only until the ridge disappears; bigger isn’t always better.
- Replace paper as soon as it stops cutting; dull grit polishes edges and wastes strokes.
- If the sander leaves swirls, you’re pressing too hard or staying in one spot—lighter, longer passes win.
Prime smart to lock in the feathered transition
Primer is a structural layer when you’re hiding feathered edges. It builds micro-thickness to smooth minor texture and seals the bare fibers so your top coat doesn’t sink in and telegraph the transition. Choose primer based on what you found earlier. For most exterior latex repaints over sound paint with bare spots, a quality acrylic bonding primer is my go-to—it bites well and remains flexible. If you suspect stubborn chalk or are bridging over glossy oil, a dedicated bonding primer ups the grip. For knots and resin, spot-prime with shellac-based primer before your main coat to prevent bleed.
Application technique matters as much as product choice. Brush or roll primer across the feather zone and then back-brush with long, even strokes in the direction of the grain. Don’t overload; runs gather at the ridge and dry ridged. Two thinner coats build smoother than one heavy one. If the surface is high-visibility—front door trim, stair stringers—use a high-build sandable primer and plan on a quick scuff-sand between coats with 220 grit on a block. That scuffing knocks down nibs and evens the micro-steps you didn’t feel by hand.
Dry times are not a suggestion. If the can says recoat in 2–4 hours at 77°F and 50% RH, but you’re working cool or damp, double it. Soft primer gums under sandpaper and pulls out of pores, making more work. After the first coat, inspect under raking light. If you still catch a shadow line, apply a second primer coat, feathering it a couple inches wider than the first to keep the blend invisible.
Small but mighty moves:
- Tip-off with the brush’s dry edge to lay the primer flat over the feather.
- Spot-prime bare wood first, then full-prime the broader area for uniform sheen and color.
- Scuff-sand primer only after it’s fully dry to powder, not smear.
Common pitfalls and pro fixes
Even seasoned hands fall into a few traps when feathering. The first is sanding a trench. It happens when you press too hard on bare wood with a soft pad. Fix: switch to a hard block and keep half your block on the paint at all times, crosshatching with light pressure. Check often with a straightedge and raking light.
Second, swirl marks from a random-orbit sander show up like halos under semi-gloss. They’re almost always from too-fine grit too early, too much downward pressure, or dirty paper. Fix: start coarse enough to cut the ridge (80–100), keep the pad flat, let the sander’s weight do the work, and vacuum both the pad and surface frequently. Finish by hand with the grain.
Third, polished bare wood that rejects primer. If you burnish wood with high grits or overheat with a sander, primer sits on top instead of keying in. Fix: stop at 150–180 before primer on bare wood, and avoid “shining” the surface. If you’ve already polished it, scuff back with 120 lightly to restore tooth.
Fourth, ridges that reappear after paint. Often it’s because the primer coat was too thin or you didn’t widen the feather zone progressively with primer. Fix: apply a second coat of high-build primer, scuff flat with 220 on a block, and expand the feather a couple more inches. Then topcoat.
Finally, contamination—dust, oils from your hand, or chalk—can cause holidays and adhesion misses right at the transition. Fix: finish every sanding pass with a thorough vacuum and a microfiber dampened with water (or denatured alcohol for oil paint areas), then allow proper dry time before priming.
Rapid-fire fixes:
- Avoid sanding across caulk lines; you’ll smear edges. Caulk after primer, not before sanding.
- Warm, dry days beat damp mornings. Humidity slows primer cure and makes dust cling.
- When in doubt, test a small square: feather, prime, and topcoat; adjust your grit/primer combo based on what the test shows.
How to Properly — Video Guide
Before you pick up a brush, it helps to see good sanding in motion. In a solid how-to by a veteran finisher with more than 25 years on the job, you’ll watch proper hand pressure, grit progression, and dust control on door and window trim. He shows why a light touch on edges prevents rounding and how keeping paper fresh saves time and improves flatness.
Video source: How to Properly Sand Trim
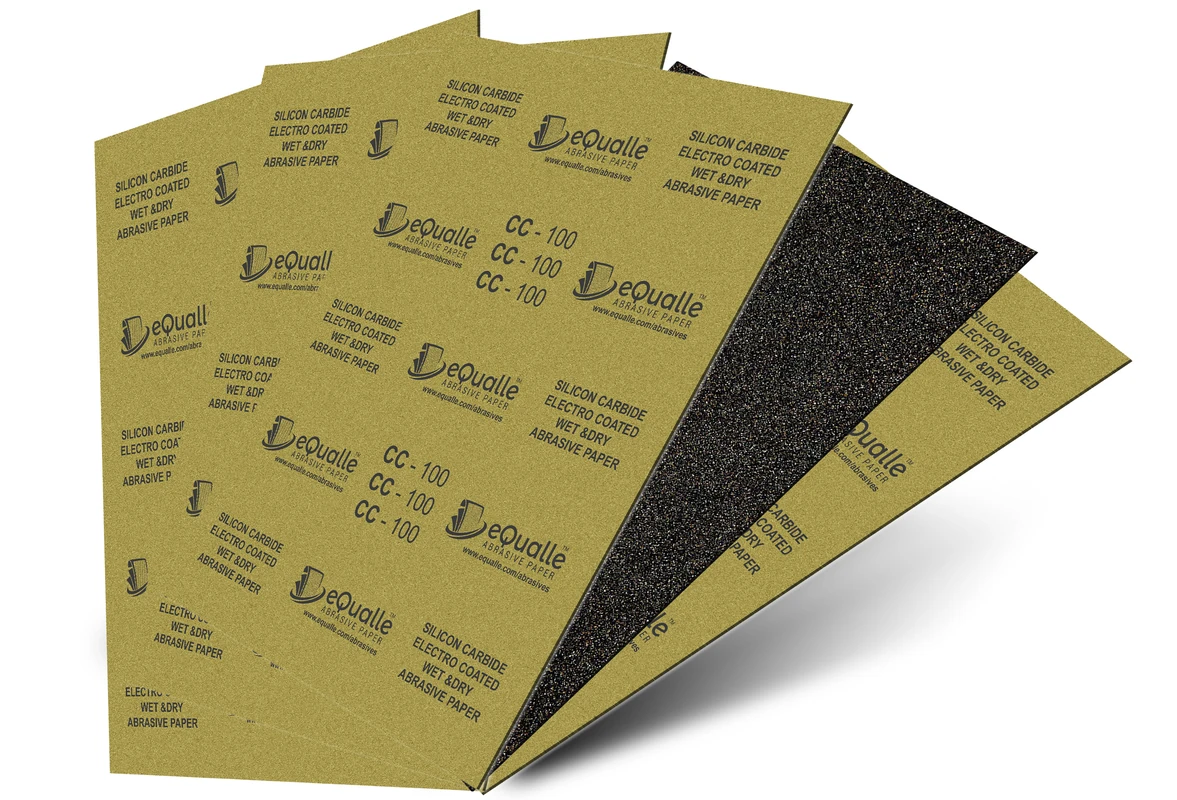
220 Grit Sandpaper Sheets (25-pack) — 9x11 in Silicon Carbide Abrasive for Wet or Dry Use — Fine finishing grit for final surface preparation before painting or coating. Offers uniform cutting on wood, metal, and plastic. Leaves a smooth, paint-ready finish suitable for wet or dry sanding. (Professional Grade).
Frequently Asked Questions (FAQ)
Q: What grit sequence should I use to feather edges?
A: Start with 80–100 to knock down the ridge, move to 120 to blend, and finish with 150–180 to refine for primer. Don’t skip steps or jump too fine too soon.
Q: Do I need to remove all the old paint before repainting?
A: No. Remove all loose paint, then feather the solid edges smooth. Well-bonded paint can stay; confirm by scraping lightly and doing a fingernail or crosshatch test.
Q: How do I stop the edge line from showing after painting?
A: Widen the feather zone 2–4 inches, use a high-build or bonding primer, scuff-sand primer to level, and apply two even topcoats. Raking light helps verify flatness.
Q: What if the paint might contain lead?
A: Test first or assume pre-1978 paint may be lead. Use wet methods and HEPA vacs, wear a P100 respirator, avoid dry power sanding, or hire an EPA RRP-certified pro.