
Polishing Sandpaper and Residue-Free Inspection
The halogen stand light hummed as it warmed the bay, throwing oblique streaks across a graphite hood I’d just finished refining. The surface looked slick under diffuse shop lighting—glossy, wet, almost liquid. But when I swung the high-CRI penlight across at a low angle, faint halos trailed my beam. They weren’t scratches; they were ghosts—compounding oils, pad binders, and dust veils that mimic clarity until you put the finish under hard interrogation. If you’ve ever felt that gut-drop moment when a perfect panel suddenly blooms with hidden haze under a different light, you know exactly why residue control and verification matter as much as sanding and machine time. The finish isn’t corrected until it’s proven corrected.
Experienced finishers build that proof into the workflow from the start. It begins with materials—selecting abrasives that cut predictably and break down consistently, from initial defect removal to refinement stages where polishing sandpaper bridges you from mechanical leveling to optical purity. Every media choice—film-backed vs. paper-backed, stearated vs. non-stearated, silicon carbide vs. ceramic alumina—sets up what the wipe-down needs to clear. Then there’s the chemistry of decontamination: IPA blends, panel-prep solvents, surfactant rinses, and the right microfibers to lift oils without re-depositing them or marring a soft topcoat.
What can be mistaken for “bad polishing” is often just unverified polishing. Oils and dust don’t just hide defects; they also redirect light, shifting how your eyes read depth and clarity. The fix isn’t magic—it’s discipline. Temperature-aware wipe-downs, light-angle checks, controlled evaporants, and consistent cloth rotation convert unknowns into knowns. Once you internalize this rhythm, you’ll stop chasing ghosts and start seeing true substrate condition far earlier, saving time, pads, and paint.
This article breaks the process down to its fundamentals: why residues deceive, how to spec abrasives for stable finishes, what to use for residue removal without swelling or softening the clear, and how to inspect like a lab with tools you already own. By the end, your inspection will be as engineered as your sanding sequence.
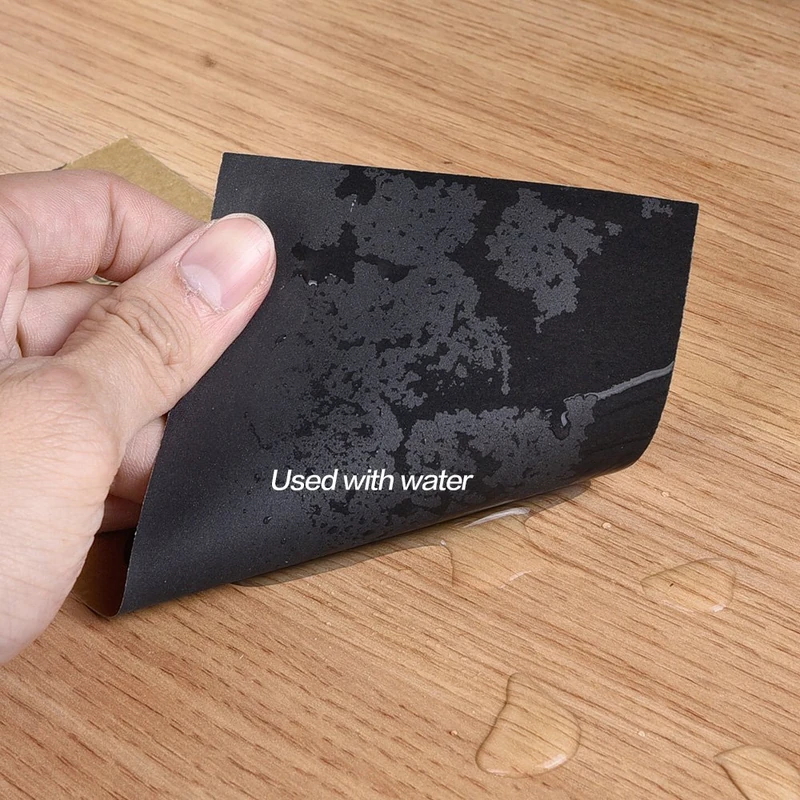
Quick Summary: To ensure honest results, pair disciplined abrasive selection with methodical residue removal and lighting checks so your inspection reads the surface—not leftover compound.
Why residue skews your inspection
Residues—compounding oils, pad lubricants, abraded clearcoat, and atmospheric dust—alter optical behavior at the surface. They fill micro-valleys temporarily, changing refractive index at a microscopic scale. Under soft, broad lighting the surface appears glossy, because residues act like a thin leveling film. Under tight, high-intensity, low-angle light, these films scatter rather than transmit. That produces halos and milky bloom that can mimic hazing or conceal remaining RDS (random deep scratches).
Many modern compounds and polishes use emulsified oils and polymeric fillers to extend work time and minimize dusting. They’re great for cut stability but cling tenaciously to clearcoat pores and DA-trace microtopography. If you inspect before purging those residues, you can “graduate” to the next grit or polish prematurely, leaving subsurface tracks you’ll chase later. Conversely, you may over-correct a panel because residue haze looked like unremoved defects.
Heat compounds the issue. Panel temperatures over 35–40°C soften topcoats and slow solvent flash, leaving more oil behind. Warm pads also weep binders. Combine that with static charge from DA motion and you have a magnet for airborne dust. The result is a surface that looks corrected but contains a composite film—oils, polymer dust, and abraded clear—that refracts light inconsistently.
The solution is mechanical-chemical. First, sand and machine in a way that produces predictable, uniform scratch patterns. Next, remove interfering films with the right solvent polarity and controlled application. Finally, inspect with lighting that amplifies optical scatter where defects would live. Without those three elements, “inspection” is just wishful thinking. With them, it becomes a tight feedback loop: correct, strip, verify, repeat—until the surface says you’re done.
Selecting abrasives and polishing sandpaper
Residue control starts at abrasive selection. When your scratch pattern is uniform and your media shed predictably, the wipe-down has less to do—and inspection becomes straightforward. For wet and dry stages, choose abrasives based on mineral, backing, and coat type to match substrate hardness and defect depth.
- Mineral: For automotive clearcoat and gelcoat, silicon carbide excels at wet refinement (P1200–P3000) due to sharp initial cut and consistent breakdown. For harder clears and metals, ceramic alumina microfractures to maintain cut longer in dry or damp sanding, useful in the P800–P2000 range.
- Backing: Film-backed polishing sandpaper maintains flatness and edge integrity, yielding tight, consistent scratch fields that are easy to refine and reveal. Paper-backed sheets are more compliant but can round edges and telegraph interface foam texture under pressure.
- Coat and treatment: Closed-coat, stearated papers reduce loading during dry sanding but can leave a slight waxy residue; follow with a light solvent wipe prior to polishing. Resin-over-resin bonds withstand heat better during DA sanding and minimize grit shelling that causes outlier scratches.
Build your sequence with intentional deltas. If you level orange peel or remove deep defects with P1000–P1500, refine with P2000 and P3000 to collapse scratch height and narrow the distribution. For DA sanding, an 8–12 mm orbit with an interface pad and 3000 film discs produces a homogenous pattern that polishes out quickly. Keep stroke speed slow, pad centered, and overlap 50%. Use water plus a drop of body-shop-safe surfactant to lubricate and float swarf without creating a barrier film that resists your first wipe-down.
For machine polishing, pair diminishing compounds with pads that match cut target and panel temperature limits. Foam cutting pads shed less fiber than wool or microfiber, leaving fewer particulates for your wipe to remove, but may require an additional refining step. Track your choices: the better your abrasive planning, the less your inspection wipes will surprise you.
Decontamination: panel wipe to IPA
Once the mechanical work is done, inspection depends on clearing the surface of anything that isn’t paint. That means removing oils, binders, dust, and waterborne surfactants without swelling the clear or leaving their own residues. IPA is the common default, but not all wipe-downs are equal.
For general de-oiling, a 10–25% isopropyl alcohol in distilled water is effective and relatively mild. Higher concentrations flash too quickly to solvate stubborn oils and can chill the panel, slowing evaporation unevenly. Commercial “panel prep” products often blend isopropyl with isoparaffinic hydrocarbons or oxygenated solvents to pull heavier carriers and silicones; they lift more thoroughly but demand a cool panel and small working areas to avoid streaking. On soft or fresh clears, aggressive solvents can induce temporary swelling, concealing fine marring until they outgas—so schedule a second verification pass after 10–15 minutes.
Application is as critical as chemistry. Use high-quality, edgeless 320–400 GSM microfibers with a tight weave. Fold into eighths to present a fresh face each pass. Lightly mist the towel, not the panel, to control overspray; employ a two-towel method—first to break and lift, second to dry and reveal. Favor linear motions with minimal pressure and overlap by a third. If the towel starts to drag, replace it; drag means loading, and loading means re-deposit.
Manage dust with compressed air and a clean detail brush at trim edges and badges before the wipe so residue doesn’t creep out later. Maintain panel temperatures below 30–32°C for consistent flash behavior, and allow a short dwell—5 to 10 seconds—before the drying pass to let solvents work. According to a article, panel wipes between stages reveal whether to continue refining or step back in abrasive grade, saving cycles by verifying each advancement.
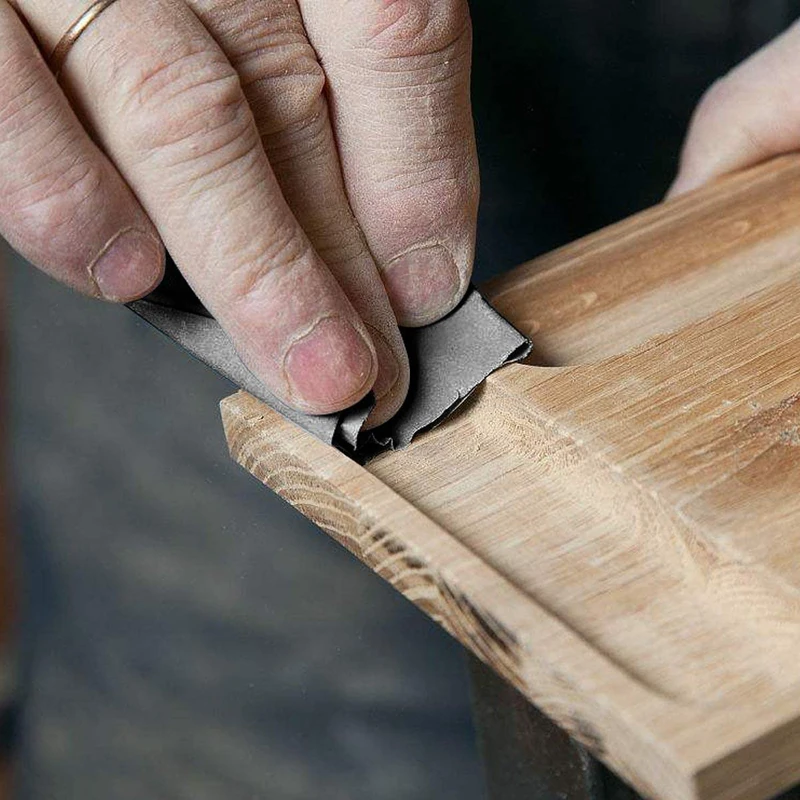
Workflow: sand, cut, refine, reveal
A residue-aware workflow streamlines correction and protects thin clear. The idea is simple: never advance a stage until you’ve proven the last one solved the right problem.
Map defects and set the ceiling. Inspect under cross-lighting and note RDS, orange peel, and previous repair zones. Confirm minimum film build with a gauge; don’t commit to sanding where you lack material.
Sand with intention. For peel or deep defects, start at P1000–P1500 wet with film-backed discs and an interface pad. Refine to P2000 and P3000 to compress scratch height. Keep the panel clean and cool, squeegeeing often to read progress. End the sanding phase with a gentle surfactant rinse and a microfiber dry to avoid dried slurry films.
Cut to clarity. Use a medium-cut compound on a foam or microfiber pad depending on hardness. Work small sections, clean pads frequently with compressed air or a brush to prevent spent abrasive from re-scoring the surface. Stop before overworking—heat breeds oils and binders on the panel.
Strip and inspect. Perform a controlled wipe-down. Vary your lighting angle and intensity: one high-CRI penlight at 15–30 degrees, one diffused overhead. Look for linear remnants that match your last sanding step; if you see them, adjust back one stage and rework.
Refine and verify. Use a finishing polish and soft foam to collapse micro-marring. Final wipe-down, then inspect again under your harshest light. Photograph and document settings so you can reproduce results panel to panel.
Actionable tips:
- Maintain a “wipe calendar”: after compounding, do an initial wipe, then a second verification wipe 10 minutes later to catch outgassing-induced reappearance.
- Keep three microfiber stacks: one for oily breaks, one for final dries, one untouched spare. Cross-contamination is the enemy of accurate inspection.
- Mark suspect zones with low-tack tape arrows post-wipe; revisit after the next stage to confirm they’re resolved.
- Use a water-break test after the final wipe; clean paint sheets water uniformly. Beading or patchy breaks indicate residual oils.
- Target 18–24°C panel temperature during wipe-down; measure with an IR thermometer for consistency across the bay.
Lighting, verification, documentation
Even a perfect wipe-down can’t compensate for poor inspection lighting. You need a mix of intensity, angle, and spectrum that exaggerates scatter where defects live. Equip a high-CRI (>95) handheld light in the 5000–6500K range and a warm auxiliary source around 3000–3500K. Different color temperatures excite different haze signatures—some veiling glare pops under cool white but vanishes under warm, and vice versa.
Work each panel quadrant with low-angle rakes. Sweep the beam at 15–30 degrees relative to the surface and move slowly; defects reveal as the incident angle aligns with their geometry. Cross-polarized lighting (CPL filters on both light and camera lens) can suppress specular glare, allowing you to see sub-surface directionality in marring and confirm it’s not just surface oil sheen. If you photograph, keep exposure and white balance fixed; changing camera settings can “correct” apparent haze and mask issues.
Documentation closes the loop. Record abrasive grits, pad types, machine speeds, and wipe-down chemistries per panel. Note ambient and panel temperatures, plus dwell times before final inspections. If you encounter a panel that re-hazes after 15 minutes, flag it for solvent sensitivity and extend outgas intervals before sealing or coating. Repeat your toughest light test last, not first, to avoid chasing low-visibility noise throughout the job.
Finally, respect the paint system’s limits. Thin panels or thermally stressed areas may not tolerate additional correction; a clean, verified finish with minimal remaining defects is preferable to theoretical perfection and compromised film build. Your process should end when the paint, not the calendar, says it’s done—and residue-free inspection is how you hear it.
Best Auto Body — Video Guide
A concise walkthrough on auto body sandpaper grits demonstrates how to choose and sequence abrasives throughout repair, priming, and paint preparation. The presenter explains which grits to start with for defect removal and how to refine through finer grades so polishing becomes faster and more controlled. It also touches on preferred brands and why certain backings and minerals behave better in specific stages.
Video source: Best Auto Body Sandpaper Grits
800 Grit Sandpaper Sheets (50-pack) — 9x11 in Silicon Carbide Abrasive for Wet or Dry Use — Ultra-fine grit for pre-polish refinement on paint, clear coats, or resin. Smooths imperfections without damaging the base layer. Provides optimal control when used wet or dry before 1000 or 1200 grits. (Professional Grade).
Frequently Asked Questions (FAQ)
Q: Why do defects reappear after I thought I corrected them?
A: Residual oils and dust can temporarily fill or mask fine scratches. After solvents outgas, those fillers shrink and optical scatter returns. Use a staged wipe-down—initial break and a second verification 10–15 minutes later—to confirm true surface condition before moving on.
Q: Is IPA enough for residue removal before inspection?
A: Often, yes at 10–25% in distilled water with a two-towel method on a cool panel. For stubborn carriers or silicones, a dedicated panel-prep blend with mixed polarity solvents removes more, but watch for soft-clear sensitivity and allow extra outgas time before final inspection.
Q: Can polishing sandpaper leave residues that affect inspection?
A: Stearated abrasives can leave a light anti-loading film, and wet sanding can dry with slurry residues. Rinse with a mild surfactant during sanding, squeegee to read progress, and perform a quick solvent wipe before compounding to prevent false clarity.
Q: How many microfiber towels should I use per panel?
A: Plan for at least two per stage: one wet for the solvent break and one dry for the reveal. Fold into eighths and rotate faces frequently. If a towel drags or shows discoloration, retire it. Cross-contamination undermines inspection accuracy.
Q: What lighting best exposes remaining haze?
A: A high-CRI penlight at 5000–6500K swept at low angles will reveal most haze. Add a warm source near 3000–3500K to catch what cool light misses. For documentation and stubborn veiling, consider cross-polarized inspection to reduce glare and expose subsurface marring.