
Maximize Backing Pad Life with a Sander Interface Pad
The last coat had barely flashed when I saw it: a faint crescent of witness marks telegraphed through the high-build primer I’d just leveled. I paused the sander and pressed a thumb into the backing pad—too hot. Minutes later, the culprit showed itself under the shop lights: softened hooks, rolled over and glossy, shedding abrasive discs after a few passes. If you sand for a living, you know that sinking feeling. One underperforming pad, one clogged disc, one careless pass on a contoured edge, and the day’s schedule slides right. This is precisely where a pad saver and a sander interface pad change the game. They’re not accessories; they’re consumables you use by design to stabilize cut, preserve the backing pad’s hook field, and deliver repeatable surface prep across flat and profiled work.
Most failures start small—dust that isn’t evacuated, heat trapped by a loaded abrasive, a rigid pad skittering across a soft edge. Backing pads aren’t cheap, and once the hook-and-loop loses bite, finish quality degrades and downtime spikes. Pad savers are thin, sacrificial layers that absorb wear and heat where it’s cheapest to lose it. Interface pads add controlled compliance, letting abrasives conform without point-loading edges. Used together, they create a tuned sanding “stack” that isolates the backing pad from abuse, manages temperature, and keeps abrasive grains cutting instead of skating.
In shops that move from sealer sanding to primer leveling to raw wood prep, this tuning isn’t optional—it’s how you keep Ra values predictable and scratch patterns consistent. With the right combination—correct pad hardness, a fresh pad saver, and, when needed, a properly selected sander interface pad—you’ll stretch backing pad life significantly while improving edge safety and dust capture. That’s less rework, fewer emergencies, and finishes that read flat and clean under raking light.
Quick Summary: Use pad savers as sacrificial hook-and-loop protectors and add a sander interface pad when you need controlled compliance—together they protect backing pads, stabilize cut, and improve finish quality.
Why Backing Pads Fail
Backing pads fail for three main reasons: heat, abrasion, and geometry. Heat softens thermoplastic hooks, causing them to round over and lose engagement with the abrasive’s loop backing. Abrasion erodes hook tips mechanically—especially with aggressive net abrasives at high OPM, or when slurry from resinous woods and stearate dust forms a cutting paste under the disc. Geometry—the mismatch between pad rigidity and the workpiece profile—creates point loading. When a rigid pad bridges a convex or chamfered edge, the local contact pressure can double or triple, cutting quickly but also concentrating frictional heat and deforming hooks.
Consider the cycle. A slightly loaded P120 disc raises temperature; airflow falls as dust ports partially occlude; the adhesive matrix softens; grit fractures less predictably; hooks polish; then the abrasive starts to “ice skate” and burnish instead of cutting. The operator pushes harder to restore bite, compounding the problem. On open-grain oak, you see it as shiny earlywood streaks; on primer, as swirls that reappear after topcoat.
Pad hardness matters too. A medium or hard pad (Shore A ~45–60) paired with a thin film abrasive is ideal for leveling but punishing to hooks when it hits an edge. Conversely, a soft pad (Shore A ~25–35) increases contact area and lowers peak pressure but sacrifices flatness. Without an intermediate layer, all of these trade-offs are borne directly by the backing pad.
A pad saver interrupts this cascade by relocating the wear interface away from the expensive pad. Its loop receives the hooks from the backing pad; its hook grips the abrasive. When hooks wear, they’re cheap to replace. Meanwhile, an interface pad adds foam compliance so the abrasive “wraps” edges gently, mitigating point loads. Combining both gives you thermal buffering, sacrificial wear, and geometry control—key levers for consistent surface preparation and longer pad life.
Pad savers vs a sander interface pad
Pad savers and a sander interface pad solve related but distinct problems. A pad saver is thin—typically 0.5–1.0 mm—with loop on one side and hook on the other. Its mission is sacrificial: take the mechanical and thermal abuse that would otherwise destroy the backing pad’s hooks. You run a pad saver nearly all the time on random orbit and rectangular finish sanders because it has minimal effect on pad stiffness and finish flatness. Think of it as low-cost insurance that you replace regularly, especially if you use open-weave net abrasives, which can be more abrasive to hooks due to direct fiber contact.
A sander interface pad is thicker—3 to 10 mm foam—also hook-and-loop on both faces, but designed to introduce controlled compliance. That foam layer increases the effective contact area, allowing uniform pressure across crowned stiles, profiled moldings, or contoured composite parts. The trade-off: reduced leveling power. On flat panels, an interface pad can slightly round high spots and mute scratch clarity, particularly above P240 where random scratch uniformity becomes critical for topcoat appearance. That’s why pros insert the interface pad only when geometry demands it—for example, sanding a shaker door’s inside edges or denibbing a contoured bumper cover.
Dust extraction changes subtly with each layer. A pad saver must match the hole pattern (5H, 8H, 15H, multi-hole) to avoid choking airflow; with net abrasives, multi-hole or open-face designs are more forgiving. Interface pads come in multi-hole patterns that act as plenum spaces, evening airflow under the disc. This helps keep temperatures down and extends both abrasive and hook life.
In practice: run a pad saver full-time; add an interface pad when the surface isn’t flat, when you need to reduce scratch trough depth on soft substrates, or when protecting delicate edges. Remove the interface pad for aggressive leveling or when chasing absolute flatness on primers and fillers.
Configuring Your Sanding Stack
Building a reliable sanding “stack” means choosing the right sequence from backing pad to abrasive. Start with the backing pad hardness appropriate to the task: hard for leveling (filler, primer, epoxy), medium for general prep, soft for contours. Next, add a pad saver that matches your pad diameter and hole pattern—125 mm/150 mm ROS, 3x4 sheets, 5/16–24 or M8 threaded formats for larger tools—so that dust transport isn’t compromised.
Insert a sander interface pad only when geometry or substrate calls for it. On solid wood with occasional edge exposure, 3–5 mm foam is often enough to defuse point loads without overly softening the cut. On highly contoured work or soft materials (aluminum body filler, soft plastics), 5–10 mm foam maximizes compliance. Then choose abrasives by objective: film-backed for consistent scratch and tear resistance; paper-backed with stearate for resinous woods; net or multi-hole mesh for maximum dust evacuation and cooler cutting.
Your orbit and speed matter. Higher OPM increases cut rate but raises heat. If you add foam, consider dropping speed one step (e.g., from 6 to 4) to keep temperatures in the safe zone. Match vacuum CFM to pad size and abrasive type; mesh discs thrive with high CFM and modest static pressure, while dense film discs need good hole alignment for efficient capture. According to a article, placing a pad saver between the backing pad and abrasive extends pad life and can also add a touch of softness on larger interfaces, reinforcing both protection and contact control.
Finally, inspect your stack during use. If disc changes become harder or the abrasive rotates on the pad, your saver’s hooks are likely polished—swap it. If your finish shows edge rounding where flatness matters, remove the foam interface. If dust trails are visible under raking light, re-align hole patterns or switch to a multi-hole saver and disc combination to re-establish airflow.
Heat, Dust, and Hook Longevity
Thermal management is the quiet driver of pad longevity. Hooks are thermoplastic; exceed their glass transition range and they deform. Three controls keep you safe: cut rate, airflow, and contact time. Cut rate depends on grit geometry and pressure—let the abrasive do the work. Airflow depends on open channels under the disc and vacuum performance—clear ports move heat and debris away. Contact time is a function of dwell—short, overlapping passes reduce localized heat spikes.
Pad savers contribute by placing a thin thermal and mechanical buffer between the abrasive and the backing pad. They also arrest wear debris—fractured grit, resin, and wood dust—so it doesn’t lap the hook field into a polished mirror. With net abrasives, which can be particularly aggressive to hooks due to exposed scrim, a saver is non-negotiable. An interface pad further reduces peak pressures that cause friction spikes, especially at edges, lowering local pad temperatures by spreading load across more foam-supported area.
Vacuum details matter. A high-CFM extractor with an auto-clean HEPA filter keeps pressure drop stable, improving dust pickup through multi-hole pads and interfaces. Keep hoses smooth-bore where possible; corrugated whip hoses add turbulence and reduce effective airflow. On ROS sanders, check that the shroud and skirt aren’t impinging on the pad—misalignment can create negative pressure zones that starve the disc of flow.
Actionable tips for cooler, safer sanding and longer hook life:
- Reduce speed 1–2 steps when adding a foam interface pad; compensate with a slightly coarser grit if needed to maintain throughput.
- Use a pad saver with a matching or multi-hole pattern; misaligned holes raise temperature and dust loading by 10–20% in typical shop conditions.
- Vacuum off the saver and interface pad faces at each disc change; embedded swarf acts like lapping compound on hooks.
- Break edges before aggressive passes; a light 45° kiss with P220 reduces point loading that destroys hooks.
- Limit dwell: target 50–70% overlap with continuous motion; parking the sander in place to “erase” a defect cooks hooks.
Workflow Examples and QA Checks
Cabinet doors, raw maple: Start with a medium backing pad, pad saver installed, no foam interface. Level with P120 film-backed discs at moderate OPM, then refine to P150. Switch to a 3 mm foam interface pad for frame-and-panel contours at P180, keeping speed one notch lower to protect edges. Remove the interface for the final P220 pass on flat panels to maintain flatness. QA: Under raking LED, look for uniform scratch; measure panel flatness with a straightedge, and confirm no witness lines at rail/stile junctions.
Automotive primer, 2K high-build: Hard pad + pad saver, no foam interface for block-flat leveling at P180. Cross-hatch with 50% overlap and vacuum fully engaged. Once flat, add a 5 mm interface for featheredge transitions at P220–P320 to avoid cutting through at crowns. Net abrasives shine here; pair with a multi-hole saver to maintain airflow. QA: Guide coat to verify uniform scratch removal; aim for Ra in the 2.5–3.5 µm range before sealer, depending on system spec.
Solid-surface countertop radius: Soft pad + pad saver + 10 mm interface to preserve the 10 mm nosing. Start at P120 to remove machining marks, then P180 and P240 with reduced speed to avoid white burnishing streaks. Keep the sander moving along the radius with smooth arcs; rotate the work or change stance to maintain even contact. QA: Use a contour gauge or template to confirm radius consistency; inspect under cross-polarized light if available to reveal non-uniform scratch.
Composite parts (carbon fiber fairings): Medium pad + pad saver; introduce a 3–5 mm interface for convex sections at P220–P320. Film abrasives minimize stray deep scratches; mesh can be used when dust is a priority, but watch hook wear—change the saver more frequently. QA: Wipe with solvent to preview clearcoat telegraphing; if swirl patterns pop under solvent, extend your last grit’s dwell lightly while keeping speed low.
Furniture refinishing, denibbing sealer: Soft pad + pad saver + 3 mm interface at P320–P400. Ultra-light pressure—let the resin-bound grains brush the nibs, not level. Keep extraction high to pull fines; clean disc frequently. QA: Tactile check with a nitrile-gloved hand; the surface should feel uniformly silky, no hot spots or shiny patches.
These workflows share a pattern: leave the pad saver in as a baseline, add the interface pad only when geometry demands it, and manage heat with speed, airflow, and motion. The result is longer-lasting backing pads, predictable cuts, and surfaces that finish clean.
MUST Have for — Video Guide
A recent Tool Talk segment highlights why interface pads are essential on compact 3x4 sanders. The host demonstrates how adding a foam layer transforms edge safety and dust control on narrow rails and profiles while maintaining a consistent scratch pattern. It’s a practical walk-through of when to insert the pad and when to remove it for flatter work.
Video source: MUST Have for Sanders. Interface Pads
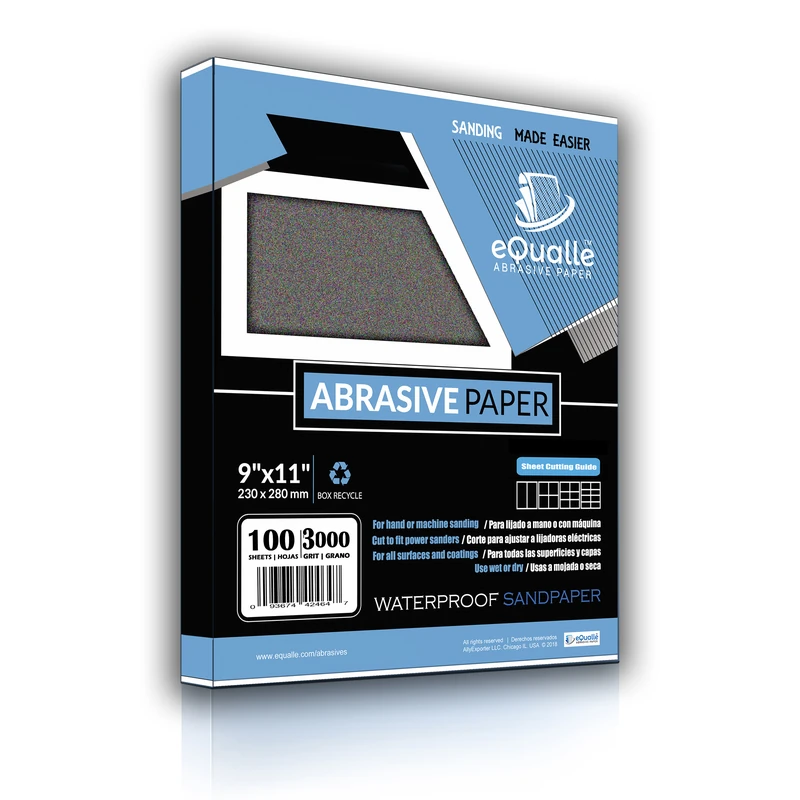
180 Grit Sandpaper Sheets (25-pack) — 9x11 in Silicon Carbide Abrasive for Wet or Dry Use — Medium finishing grit that refines wood, metal, or drywall before painting. Provides even texture and cutting control. Excellent for wet or dry sanding where a uniform surface is needed. (Professional Grade).
Frequently Asked Questions (FAQ)
Q: What’s the difference between a pad saver and an interface pad?
A: A pad saver is a thin, sacrificial hook-and-loop layer that protects the backing pad’s hooks and preserves airflow; it should be used almost all the time. An interface pad is a thicker foam layer used selectively to add compliance on contours and edges, improving safety but slightly reducing flatness.
Q: Will a sander interface pad reduce my cut rate?
A: Slightly, yes. The foam spreads pressure, which lowers peak force at any point. Compensate by stepping one grit coarser or increasing OPM modestly—while watching heat. For leveling operations where flatness is critical, remove the interface and rely on a hard or medium pad plus the pad saver.
Q: Do pad savers affect dust extraction?
A: They can improve or impair it depending on hole alignment. Use a saver that matches your pad’s hole pattern or a multi-hole design, and pair it with matching discs. Misalignment increases temperature and loading; good alignment maintains airflow and cooler cutting.
Q: How often should I replace a pad saver?
A: Replace when disc changes feel loose or the abrasive rotates under load, or at the first sign of polished, flattened hooks on the saver. In production use with mesh abrasives, many shops swap savers weekly; in light use, inspect every few sessions.
Q: Can I stack multiple interface pads for very deep profiles?
A: It’s possible, but not ideal. Excess foam creates wobble, mutes scratch clarity, and reduces dust capture. Instead, choose a single thicker interface (5–10 mm) designed for contours, slow the tool, and lower pressure. For extreme profiles, hand sanding blocks with tailored foam often outperform stacked interfaces.