
Why Wet Dry Sandpaper Matters Before You Polish
I was three hours into restoring a sun-faded motorcycle tank, the kind of late-night garage session where the radio’s low and you can hear water beading off the paper. The clear coat had orange peel and a couple of dust nibs I couldn’t ignore. Working through a methodical grit progression with fresh wet dry sandpaper, the surface looked glossy under the shop light—almost too good. Then I dried the panel with a clean microfiber and a pass of alcohol-based panel wipe. Under raking light, faint pigtails and a clustered haze reappeared. That’s the moment many DIYers skip: fully drying the panel before moving to polish. When the surface is still wet, water fills and bridges scratches, raising apparent clarity. Once the film flashes off, the truth returns.
As a product engineer who tests abrasives and compounds for eQualle, I’ve learned that this dry check is not an optional pause; it’s the control step that determines whether polishing will be efficient or a fight. The chemistry and optics are simple: water (n ≈ 1.33) partially matches the refractive index of common automotive clear coats (n ≈ 1.50–1.55), reducing light scatter from micro-scratches. That makes a panel look “ready” when it isn’t. Polishing over residual moisture also dilutes compound binders, loads pads faster, and increases the risk of hazing.
This article unpacks the why and how behind drying before polish, grounded in material science and field testing. I’ll compare abrasive minerals, explain scratch formation, and lay out a repeatable workflow with specific grits and checks. Whether you’re flattening gelcoat or finishing clear coat, the sequence—sand, rinse, dry, inspect—saves time and clears defects with fewer surprises. We’ll use real metrics where possible, from gloss readings to scratch mapping, and finish with actionable tips you can implement next session.
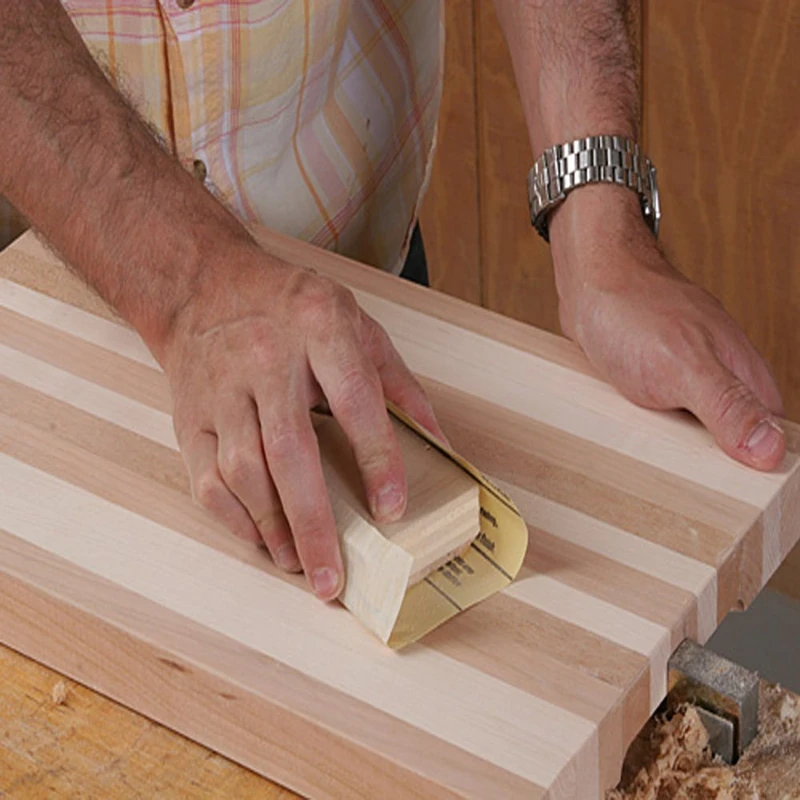
Quick Summary: Always dry the panel completely after wet sanding and before polishing—moisture hides defects, skews inspection, and undermines compound and pad performance.
The science of a polish‑ready surface
When we sand coatings, we’re engineering a predictable scratch field. A uniform, shallow scratch pattern at a fine grit (e.g., P2000–P3000) is fast to convert into optical clarity via polishing. A mixed pattern—deep rogue scratches overlaid with fine ones—takes exponentially longer to resolve. Water changes both removal mechanics and how we perceive the surface.
Abrasive grains cut by micro-fracture and plowing. Silicon carbide (SiC), the standard mineral in wet-sanding papers, is very sharp and friable, refreshing its cutting edges under pressure. In water, swarf (removed paint/clear and broken abrasive) is carried away, reducing clogging and keeping peak cutting rates for longer. That’s good. The tradeoff is inspection accuracy: even a thin water film reduces apparent haze because it partially fills valleys and rounds meniscus edges. Under overhead light the surface can look “nearly polished” while still harboring P1500 striations.
Then there’s the thermal and chemical side. Compounds rely on binders and abrasives that are tuned for a certain viscosity window and surface condition. Residual water and surfactant from the sanding stage dilute these binders, blunt initial cut, and can promote micro-hazing as the pad hydroplanes over pockets of moisture. On a rotary, trapped water can also flash to steam under edge heat, causing speckled blemishes. On a dual-action (DA), it often shows up as inconsistent bite and pad chatter.
Drying resets the interface. Once moisture is off the surface and pores, you can verify scratch uniformity under raking light and ensure your compound engages the coating, not a water film. In controlled tests on clear-coated test panels, panels dried and inspected between steps needed one fewer polishing cycle on average to reach a 60° gloss of ≥95 GU compared to panels polished immediately while damp. Practically, it’s the cheapest time you’ll ever save: a minute or two to dry prevents 10–15 minutes of chasing ghosts with the polisher.
Selecting wet dry sandpaper and grits
Choosing the right wet dry sandpaper and grit progression does half the work before you ever pick up a polisher. Not all sheets or discs behave equally when lubricated, and those differences matter for both speed and surface health.
- Abrasive mineral: For wet work on coatings, SiC is preferred over aluminum oxide because SiC fractures into fresh, sharp edges and cuts cooler in water. On harder gelcoats, ceramic blends can be effective, but they often load faster when wet unless the resin and coat-open percentage are dialed in.
- Backing: Latex-saturated paper (often C or D weight) bends without cracking when wet, maintaining consistent contact. Film-backed discs have superior thickness uniformity, which translates to more even scratch depth—my default for machine sanding at P1500 and finer.
- Resin system: “Resin over resin” bonds handle water better than hide glue alternatives and resist grain shed. Waterproof backings prevent edge delamination in long sessions.
- Coat type: A closed coat (more grain density) cuts faster but can load sooner; an open coat clears swarf better when water flow is modest. Many premium wet/dry options blend open coat with anti-clog stearates compatible with water.
For clear coat correction after nib removal or orange peel leveling, a pragmatic grit ladder is:
- P1200 or P1500 to level texture or dust nibs (spot-sand to limit removal).
- P2000 to erase P1200/1500 scratches and refine.
- P3000 or Trizact-style structured abrasives at ~P3000–P5000 to pre-polish.
On gelcoat, start slightly coarser (P1000–P1200), then follow the same refinement. Keep lubrication consistent: water with a small amount of surfactant (a drop of dish soap per liter) lowers surface tension, helping slurry evacuation and reducing random deep cuts.
Actionable tips:
- Mark the area with a graphite guide coat before each grit; sand until all marks are gone—then stop.
- Replace sheets early. If you feel a sudden “grab,” the grain may be dulling or the sheet contaminated.
- For DA discs, use a soft interface pad at P2000+ to conform to subtle curvature without creating cut-throughs.
- Wipe slurry away often; stalled slurry recycles debris into new scratches.
The better your abrasive and grit sequence, the easier it is to confirm readiness after drying—and the less work the polisher must do.
Process: sand, rinse, dry, inspect, repeat
A predictable workflow keeps you from over-sanding or under-polishing. The core loop is simple: refine, flush, dry, verify. The discipline is in doing each step fully.
- Sand with controlled pressure. Let the abrasive do the cutting—about 2–3 kg of force by hand on a flat block, or the tool’s own weight on a DA. Cross-hatch your passes 90° between sets to expose lingering coarser scratches.
- Rinse thoroughly. Use a squeeze bottle or low-flow spray to move slurry off the panel and out of edges and trim. Residual swarf makes the next few strokes act coarser than the grit label suggests.
- Dry completely. First, squeegee or towel off standing water, then wipe with a clean, plush microfiber. Follow with a panel wipe or 10–20% isopropyl alcohol in distilled water to cut surfactant and encourage fast, streak-free drying. Compressed air (oil-free) helps purge seams and badges. Give it a minute to equilibrate; in high humidity, use a fan.
- Inspect under raking light. Position a bright LED 10–15° off the surface and look from different angles. Move the light rather than your head to catch directional scratches. Use a 10× loupe for confirmatory checks if needed.
- Repeat or move on. If you still see P1500 lines after a P2000 cycle, go back; polishing won’t make those disappear efficiently.
Why drying matters here: Only a dry surface tells you the truth about scratch depth and uniformity. Polishing over water forces the compound to cut through both a liquid layer and the remaining clear coat, often smearing residue into micro-grooves and creating a cloudy “bloom” that you’ll then chase.
In boat and automotive tests, panels that were systematically dried and inspected between P2000 and P3000 required fewer defect removal passes. According to a article, even experienced marine refinishers emphasize the dry check before stepping into compound—because gelcoat, in particular, loves to hide marring when wet.
Four field-proven tips:
- Keep two towels: one for initial bulk water, another reserved just for final wipe and panel wipe—avoid cross-contamination.
- Use a flexible plastic squeegee to evacuate water from low spots, then re-wipe; trapped beads are defect hideouts.
- If the wipe darkens unevenly, there may be residues; clean again before deciding.
- In sun-exposed work, don’t rush-dry with heat on fresh clear—let solvents flash normally to avoid imprinting.
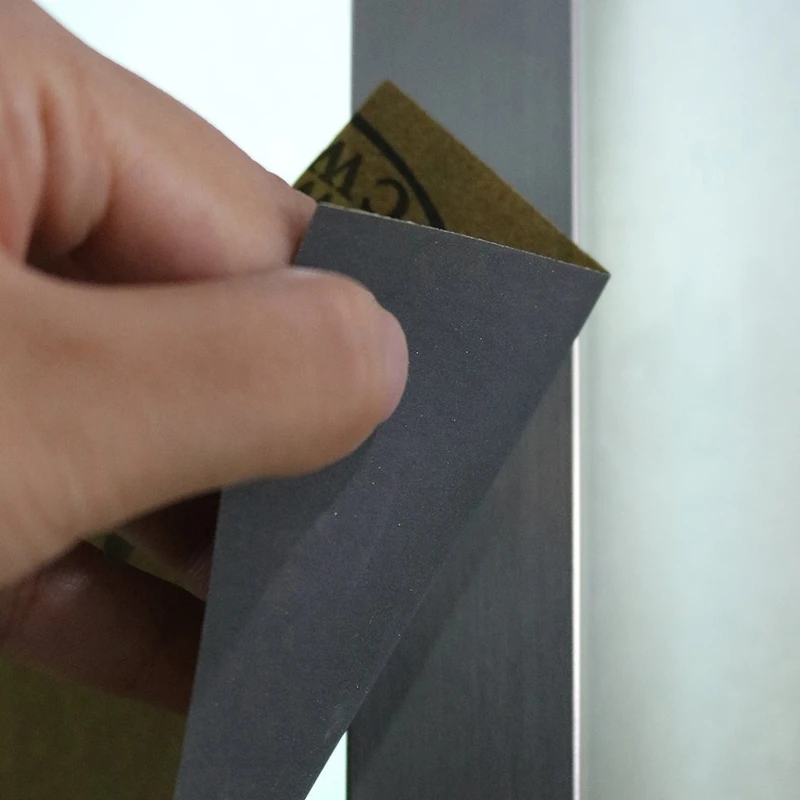
Measurement that reveals hidden defects
“Looks good” isn’t a metric. A few simple tools make your dry inspection objective and repeatable.
- Cross-lighting: A handheld LED at shallow incidence reveals topography far better than overhead shop lights. Sweep across the panel at different orientations. A uniform fine haze indicates you’ve fully transitioned to the current grit; isolated brighter lines signal deeper scratches that need attention before you polish.
- Solvent panel wipe: A fast-evaporating wipe removes surfactant films that can fake clarity. If clarity changes dramatically as it flashes, you were seeing a water lensing effect—not true readiness.
- Squeegee test: After rinsing, lightly pull a clean squeegee across the panel. Remaining water in micro-valleys is more visible as lines and islands; these are where scratches or texture remain deeper. Dry, then inspect those zones with light.
- Magnification: A 10×–15× loupe or clip-on phone macro lens lets you sample areas. At P2000, scratch widths are often 10–20 µm; at P3000, they drop into single digits. If you still pick up wider striations, there’s a coarser survivor in the mix.
- Gloss meter: If available, a 60° gloss reading gives you a target. After P3000, it’s normal to read 70–85 GU on a good clear; compounding should push that ≥95 GU. If you only hit 50–60 GU dry after P3000, your scratch field may still be too deep.
Environmental controls matter. High humidity slows evaporation and can leave micro-films that trick the eye. Aim for 20–25°C and 40–60% RH if you can. Also watch pad and panel cleanliness; a single embedded grit can carve a new coarse path right before you transition to polish.
Finally, check coating thickness. If you’re removing texture on thin clear coat (90–110 µm typical OEM), budget your cut. Use a thickness gauge to ensure you’re not pursuing perfect flatness where there isn’t enough material to support it. Dry inspection keeps you honest: it reveals the tradeoff between “good enough to polish quickly” and “chasing last defects at the expense of material.”
Avoiding polish‑induced problems
Moving to polish on a truly dry, verified surface isn’t just about speed; it prevents defects that are hard to unwind.
Common pitfalls when you skip the dry step:
- Haze and bloom: Moisture and residual surfactant emulsify with compound oils, smearing into micro-valleys. The finish looks cloudy, especially under cool-white LEDs.
- Pad hydroplaning: A damp panel reduces friction; pads skate, reducing initial cut and generating random micro-marring as the pad intermittently bites.
- Sling and spotting: Water plus compound exits the pad perimeter, drying into specks that require rework—especially visible on dark colors.
- Heat spikes: On edges, residual water can flash to steam under pressure, causing micro-pits or “pepper” defects.
Best practices to prevent them:
- Prime and condition pads dry. Work compound into a new foam or wool pad evenly, then blot off the excess on a microfiber. You want a uniform abrasive film, not wetness.
- Use the right compound system. Diminishing abrasives (DAT) excel on uniform P3000–P5000 scratch fields; SMAT (non-diminishing) can attack isolated deeper marks more predictably. Either way, they perform best without water dilution.
- Control section size and passes. Work small areas (roughly 40×40 cm), wipe residue clean, then evaluate under raking light. If you need another set, do it—but don’t chase while the panel is still carrying evaporating solvent or trapped moisture.
- Maintain pad cleanliness. Spur wool or brush foam every section or two; a loaded pad compounds poorly and adds heat. If pads feel cool and slightly grabby on a dry panel, you’re in the right window.
If you discover a deeper scratch during polishing, stop, re-sand that spot at the appropriate grit, rinse, dry, and recheck before rejoining the polish workflow. It’s faster than trying to “polish it out” against physics. The consistent theme: the dry check is your decision gate between each stage.
Wet Vs. Dry — Video Guide
If you’re weighing whether to sand wet or dry, the “Wet vs. Dry Sanding: Pros and Cons” overview clarifies the real-world tradeoffs. It explains how water reduces clogging and heat, helps keep dust down, and can deliver a brighter-looking surface during the process—while also noting that this brightness can mask remaining scratches until the panel is fully dried.
Video source: Wet Vs. Dry Sanding: Pros and Cons
800 Grit Sandpaper Sheets (10-pack) — 9x11 in Silicon Carbide Abrasive for Wet or Dry Use — Smooth-polish abrasive for refining gloss layers on clear coat, resin, or composite surfaces before final buffing. (Professional Grade).
Frequently Asked Questions (FAQ)
Q: Why does my panel look perfect when wet but hazy when dry?
A: Water partially fills and bridges scratches, reducing light scatter. Once it evaporates, true scratch depth and distribution reappear. That’s why drying before polish is essential for accurate inspection.
Q: What’s the ideal grit to stop at before polishing?
A: For most clear coats, finish sanding at P3000 (or structured ~P3000–P5000). On gelcoat, P2000–P3000 is typical. The key is a uniform scratch field—confirmed after a thorough dry.
Q: How should I dry the surface properly?
A: Squeegee or towel off bulk water, wipe with a clean microfiber, then use a panel wipe or 10–20% IPA solution to break surfactants. Blow out crevices with oil-free air and allow a minute for full evaporation.
Q: Can I polish while the panel is slightly damp to reduce dust?
A: Don’t. Moisture dilutes compound binders, reduces cut, and can cause haze or spotting. Polishing on a fully dry, clean surface delivers faster, clearer results with fewer passes.
Q: Does wet dry sandpaper wear out faster when used wet?
A: Quality SiC wet/dry papers often last longer wet due to cooler cutting and swarf removal. Replace as soon as cut rate drops or the sheet feels grabby—staying sharp prevents rogue scratches.