
Interface Pad Choices for Ceramic Sanding Discs
It starts in a quiet garage after dinner, when the world is finally still enough to hear what wood, metal, and paint are trying to say back through the sander. You clamp the curved maple chair rail that’s mocked you all week, hang the extractor hose over your shoulder, and mount a fresh 6-inch disc. Not just any disc—ceramic sanding discs, because you want cut rate without burning the grain and the stamina to finish the job with fewer changes. The orbit winds up. The pad touches down. And in two seconds you can tell: the interface pad is wrong. The rail chatters on the crown, the scratch is too deep on the flats, and dust speckles the air where it shouldn’t. You lift off, frustrated—not with the abrasive, but with the layer between the abrasive and the machine that quietly determines whether your night is productive or penance.
That thin foam interface pad is the transmission of the system. It decides how faithfully the disc conforms to curves, how stable the face stays on a flat, how heat migrates, and how efficiently dust evacuates through a multi-hole pattern. Too firm, and you’ll facet every contour; too soft, and you’ll wash out edges and load the disc. Too thick kills stability; too thin spikes contact pressure and leaves swirl-prone scratches. The wrong density can make even the best ceramic grain feel dull or unforgiving. The right one, though, turns effort into progress: a steady, even hum, dust disappearing into the hose, scratches that level predictably, no shiny burnished spots, and no pigtails.
Interface-pad choice isn’t glamorous, but it’s the lever that makes ceramic discs live up to their promise. Choose well, and you cut cooler, flatter, and faster; choose poorly, and you’ll chase defects for hours.
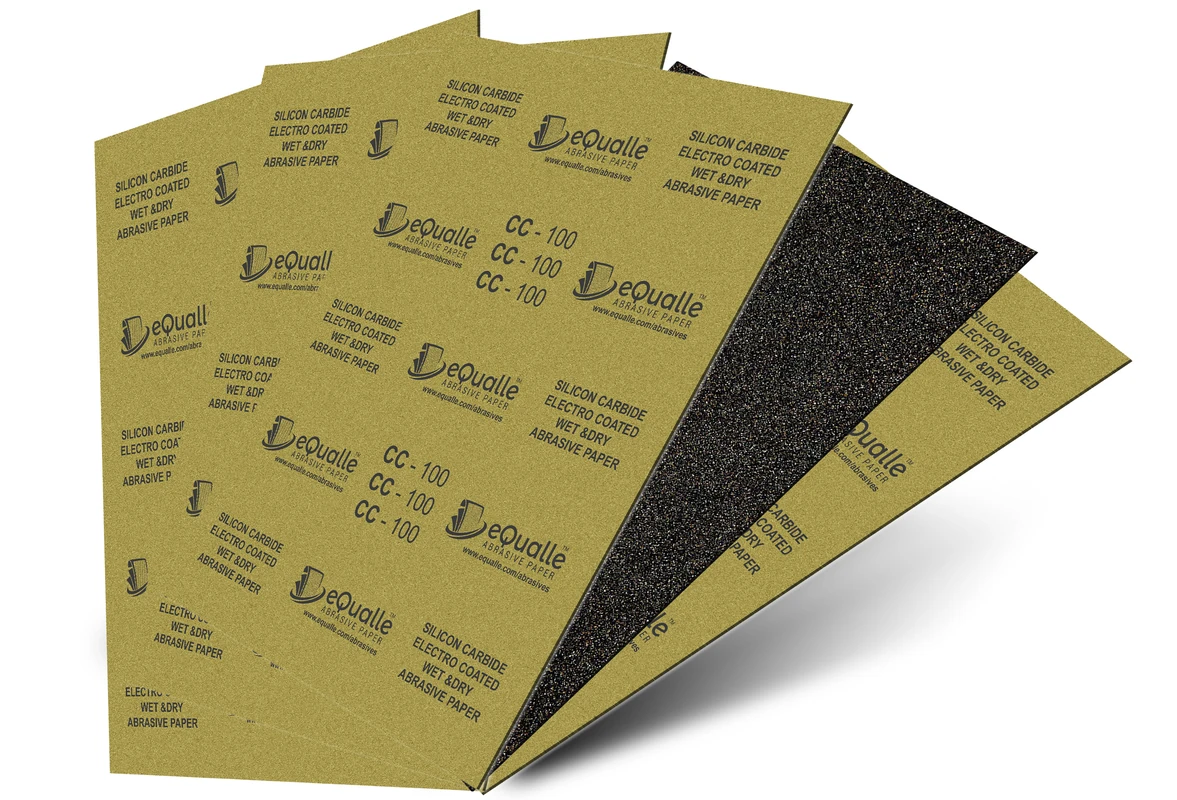
Quick Summary: Select interface pad thickness and density to match substrate geometry and grit, align holes for clean extraction, and let ceramic discs cut fast without heat or swirls.
Picking the right interface pad
Think of the interface pad as a compliance and damping layer between the sander’s backing pad and the abrasive. It changes three things that matter: contact patch, pressure distribution, and vibrational behavior.
Thickness: Typical options are 3 mm, 5 mm, and 10 mm.
- 3 mm: Minimal compliance; maximizes stability and cut rate on flat panels. Best for leveling filler, sealer flattening, and flattening hardwood tabletops.
- 5 mm: Balanced option; enough give to roll over gentle transitions without rounding edges excessively. Good all-rounder for cabinetry, composites, and general refinishing.
- 10 mm: High compliance; follows tight radii and complex contours like automotive bumpers and molded profiles. This is the choice when surface geometry drives the process more than stock removal.
Density: Soft, medium, firm (terminology varies by brand).
- Firm pads transmit pressure into a smaller footprint—higher local pressure, faster stock removal, and a deeper scratch at the same grit. Use when you need to re-level, not finesse.
- Medium pads are the default; they let ceramic grains bite without telegraphing every micro-movement into the surface.
- Soft pads increase contact area on curves, reduce point loading, and cut cooler—but they can wash out crisp edges and reduce flatness on panels.
Venting pattern: A perforated interface pad preserves the vacuum pathway from the disc to the sander. On multi-hole discs, a non-perforated pad can halve extraction efficiency and raise temperatures.
Match pad behavior to orbit size and speed. A 5 mm (3/16") orbit with a firm 3 mm pad at high speed is a leveling machine; the same sander with a soft 10 mm pad at moderate speed is a contour-following finisher. The stiffer the stack, the more precise the scratch; the softer the stack, the more forgiving the contact but the greater the risk of edge rounding.
Field-proven, actionable tips:
- Use a 3 mm firm pad when flattening hardwood or body filler with P80–P120; it keeps the disc plane true and maximizes ceramic grain efficiency.
- Switch to a 5 mm medium pad for P150–P240 as you approach final leveling; it reduces chatter and evens out pressure without losing control.
- For tight curves (chair rails, bumpers), a 10 mm soft pad with P240–P400 prevents faceting and hot spots.
- Always choose a perforated interface pad with multi-hole discs to maintain extraction and keep ceramic grains cutting cool.
- Add a pad saver (thin sacrificial hook layer) when working aggressively; it protects your sander’s backing pad and preserves hook integrity.
Matching ceramic sanding discs to substrates
Ceramic grains micro-fracture in use, constantly exposing sharp cutting edges. That’s why ceramic sanding discs maintain cut rate longer than conventional aluminum oxide on tough substrates. But this advantage shows up only when the interface pad complements both the material and the grit.
Hardwood (maple, oak, walnut):
- Aggressive passes (P80–P120): Pair a 3 mm firm or 5 mm medium pad. Ceramic grains chew through hard latewood cleanly; keep the surface flat so the scratch pattern remains uniform across earlywood/latewood transitions.
- Intermediate (P150–P220): A 5 mm medium pad dampens chatter and evens pressure on panels with slight cup or twist. On edges and profiles, step to a 10 mm soft pad with a lighter touch to avoid washing sharp lines.
Softwood and resinous species (pine, fir):
- Softer substrates smear and heat quickly. Use a 5 mm medium or 10 mm soft pad to spread pressure, keep the sander speed modest, and lean on extraction to keep the disc clean. Ceramic discs resist loading, but a too-firm pad creates “plowed” grooves that telegraph through the finish.
Automotive paint and primers:
- Primers and fillers level best with a 3 mm firm pad at P120–P180; you want a flat plane and a predictable scratch for subsequent coats.
- For feathering OEM paint next to a repair, move to a 10 mm soft pad at P240–P400; it smooths the thickness transition without digging a trench or creating a shoulder.
- When refining for blending or DA scratch removal, step into film-backed abrasives above P600–P800; film stabilizes the scratch depth and reduces rogue deep cuts.
Composites and gelcoat:
- Gelcoat is brittle and heat-sensitive. A 5 mm medium pad with P120–P220 keeps the cut uniform; switch to a 10 mm soft pad around flanges and radii to avoid edge burn-through.
Nonferrous metals (aluminum):
- Ceramic excels, but heat control matters. Use a 5 mm perforated medium pad, high extraction, and light pressure. Avoid soft pads at coarse grits—they smudge swarf and create galling.
Backer type matters. Film-backed ceramic discs stabilize the grain for fine finishing (P400+), while paper-backed discs are efficient for bulk removal at coarse-to-mid grits. On delicate topcoats, film plus a soft interface pad at low speed yields a refined, uniform scratch that polishes out cleanly.
Pay attention to pad and disc diameters and hole compatibility. A 6" (150 mm) disc on a 125 mm sander invites overhang and uncontrolled edge contact; conversely, under-size discs starve the extractor and destabilize the pad. Build a coherent stack: sander backing pad → pad saver (optional) → perforated interface pad → multi-hole ceramic disc.
Dust extraction and hole alignment
Ceramic abrasives like to run cool. Efficient dust extraction keeps the cutting edges unclogged, the resin bond stable, and the surface temperature down. That only happens if the airflow pathway from disc to sander stays clear and aligned.
Hole patterns: 6", multi-hole discs come in various patterns—universal 47-hole, platform-specific 49-hole (e.g., ETS 150), and others. Using a universal multi-hole disc often works across platforms, but you need a compatible perforated interface pad and correct clocking to preserve airflow. Misalignment reduces capture efficiency and can produce fine, oil-slick dust films that load the abrasive and promote pigtails.
Alignment: With a universal disc and multi-hole pad, rotate the disc to maximize overlap between the densest cluster of holes and the sander’s primary channels. Some users mark the sander pad with a reference dot to reproduce optimal clocking when changing discs quickly. A simple paper or 3D-printed alignment template speeds consistent mounting.
Air volume and control: A random-orbit sander with a 27–36 mm antistatic hose and a variable-flow extractor lets you tune pad suction. Over-suction can “tack” a soft 10 mm pad to the surface and stall the orbit, deepening swirl marks. Crack the bypass or reduce flow until the pad glides with a light, controllable feel.
Interface pad permeability: Non-perforated foam is a dust dam. If you must use it (rare), expect shorter disc life and more heat. Perforated pads preserve airflow through the foam and keep the ceramic grain self-sharpening.
Pad savers and hook life: A clogged hook field destroys adhesion and wobbles the disc. Clean hooks with compressed air and a nylon brush; replace pad savers when the hooks fuzz or the face tears.
According to a article, adding a 10 mm compliant pad on curved bodywork helps maintain extraction paths across the disc while distributing pressure over tight radii—exactly the balance you want to prevent hot spots and loading.
If you’re running platform-specific pads (e.g., 49-hole 150 mm systems), it is still fine to use a 47-hole universal ceramic disc when needed; just ensure the interface pad is equally multi-hole and re-check clocking. The goal isn’t perfect hole mirroring—it’s keeping an open, low-resistance path for air to move dust away from the cut zone.
Grit sequencing and pressure control
Ceramic grains cut fast; that’s the win. To harness that speed without burying deep scratches, manage your grit jumps and pressure.
Coarse leveling:
- Wood/tabletops: P80 → P120 → P150 or P180. Use a 3 mm firm pad at P80/P120 for flatness; switch to 5 mm medium at P150/P180 to smooth the scratch.
- Primers/fillers: P80 or P120 → P180 → P220. Keep a firm, thin pad on flats to maintain plane and reduce re-spray.
Mid to fine refinement:
- Painted surfaces and veneer: P220 → P320 → P400. A 5 mm medium pad keeps pressure uniform. Around edges or contours, a 10 mm soft pad at P320/P400 feathers without biting.
- Above P600–P800, step to film-backed abrasives; they hold the scratch consistent and resist grit “flip-ups” that cause random deep lines.
Control pressure by feel and feedback:
- Aim for light-to-moderate downforce—roughly the machine’s weight plus the weight of your hand (about 1–2 kg). If the motor bogs or the orbit “tightens,” you’re pushing too hard.
- Let the disc do the work. Ceramic cuts with sharp, fresh micro-edges when it’s not glazed. If you feel sliding instead of biting, increase speed slightly or replace the disc; don’t add force.
- Use a slow, overlapping crosshatch pattern. Keep the pad flat on panels; tilt only when intentionally feathering an edge with a thick soft pad, and then only a few degrees.
H3: Troubleshooting heat and swirls
- Heat: If the surface exceeds about 45–50°C on coatings or resin-rich substrates, you’ll soften binders and smear. Reduce speed one notch, lighten pressure, and ensure the pad and disc holes are clear. A soft 10 mm pad on tight radii spreads pressure and drops temperature significantly.
- Swirls and pigtails: Most often from a loaded disc, poor extraction, or a contaminated pad. Inspect the interface pad face for embedded particles; one rogue chip makes a repeating pattern. Clean or change the pad saver; replace the disc if any grains are glued over with resin or swarf.
H3: Cost-per-cut quick math A typical premium ceramic disc may cost 1.8–2.5× an aluminum-oxide disc but lasts 2–4× longer on hard materials. Example: If an AO disc at $0.80 covers 1.0 m² before scratch quality fades, and a ceramic disc at $1.80 covers 2.5 m², your cost per square meter drops from $0.80 to $0.72—plus you change discs less and generate fewer defects. Correct interface-pad choice (perforated, right thickness/density) often adds 15–30% more usable life by keeping temperatures down and extraction up.
🦎Norton Sanding Discs — Video Guide
If you’ve ever searched “sanding discs for orbital sander,” a veteran floor sander breaks it down clearly by comparing aluminum oxide, ceramic, and mesh discs in real-world use. He shows how each grain type behaves under pressure, how quickly they load or stay sharp, and what that means for your workflow and finish.
Video source: 🦎Norton Sanding Discs – Aluminum Oxide vs Ceramic vs Mesh (Which One Actually Works?) 😵
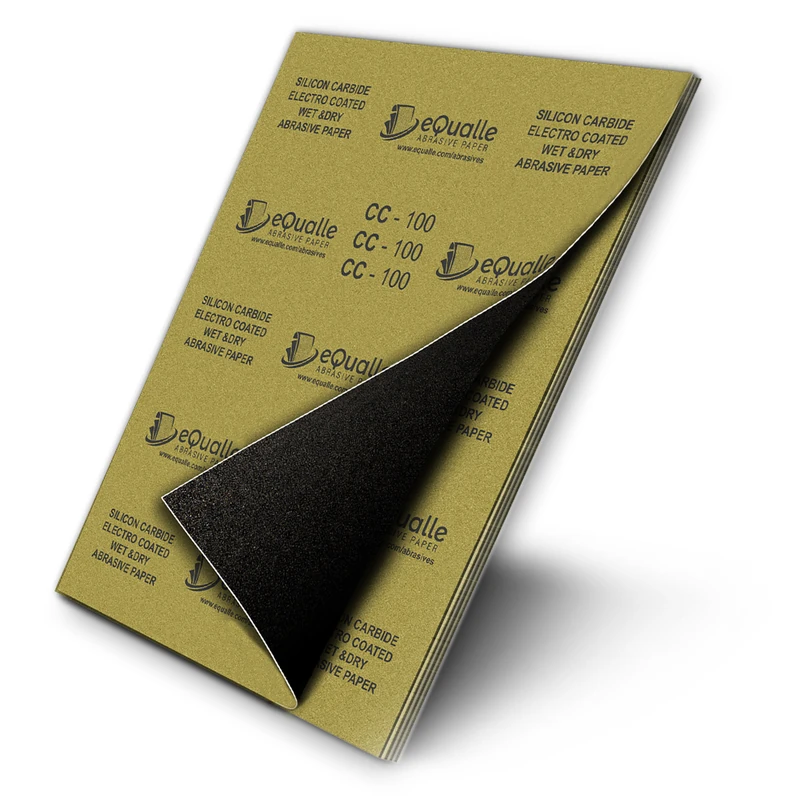
180 Grit Sandpaper Sheets (10-pack) — 9x11 in Silicon Carbide Abrasive for Wet or Dry Use — Medium finishing grit that refines wood, metal, or drywall before painting. Provides even texture and cutting control. Excellent for wet or dry sanding where a uniform surface is needed. (Professional Grade).
Frequently Asked Questions (FAQ)
Q: What interface pad thickness should I use on a 6" ROS for car bumpers and other tight curves?
A: A 10 mm soft perforated pad with P240–P400 is the safest starting point. It conforms to radii, spreads heat, and feathers paint transitions. If the surface has broader sweeps, a 5 mm medium pad can add control without faceting.
Q: Do I really need a perforated interface pad with multi-hole ceramic discs?
A: Yes. A non-perforated pad blocks airflow, raises temperature, and shortens disc life. Perforations maintain extraction, keep ceramic grains sharp, and reduce pigtails by removing fines from the cut zone.
Q: Can I stack two interface pads to get more softness?
A: It’s possible but not ideal. Stacking increases wobble, degrades scratch consistency, and reduces dust capture. If you must, lower speed one step, lighten pressure, and avoid coarse grits. Better is a single, purpose-made 10 mm soft pad.
Q: Why do my ceramic discs leave deeper scratches than expected at the same grit?
A: Ceramic cuts aggressively, especially with a firm or thin pad that concentrates pressure. Use appropriate grit steps (no more than 30–50% jumps), reduce force, and consider a medium or soft pad as you refine. Above P600–P800, switch to film-backed discs for tighter scratch control.
Q: How long should a ceramic disc last, and when do I replace it?
A: On hardwoods and primers, expect 2–4× the life of aluminum oxide under proper extraction. Replace when cut rate drops, the face shows shiny glazed spots, or you see random deep scratches—signs of loaded or fractured grains. Cleaning helps briefly, but a fresh disc preserves finish quality.