
Microfinishing Film Reuse: Limits That Work
It’s late, the shop lights buzz softly, and the bench feels like a map of past projects—faint scars under my hands, a few stubborn specks of compound near the vise. I’ve got two parts left on a small run of stainless bushings, and every pass matters. On the granite plate sits a familiar sheet: my go-to microfinishing film. It’s already paid its dues on several parts, still looks decent at first glance, and the dollar saver in me wants to push it. But then there’s the other voice—the one that remembers the hairline spirals that showed up last month when I got greedy with a tired sheet and spent an hour chasing them out. If you’ve sanded long enough, you know that moment: a tool that helped you all day suddenly turns on you because you didn’t know when to say “enough.”
Microfinishing film punches above its weight. Compared to paper abrasives, it’s flatter, more consistent, and freakishly good at holding size. That’s why we trust it for bearing fits, knife bevels, gauge blocks, injection mold repairs, and guitar fretwork. It’s also why reusing it is tempting—film doesn’t shed like paper, it “loads” differently, and with the right lubricant, it keeps cutting longer than you’d think. But even the most uniform mineral and stable polyester backing have a point of no return. Push past it, and you’ll trade precision for rework, heat, and mystery scratches that haunt your finish.
I’ve battled both sides: wasteful over-caution and penny-pinching that ruined the last part. In this guide, I’ll show you how I set reuse limits you can trust, by reading the film, matching it to the material, documenting results, and building a short shop routine that squeezes safe, repeatable life out of every sheet or roll. No guesswork—just signals you can see, feel, and measure.
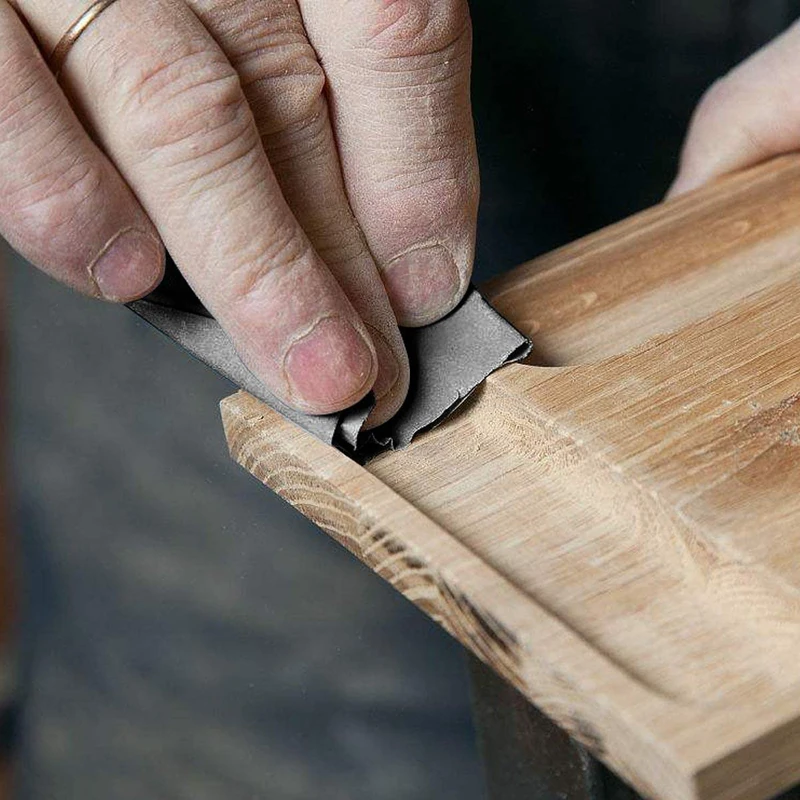
Quick Summary: Reuse your microfinishing film only while it meets finish and size specs; set limits by material and grit, confirm with quick tests, clean correctly, and retire at the first sign of unpredictable scratches or heat.
The moment you must stop reusing
I set reuse limits by watching for three failure signals: finish instability, heat/glaze behavior, and backing breakdown. When any of these show up, that sheet is done—even if it “looks okay.”
- Finish instability is the quiet killer. If a sheet that just delivered a 16 µin Ra suddenly produces random deeper lines or loses uniformity along a pass, it’s not an accident. The mineral is rounding over, or embedded swarf is scoring. One unpredictable defect is a warning; two in a row is retirement.
- Heat and glaze show up when the film skates rather than cuts. You’ll feel extra drag, hear a higher-pitched squeal, and see a darkened trail or rainbowing on stainless. That’s swarf smearing and resin glazing—not only is it not cutting, it’s burnishing junk into the surface.
- Backing breakdown is literal derailment. Watch for edge fray, a whitish haze along the sheet edges, micro-cracks, PSA creep, or Hookit/micro-hook wear. Any of these can create proud edges that carve scratches deeper than your target finish.
A few hands-on checks I use between parts:
- The fingernail glide test: With the sheet flat, slide a clean fingernail lightly across used zones. Loaded areas feel “smooth-slick” rather than grippy. If over half the working area has gone slick, you’re past safe reuse.
- Swipe-and-stare: After a wet pass, squeegee a small window with a plastic card. Uniform sheen = cutting. Patchy, greasy shine = glazing.
- Edge brightness check: Tilt the sheet under a raking LED. Dull, even edges are healthy; bright, reflective edges hint at rolled grit and risk of edge scratches.
Actionable tips:
- Retire immediately after any surprise deep line; don’t try “one more pass to fix it.”
- Track temperature with your fingertips; if it’s too hot to touch comfortably, your film is past its useful bite or needs lubrication.
- Mark the sheet’s working zone with a Sharpie grid; if one square keeps misbehaving, rotate or retire—don’t chase around a bad quadrant.
Abrasive types and backing matter
Not all microfinishing film behaves the same. The mineral, film thickness, and attachment style change how fast it dulls, how it loads, and how often you can reuse it.
- Mineral: Aluminum oxide is the workhorse—fractures modestly, good for steels and aluminum. Silicon carbide is sharper and friable; great on composites, brass, and plastics but can dull faster on hardened steels. Diamond keeps cutting on very hard surfaces (tungsten carbide, ceramics, hardened tool steel) but requires respect—when it loads, it scratches hard.
- Backing: Thicker polyester backers stay flatter under pressure and keep grit geometry stable, extending life—especially for platen or roll setups. Thin, flexible films conform better to shapes (fretwork, radiused edges) but wear faster at edges and corners.
- Attachment: PSA gives maximum flatness but hates heat and aggressive solvent cleaning. Hook-and-loop (or similar micro-hook systems) make swapping and rotation easy; you’ll often extend life simply by frequently changing the load zone.
Lubrication is the quiet hero. Water with a drop of surfactant clears swarf and keeps the cut cool. On some metals, a dedicated lapping fluid or light synthetic coolant can boost life. According to a article, adding water helps keep the abrasive cutting and removes swarf—simple, cheap insurance against premature glazing.
Matching grit to your step-down strategy also changes reuse limits. If you ask a 15 µm film to do a 60 µm job, it’ll load and die early. Respect the sequence: don’t skip more than 2–3 steps in µm or FEPA grades for critical finishes.
Actionable tips:
- Choose diamond only when the workpiece warrants it; on mild steel, it’s expensive overkill and can scratch unpredictably when loaded.
- Label film by mineral and µm; mix-ups cost more than you think.
- For PSA sheets, warm the substrate slightly (not hot) to improve adhesion and flatness; better contact = better life.
- Rotate the working area every part to avoid local wear patterns.
Setting microfinishing film reuse by material
Here’s how I set practical limits for microfinishing film based on real shop behavior. These are starting points—tune them to your tool pressure, coolant, and tolerance needs.
- Hardened tool steel (58–62 HRC), diamond 9–15 µm: Expect 2–5 parts on a small planar area (say 25–50 cm² of contact per part) with wet lube and moderate pressure. On dry passes or heavy pressure, cut that in half. Any rainbowing or squeal? Retire immediately.
- Stainless 304/316, aluminum oxide 15–30 µm: 6–12 parts if wet, light to moderate pressure, and no aggressive edge contact. Watch for smearing lines; if they appear, you’ve got loading—clean or retire.
- Aluminum alloys, aluminum oxide 30–60 µm: 8–20 parts with a surfactant-laced water lube. Aluminum loads fast; frequent light cleaning between parts doubles life. If your film turns gray-slick across the center, it’s done.
- Brass/bronze, silicon carbide 15–30 µm: 5–10 parts wet. Over-polishing can create a false shine that hides scratches; check under cross-light.
- Plastics/acrylic, silicon carbide 9–15 µm: 10–20 parts with a gentle touch and water. Any haze or melt indicates heat—back off or swap film.
- Composites/carbon fiber, silicon carbide 15–30 µm: 4–8 parts; edges chew film quickly. Rotate aggressively and avoid digging corners.
For woodworking tasks like fretwork or resin-filled hardwoods, a flexible film shines—but edges roll fast. I rarely push beyond 6–8 fret levels per 9–15 µm film, and I clean after every neck.
A reliable way to dial these in:
- Start with the conservative count above.
- After each part, run a fast witness test (10-second pass on a scrap coupon) and check under a raking light or 10× loupe.
- If finish remains uniform and temperature stays cool, add one more reuse. The first time you see any unpredictability, lock that count as your limit for that setup.
- Document the combo: material, grit, lube, pressure (light/med/heavy), machine/hand, and your safe reuse count.
Actionable tips:
- Never exceed two passes at the finishing grit on hardened steels; more passes rarely help and often load the film.
- Use smaller, dedicated strips for edge work; keep your “flat work” film separate so edges don’t poison your finish.
- When in doubt, drop pressure and add lubrication before you blame the film.
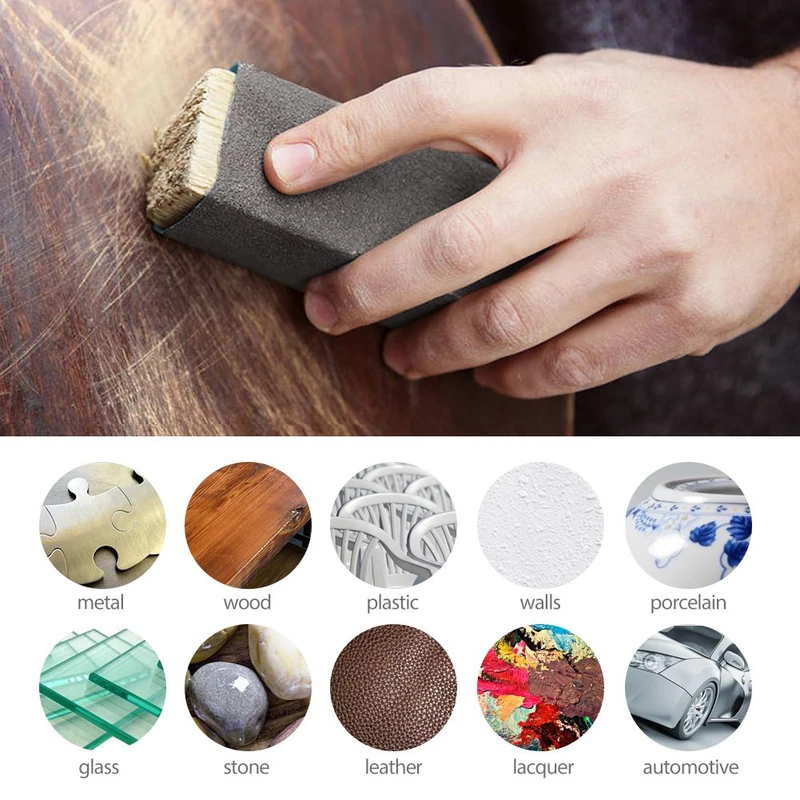
Test, clean, and store for longer life
A simple shop routine adds safe cycles to every sheet—without crossing the line into false economy. I use a three-part method: prove the cut, clean what matters, and store like it’s a precision tool.
Step 1: Prove the cut
- Witness coupon: Keep small rectangles of the same material beside the machine. After each part, take 5–10 seconds to make a controlled pass. Inspect under a raking LED and, if available, a 10× loupe. Expected sheen and scratch uniformity? Keep going. Any rogue line or greasy-looking burnish? Stop and assess.
- Consistency check: If your last two witness coupons don’t match in sheen or scratch depth, retire the film. “Maybe it’ll settle” is how you wreck the last part.
Step 2: Clean what matters
- For metals: Rinse with water plus a drop of dish soap, then squeegee with a plastic card. Light brushing (soft nylon) helps lift swarf. Compressed air at a shallow angle removes stubborn debris. Avoid strong solvents on PSA; isopropyl alcohol in moderation is safer on the mineral side, but keep it off the adhesive.
- For plastics/composites: Use water only, no alcohol—avoid swelling or static that drags dust.
- For diamond films: Clean more often, not harder. Aggressive scrubbing can fracture exposed diamond and change the cut pattern.
Step 3: Store like a gauge
- Dry thoroughly before storage. Moisture trapped between film and liner creates micro-corrosion in embedded metals and weakens some adhesives.
- Use sleeves or folders labeled by grit, mineral, and “cycles used.” Flat storage beats rolled unless you’re managing long strips for a roll machine.
- Keep away from heat and sunlight; polyester is tough, but adhesives aren’t invincible.
Actionable tips:
- Add a single drop of biodegradable surfactant to your water bottle; it buys cooler, cleaner cuts.
- Squeegee, don’t wipe; wiping fingers load the surface with oils.
- Label with a Sharpie: “304 SS | 15 µm AO | 5 cycles | Wet” so your next session starts informed.
- If a sheet falls on a dirty floor, retire it. Grit contamination is invisible until it’s too late.
PDE Microfinishing GEM — Video Guide
There’s a short YouTube piece, published in 2012, showing a GEM microfinishing setup running controlled strokes with abrasive film. It walks through the mechanics—steady pressure, oscillation, and fluid delivery—so you can see how the film engages the surface rather than skating.
Video source: PDE Microfinishing GEM Video
1000 Grit Sandpaper Sheets (25-pack) — 9x11 in Silicon Carbide Abrasive for Wet or Dry Use — Light polishing grit for removing swirl marks and fine scratches. Commonly used in automotive finishing, plastic restoration, and resin art. Delivers a consistent semi-gloss surface ready for final polish. (Professional Grade).
Frequently Asked Questions (FAQ)
Q: How many times can I reuse microfinishing film?
A: It depends on the material, grit, lubrication, and pressure. As a starting point: hardened steel with 9–15 µm diamond, 2–5 parts; stainless with 15–30 µm AO, 6–12 parts; aluminum with 30–60 µm AO, 8–20 parts; plastics with 9–15 µm SiC, 10–20 parts. Retire at the first sign of unpredictable scratches, heat glaze, or backing damage.
Q: Can I wash film with solvents to extend life?
A: Use water with a tiny amount of surfactant for most cleanup. Avoid strong solvents on PSA-backed films; they can weaken adhesive and cause creep. A light isopropyl mist on the abrasive side is okay for metals—keep it off the adhesive and test first.
Q: Why do random scratches appear late in a project?
A: That’s usually embedded swarf or rolled-over grit acting like a plow, or an abraded edge on the film catching the surface. If a surprise deep line shows up, retire the sheet immediately; trying to “fix” it with the same film often makes it worse.
Q: Does microfinishing film expire in storage?
A: The mineral doesn’t expire quickly, but adhesives and backings age. Heat and UV accelerate this. Store flat, dry, and cool. If PSA feels gummy or the film edges look cloudy or brittle, don’t use it for critical work.
Q: Is microfinishing film better than sandpaper for reuse?
A: For precision work, yes. Film’s flat polyester backing and tightly graded mineral keep scratch patterns consistent, so it often outlasts paper at the same grit—especially when used wet and cleaned properly. But once it shows instability, retire it just as decisively.