
Epoxy Sanding: When to Switch to Polishing
If you’ve ever stood over a resin table or countertop, coffee cooling by your elbow, and wondered whether the cloudy surface will ever turn to glass, you’re not alone. The moment between sanding and polishing is where the magic happens—or falls apart. I remember watching a friend chase a handful of stubborn swirls that only appeared when the morning sun flooded the shop. Under shop lights, the piece looked perfect. In daylight, a constellation of micro-scratches danced across the surface like static. That’s when it hits you: finishing isn’t just a step; it’s a craft you feel as much as you see.
Epoxy rewards patience and punishes shortcuts. The temptation to jump straight to a buffing pad is strong, especially when the surface “seems good enough.” But the secret to a glassy, professional finish isn’t a miracle polish—it’s disciplined epoxy sanding and knowing exactly when the surface tells you it’s time to switch. In other words, it’s about learning to read scratch patterns like a roadmap. When those scratches are uniform at a given grit and you’ve erased the ghosts of the grit before, the transition to polishing becomes simple, predictable, and fast.
This piece is for makers who want that moment of quiet satisfaction when the haze drops away and a depth of clarity floods in. I’ll show you how to recognize a true uniform scratch pattern, choose the right grit sequence, apply the right pressure and motion, and confirm readiness with quick, low-tech checks. You’ll get practical tips you can use today—on a river table, a bar top, a jewelry blank, or a turned form—and a clear cue for when to stop sanding and start polishing. By the time you’re done, you’ll know, not guess, when to move on.
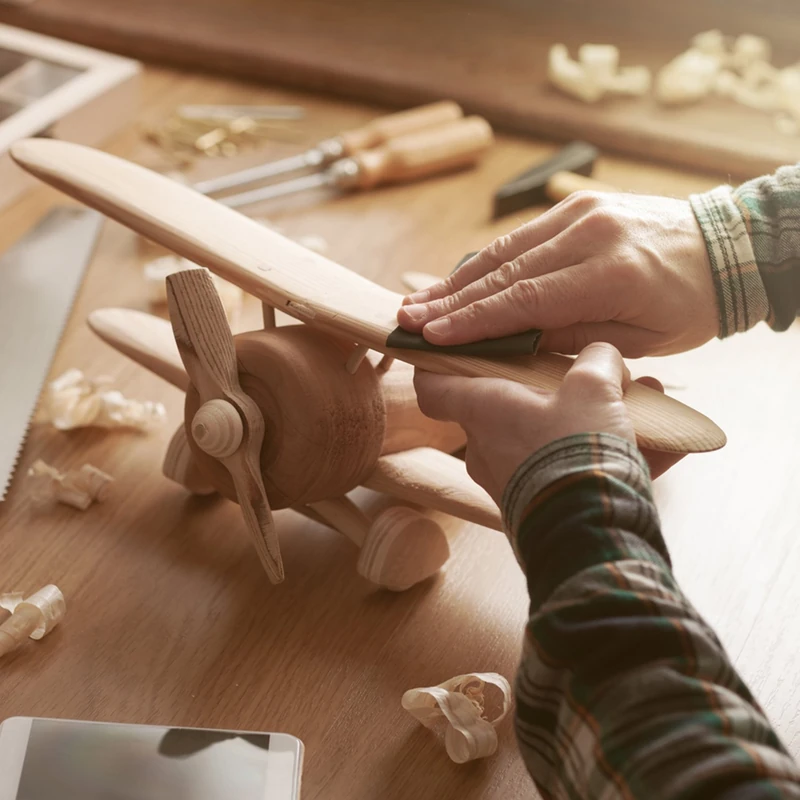
Quick Summary: Create an even, uniform scratch pattern at each grit, confirm it with simple checks, then switch to polishing only when no previous-grit lines remain.
From Cloudy to Crystal: The Finish You Feel
Uniform scratch means the entire sanded area shows a consistent, even haze with no deeper lines telegraphing through. It’s less about “perfectly smooth” and more about “perfectly consistent.” When your scratch pattern is uniform, polishing compound has only one job: refine the micro-roughness left by your final sanding grit. If any coarser scratches remain, polishing will make them shinier—but not invisible.
Here’s how to see and feel uniformity:
- Shift your lighting. Use a strong raking light at a low angle (a headlamp or flashlight works). Rotate the piece and your body to scan from multiple directions. A random scatter of equally fine lines is good; longer, directional lines that stand out are not.
- Try the wipe test. Lightly mist with water or isopropyl alcohol and squeegee with a clean rubber blade. Dark “worm trails” under the water film are deeper scratches that your current grit hasn’t erased.
- Use a pencil grid. Lightly draw a cross-hatch grid over the surface. Sand until all lines disappear uniformly. If ghosted pencil remains in low spots, you’re not flat or consistent yet.
- Read by touch. Wipe clean, then pull a nitrile-gloved fingertip across the surface. Inconsistencies can read like intermittent grabby or slick patches—even when your eye is fooled.
Actionable tips:
- Keep a dedicated inspection light within arm’s reach and review after every 1–2 minutes of sanding.
- Work in small zones (about 1–2 square feet) until uniform, then overlap zones by a palm’s width to blend.
- Don’t jump grits until at least 90–95% of the area shows the same, even haze with no standout tracks.
- If a deeper line persists, stop and spot-correct at the current grit—do not hope the next grit will fix it.
Mastering scratch patterns in epoxy sanding
Epoxy behaves differently from wood or metal. It’s comparatively soft, heat-sensitive, and prone to clogging abrasives. That means your scratch pattern is shaped by three habits: motion, pressure, and cleanliness.
- Motion: A randomized orbital sander helps, but your path still matters. Sand in slow, overlapping passes. Alternate your pass direction with each grit (a cross-hatch approach) so new scratches “interrupt” the previous grain and make it easy to see when the old ones are gone. This change in direction is your visual cue for when to switch grits—and ultimately, when to polish.
- Pressure: Let the abrasive cut. More pressure often compounds heat, clogs discs, and smears epoxy rather than abrading it. Use just enough contact to keep the pad engaged. If your sander bogs or the pitch changes, you’re pressing too hard.
- Cleanliness: Dust breeds invisible scratches. Wipe and vacuum between grits, swap to a fresh disc before it deadens, and consider a foam interface pad to conform over minor waves without cutting trenches.
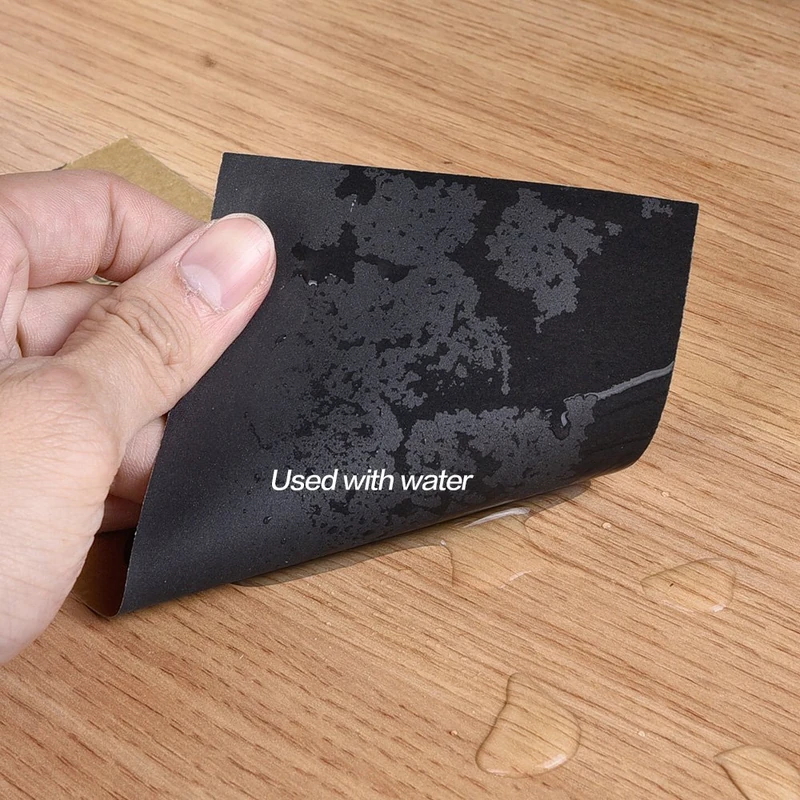
Wet vs. dry? Wet sanding can reduce clogging and heat, especially from 600 grit upward, but it also hides scratches during the process. If you go wet, finish each grit with a thorough rinse and a dry, lint-free inspection before moving on. Whether wet or dry, keep a sample board nearby and mirror your exact steps there. It becomes your benchmark for “uniform” and saves you second-guessing on a client piece.
Pro move: Use a fine-point permanent marker to circle any defects you can see at your current grit. Sand until the mark—and its underlying flaw—disappears, then re-inspect from another angle. If you can no longer find the spot under raking light, you’re ready to step up.
Grit progressions that save time
The most efficient path isn’t about skipping grits; it’s about picking the right starting point and not advancing until your scratch is uniform. For leveled pours and minor surface issues, consider this progression:
- Leveling and flattening: 120–150 grit (only if you need to remove high spots, runs, or nibs). If your surface is already flat, don’t start this low.
- Establishing a consistent base: 180–220 grit. At this stage, the entire piece should share one uniform haze.
- Refinement: 320 → 400 → 600.
- Pre-polish smoothing: 800 → 1000 → 1200/1500.
When do you switch to polishing? After you’ve achieved a truly uniform scratch at 1000 to 1500 grit. If you’re using foam-backed abrasives like Abralon, 1000 or 1200 often balances time and clarity well. Your final pre-polish grit should leave an even, matte sheen with no directional lines. Do the wipe test and raking-light inspection. If you see nothing but a uniform mist, you’re ready.
A practical cue: each grit should take less time than the one before. If a later grit is taking longer, it’s often a sign you advanced too soon and you’re trying to remove coarser scratches with too-fine paper. Drop back one or two grits, re-establish uniformity, then climb again. It feels like a setback but saves time overall.
On compounds and pads: Pair your final pre-polish grit with a medium-cut compound and a firm foam pad, then follow with a fine compound on a softer pad. Always clean between stages. If haze lingers after the medium cut, it’s a sign of remaining coarser scratches—go back a grit in sanding rather than hammering with more compound.
According to a article
Tools, pads, and pressure control
Your tools shape your scratch pattern just as much as your technique. A 5- or 6-inch dual-action (random orbital) sander is the workhorse for most epoxy surfaces. Add a 5 mm foam interface pad when you move above 400 grit; it helps the disc contour gently and reduces sharp pressure points that can carve arcs or leave pigtails.
Set your speed thoughtfully. Mid-range RPM or OPM is usually best; running flat out increases heat and can embed dust into the resin, making later scratches stubborn to remove. If your sander has a dust extraction port, use it. Cleaner abrasives cut cooler and leave more predictable, uniform scratches.
Edges and curves need special attention. On edges, reduce pressure and make lighter, more deliberate passes to avoid rolling over and cutting a groove. On inside curves or small objects, hand-sanding with a soft block keeps your pattern honest and avoids chatter. A folded foam pad or micro-finishing sheet can keep contact even and reduce localized scratch density.
Actionable tool tips:
- Replace discs early, especially from 320–600 where clogging is common; a dull disc smears and creates random deep lines.
- Keep a dedicated “finish” interface pad for grits 600 and up—avoid cross-contamination from coarse dust.
- For polish prep, a quick pass with 1000–1500 grit foam-backed discs (light pressure, slow passes) creates a uniform, shallow scratch that buffs fast and clean.
- If you see “pigtails,” stop immediately—vacuum, replace the disc, and spot-sand the defect at the current grit before moving on.
Finally, temperature matters. Warm resin softens slightly, increasing the risk of clogging and smearing; extremely cold resin can chip or scratch unpredictably. Aim for a moderate shop temperature, and give recently poured pieces full cure time per the manufacturer before sanding to prevent gumming and tracks you’ll chase for hours.
Cleanliness, light, and troubleshooting
A perfect polish is born in the cleanup between grits. Every time you step up, do a deliberate reset: vacuum the surface and pad, wipe with a clean, slightly damp microfiber, and inspect under raking light. Any leftover dust particles behave like rogue coarse grits, carving random tracks that mask as “mystery swirls” in the final polish.
Lighting deserves intention. Overhead light is deceptive; it flattens shadows and hides valleys. Use side-light from multiple angles and switch locations if you can—what hides under LEDs may glare under sunlight. Experienced finishers keep a small flashlight clipped to a pocket; that low-angle beam is the cheapest quality-control tool you’ll ever own.
Troubleshooting patterns:
- Milky haze after polishing: Usually coarser scratches remain. Drop back to 800 or 1000, re-establish a uniform scratch, and re-polish.
- Random curved “pigtails”: A grain of dust or a nicked disc. Clean thoroughly and replace the abrasive. Spot-correct at the current grit.
- Glossy low spots amid matte zones at a given grit: You’re not flat or you’ve applied uneven pressure. Re-level with a coarser grit until the whole area sands uniformly.
- Swirl marks appearing only in sunlight: They’re there at every stage; add a cross-hatch pass and use the wipe test at each grit. Don’t move on until they vanish.
Actionable cleanup tips:
- Use fresh, high-quality microfiber cloths reserved only for finishing; launder without fabric softener.
- Keep a bottle of distilled water with a drop of dish soap for a controlled wet-wipe that highlights remaining lines without leaving residue.
- After each grit, blow out the sander pad with clean compressed air to eject embedded dust.
- Clean the environment: a quick vacuum of the bench and floor before the final two grits dramatically reduces contamination.
Remember, the decision to switch to polishing after uniform scratch isn’t a guess. It’s a checklist: even haze, no directional lines, clean wipe test, and consistent feel under a gloved fingertip. Meet those criteria, and polishing becomes a swift, satisfying reveal rather than a wrestling match.
How to sand — Video Guide
A concise tutorial walks through a streamlined approach to sanding and polishing epoxy without wasting time. The host demonstrates how to choose a sensible starting grit, create a clear cross-hatch pattern, and confirm when the surface is ready to step up. You’ll see how small changes in pressure and pad choice shorten the process dramatically.
Video source: How to sand and polish epoxy resin like a pro and save time!
1000 Grit Sandpaper Sheets (50-pack) — 9x11 in Silicon Carbide Abrasive for Wet or Dry Use — Gentle polishing grit that removes swirl marks and fine scratches on automotive or resin finishes. (Professional Grade).
Frequently Asked Questions (FAQ)
Q: How long should I wait before sanding a fresh epoxy pour?
A: Follow the product’s full cure time—often 48–72 hours at 20–25°C (68–77°F). Cooler temps or thicker pours can require more time. Sanding too soon causes gumming and erratic scratches that are hard to erase. Always do a fingernail test on an offcut; it should not dent.
Q: What proves I’m ready to switch from sanding to polishing?
A: A uniform, even haze at 1000–1500 grit with zero visible lines from previous grits. Confirm with a raking-light inspection and a mist-and-squeegee wipe test. If you can’t spot any deeper tracks from multiple angles, polishing will be fast and clean.
Q: Is wet sanding better for epoxy than dry sanding?
A: Both work. Dry sanding is easier to inspect in real time and pairs well with dust extraction. Wet sanding (especially 600 and up) cuts cooler and resists clogging but can hide scratches until the surface dries. If you go wet, fully rinse and dry before advancing grits.
Q: What compounds and pads should I use after 1200–1500 grit?
A: Start with a medium-cut compound on a firm foam pad to remove the uniform micro-scratch, then refine with a fine finishing compound on a softer pad. Keep pads clean, use light pressure, and work small sections. If haze persists, drop back to sanding rather than pushing compound harder.
Q: Can I jump from 400 grit straight to polishing?
A: Not if you want a professional finish. At 400, scratches are too deep; polish will only make them shiny. Step through 600, 800, and 1000–1500 (or equivalent foam-backed grits) to create a shallow, uniform scratch that buffs out quickly and completely.