
Boat sanding slurry control: protect your space
There’s a quiet that settles over the yard before the sander sings. Early light, a thermos on the trailer fender, the hull beaded with dew. I’ve watched plenty of Saturdays start this way—intentions sharp, paper fresh, and then, twenty minutes in, that familiar gray stream works its way off the chine, down the strake, and sneaks across your masking like it has legs. Boat sanding can turn into a neighborhood event for all the wrong reasons: speckled canvas covers, stained lines, a driveway full of chalky footprints. Worse, slurry reaches storm drains faster than you can say “who’s got the shop vac.” I’ve learned—often the hard way—that the difference between a tidy, professional job and a yard-wide mess happens before the trigger’s pulled. Map the zone, mask the right places the right way, set capture points, and pace your sanding so the mess never gets to travel. This isn’t about overkill; it’s about working smarter so you finish faster, with less rework, and leave zero trace except that leveled, ready-to-finish hull.
As a workshop and DIY specialist, I’ll walk you through a field-tested plan: build simple containment that actually holds up to water and grit, run a wet-sanding workflow that creates neat, collectible slurry, and dispose without drama. We’ll talk grits and gear, sure—but mostly we’ll talk about protecting everything around the boat from the very first pass. You’ll get steps, not theory, and the kind of small-shop hacks you can set up in an hour with materials from any hardware aisle. Do this once and you won’t go back to tarps flapping and towels sacrificed to the cause.
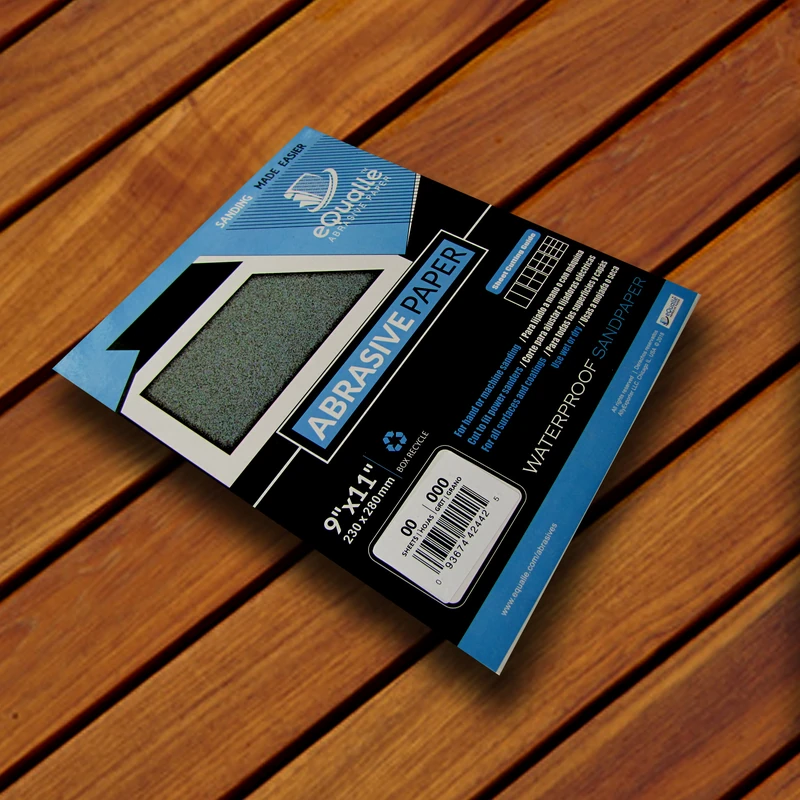
Quick Summary: Keep slurry from traveling by planning the zone, sealing off edges, working in controlled wet-sanding lanes, capturing runoff at the floor, and filtering before disposal.
Plan the zone and mask like a painter
Before you pull paper, decide where the slurry is allowed to go. That sounds obvious, but most messes start with wishful thinking and a few strips of blue tape. I plan the zone like a paint booth: an inside (boat, tools, me) and an outside (everything else). If you’re on a trailer, start by parking so gravity is your ally—bow a touch high, so water moves toward your chosen capture side. On stands, use pads and shims to create a slight list toward a side you can control.
Now mask. Not a quick line; real edge sealing. Use 9–12 inch masking film or poly sheeting around hardware, rub rails, and brightwork, then lock it down with a UV-stable automotive masking tape. For underbody work, run a skirt of 3–4 mil plastic around the hull at the waterline and let it drape to the ground; tape the top edge tight and weight the bottom edge with light chain or spring clamps. This skirt becomes your first catch point.
Isolate anything within splash range. Tires, winches, trailer bunks, and especially neighbor boats or cars: drape them with reusable canvas drop cloths over a plastic layer so water doesn’t wick through. If you’re under a rack, clip sheeting to joists with binder clips and magnets; you’re making a room, not a flag in the wind. Walk the perimeter and close all “flash flood” routes—gaps at corners, low spots where plastic lifts. Pay attention to corners; water will find them. Add a ground-level berm using foam backer rod or pool noodles under the sheeting, pinned with duct tape “staples.” You’re building a shallow tray around your work area.
Finally, stage capture tools before you start: a wet vac with a clean filter and a liner bag, a wide squeegee, a five-gallon bucket set with a filter sock, and absorbent pads. If they’re not within reach, you won’t use them fast enough when the slurry starts to move.
Containment tactics for boat sanding slurry
Containment is two parts: an envelope that keeps slurry in, and touchpoints that keep it from escaping under pressure. The envelope is your sheeting, tapes, and simple structure. The touchpoints are weighted hems, zip seams, and drains you control.
Frame a light enclosure if you can. A half-cage from 1/2-inch PVC and elbows gives plastic something to hold onto; space uprights every 3–4 feet and zip-tie sheeting on the windward side so it doesn’t drum loose. Where plastic meets hull, prefer automotive fine-line tape as your first contact on gelcoat—it seals better along curves—then over-tape with standard masking for strength. If you’re working near hardware or toe rails, tuck narrow strips of plastic under the rail and tape both sides; that “U” catch stops capillary creep.
At the floor, that foam berm becomes your friend. Turn your drip skirt into a kiddie pool by folding its bottom edge inward to form a lip; clamp every 18 inches. In corners, tape “gull wings” from scrap plastic that fold up and funnel liquid to a single side. Place a shallow tray—an oil drain pan or a mortar mixing tub—at that low side as your sump. The goal is not perfect waterproofing; it’s slow flow that gives you time to vacuum and squeegee as you go.
Work in lanes. Don’t sand the whole hull at once. Divide into 3–4 foot sections with painter’s tape markers. Keep your spray bottle or hose flow low; you want a creamy paste, not a river. After a few minutes in a lane, stop and pull the slurry with a floor squeegee toward your sump. Vacuum the pooled slurry before you start the next lane. This cadence is everything—collection is ten times easier when the material is still wet and mobile.
Targets beyond the hull matter, too. Sling a scrap of plastic over dock lines and cleats. Tape a “gutter” above the rub rail with a strip of plastic folded lengthwise into a V; it catches shoulder-height spray. And if you share space, post a friendly sign with times you’ll be wet sanding. Expect a thank-you, and fewer interruptions while you’re in the zone.
Wet-sanding workflow that keeps mess small
A tight workflow can cut your slurry footprint in half. I set out two buckets: one with clean water and a dash of biodegradable soap (reduces surface tension and keeps paper from loading), and one with a 200-micron mesh bag or paint strainer clipped to the rim for rinsing the squeegee and tools. Pre-soak your wet/dry sheets so they flex and track. If you’re knocking oxidation, start around 800–1000 grit; if you’re fairing or deglossing antifoul, you might be in the 80–180 range—just expect heavier slurry and plan for slower, smaller lanes.
Use an interface pad on your sander to even pressure and reduce gouging. On curved sections, switch to a soft hand block to keep control and stop “chatter” that splashes. Keep water flow minimal: a light mist ahead of the pad, not a hose blasting behind it. Let the sander do the work—speed 3–4 on a random orbit, light pressure. Watch the slurry color; when it stays consistently gray or colored with old paint, you’re cutting. When it turns milky or clears, you’re hydroplaning and need new paper or a fresh mist.
Every two minutes, pause and pull slurry downslope with your squeegee toward your sump. Hit your high-risk edges—transom, chines, steps—with a quick wipe so drips don’t form runners. Keep your wet vac nozzle parked at the low point and cycle it on after each lane. If you’re using a vacuum sander, run it with a HEPA vac and a cyclone pre-separator; it won’t catch water, but it will collect misted fines if you’re in a damp-sanding mode rather than fully wet.
Grit progression is where many folks overwork and spread mess. If you choose the right starting grit, you won’t need extra passes. Test a 1x1 foot patch; if 600 doesn’t cut oxidation in 10–12 strokes, drop to 400 for the first pass and come back up. Mark each lane with your current grit on painter’s tape; it keeps you honest.
According to a article
Capture, filter, and dispose the right way
Consider slurry a material you’re shepherding, not trash you’re chasing. You want solids separated from water, both contained, and nothing near a storm drain. Your floor plan gave you a sump; now give it a filter path. Line your wet vac canister with a contractor bag, then fit a pleated filter and a clean pre-filter sock; you’ll avoid turning the vac into a cement mixer. Vacuum the pooled slurry first while it’s still in motion.
For hand tools and squeegee rinse, pour the gray water through a paint strainer bag into a bucket. Let it settle for an hour, then decant the clearer top layer back through a finer filter (50–100 micron). If you’re doing a big job, a stack of nesting buckets with progressively finer filter bags turns into a gravity clarifier; solids stay in the socks, water gets reused for the next round of rinsing. Add a tablespoon of gypsum or a commercial flocculant if fines refuse to settle; stir and wait.
What about disposal? The solid goo—once drained—can go into sealed containers per your local rules (often treated like dried paint waste). The clarified water, if truly clear and pH-neutral, may be acceptable for sanitary drains, but always check marina or municipal guidance first. Never let anything head for a storm drain. Keep oil-only pads out of this; they’re not designed for water-heavy slurry and will just make a mess. Instead, keep a stack of general-purpose absorbent mats for drips that escape your berm, and bag them immediately.
Label waste, date it, and take photos of your containment for your records—handy if a harbormaster asks, and a good habit if you’re doing this for clients. The point is simple: your work should look clean while you do it, and the ground should look like you were never there when you’re done.
Tools, tapes, and hacks I trust in the yard
I don’t romanticize gear—if it works, it stays in the kit. These are the items that consistently help me protect surroundings and keep slurry where it belongs.
- Masking that seals: Use automotive fine-line tape for first-contact edges, then overlap with high-tack, UV-stable tape. Pair with 3–4 mil poly sheeting for skirts and a light canvas overlayer to stop splash-back.
- Smart berms: Foam backer rod or pool noodles taped under sheeting build quick, gentle berms. For corners, pre-make V-shaped “spouts” from duct-taped plastic to guide flow to your sump.
- Weighted hems: Slip light chain or steel rod into a folded hem at the bottom of your plastic; it won’t flap, and slurry rides down the weight to your tray.
- Squeegee and vac rhythm: A 24-inch floor squeegee plus a lined wet vac with a clean filter beats towels every time. Move slurry while wet; vacuum each lane before beginning the next.
- Cyclone pre-separator: If you run a vacuum sander for damp or dry work, a small cyclone upstream of your HEPA vac keeps filters alive and fines out of your lungs.
A few pro-level hacks:
- Binder clips and rare-earth magnets are your third hand; clip plastic to rails, beams, or trailers fast—and it stays.
- Use painter’s tape to label grit, lane numbers, and “drain side.” You’ll work faster and avoid crossing wet slurry paths.
- Keep a bucket of clean water with a drop of soap strictly for wiping your gloves and tool handles; clean hands equal fewer accidental smears on clean surfaces.
- Build a “gutter” above your rub rail with a folded strip of plastic; it captures shoulder-height spray and returns it to your skirt.
- Stage a dedicated “dirty tools” bin so nothing wet and gritty migrates onto seats, covers, or into the cab of your truck.
Finally, wear what helps you move: light Tyvek suit, nitrile gloves, and knee pads you don’t mind getting wet. The more comfortable you are, the less you’ll shortcut the containment steps that keep the yard pristine.
Your Guide to — Video Guide
If you like to learn by watching, there’s a solid walk-through on wet sanding for oxidation removal and gelcoat restoration that mirrors the workflow I teach. It covers choosing sensible grits, managing water so you’re cutting not floating, and reading the slurry to know when to switch papers. Just as important, it shows controlled, small-lane sanding and frequent squeegee passes—habits that keep slurry pooled where you can capture it. You’ll also see how consistent pressure and a clean interfac
Video source: Your Guide to Properly Wet Sanding a Boat for Fiberglass Oxidation Removal & Gelcoat Restoration
280 Grit Sandpaper Sheets (50-pack) — 9x11 in Silicon Carbide Abrasive for Wet or Dry Use — Fine abrasive for leveling varnish or clear coats with precision. Creates a refined surface before high-gloss finishing. Performs reliably on wood, resin, or painted materials in wet or dry conditions. (Professional Grade).
Frequently Asked Questions (FAQ)
Q: How do I keep slurry from staining canvas covers and lines?
A: Double-layer those areas: plastic closest to the work, canvas over the plastic to absorb splash. Tape edges tight with UV-stable tape, and add a folded plastic “gutter” above the rub rail to intercept shoulder-height spray. Clean any accidental hits immediately with a damp microfiber and mild soap.
Q: Is a hose better than a spray bottle for wet sanding?
A: A low-flow spray bottle or mister is usually better. You want a creamy paste under the paper, not a river. Excess water spreads slurry, reduces cutting, and overwhelms your capture berms. Mist the area ahead of the pad, refresh lightly as needed, and squeegee every couple of minutes.
Q: What’s the safest way to dispose of sanding slurry?
A: Vacuum wet slurry into a lined wet vac, strain tool rinse water through paint strainer bags, and let solids settle. Bag drained solids per local guidance and never discharge to storm drains. Check marina or municipal rules before sending any clarified water to a sanitary drain.
Q: My masking keeps lifting on compound curves—fixes?
A: Start with automotive fine-line tape along the curve, then bridge it with standard tape. Warm the surface slightly with a heat gun on low before taping, press edges with a squeegee, and avoid stretching the tape around tight radii. If in doubt, add a narrow strip of plastic tucked and taped under rails to catch capillary creep.
Q: Can I combine vacuum sanding and wet sanding to reduce mess?
A: Yes—use a damp sanding approach with a shrouded random-orbit sander connected to a HEPA vac. Mist the surface lightly so dust binds without pooling. It won’t replace full wet-sanding for heavy oxidation, but it dramatically reduces airborne fines and keeps slurry volumes low.