
Matching Finish Goals with Silicon Carbide Sandpaper
The first pass looked perfect in the shop lights. The repainted quarter panel wore a uniform gray haze after a 1500-grit wet block, but by sunrise the shallow swirls read differently in natural light—tiny arcs telegraphed under the gloss, telling the truth that the scratch pattern hadn’t been fully refined. Anyone who chases final finish knows that moment: the tug-of-war between “good enough” and the discipline to back up a step, reset the surface, and earn the clarity. Whether you’re flattening a guitar body’s pore-filled lacquer, denibbing a fresh epoxy coat on a countertop, or prepping an aluminum mast for a satin wrap, finishing is the art of intentional scratch creation and controlled scratch removal. Choosing the right grain is the simplest way to stack the odds in your favor.
If that quarter panel is your canvas, silicon carbide sandpaper often becomes your scalpel. Its sharp, friable grain leaves a tight, shallow scratch that disappears predictably as you climb grits, especially in high-solids clear or single-stage paint. But SiC is not a universal answer. On a welded bracket in heat-treated steel, zirconia alumina would outlast it and cut cleaner under pressure. In hardwood, a high-quality aluminum oxide may track straighter and load less at medium grits. The common thread across all of these materials is intent: define the finish you want, then spec the grain, backing, stearate, grit scale, and lubrication that deliver that finish with the least time and rework.
Matching grain to finish goals is a workflow decision more than a product choice. It blends material hardness, coating chemistry, and tool dynamics with measurable outcomes like Ra, Rz, DOI (distinctness of image), and gloss. Done correctly, your sanding stack is not a guess; it’s a controlled sequence that trades scratches for smaller, more uniform scratches until they become optical flatness. And if the light at sunrise still tells you otherwise, you know exactly which step to repeat.
Quick Summary: Define the target finish first, then pick the abrasive grain, grit jumps, backing, and lubrication that will produce the needed scratch geometry with minimal rework.
Define the finish, then choose the grain
Finishing is engineering by other means: specify the outcome, then build backward to the first scratch. Start with the target. Is it a “buff-and-done” clearcoat with 95+ gloss and high DOI, a paint-ready metal surface with uniform 180-grit tooth, a furniture-grade satin (sheen 25–35), or a non-directional #4 brushed stainless? Each finish implies a final scratch geometry and depth that must be created and then erased in controlled stages.
Translate that target into measurable parameters. For coatings, think in terms of scratch visibility after polish and the risk of ghosting or pigtails; for bare metals, think Ra and directionality; for wood, consider grain rising and pore behavior. From there, choose the grain family that yields the right scratch character under your tool’s pressure and motion:
- Aluminum oxide (AlOx): tough and durable across woods and soft metals; leaves a consistent, moderate-depth scratch at most medium grits.
- Silicon carbide (SiC): very sharp, friable, excels in brittle or hard coatings and mineral-bearing substrates; ideal for wet finishing and refined scratch geometry.
- Zirconia alumina: self-sharpening under high pressure; best for heavy stock removal on metal or aggressive leveling.
- Ceramic alumina: engineered microfracture for extreme pressure and heat; great on stainless, Inconel, and hard castings.
Design your grit progression around the largest necessary scratch you can later remove efficiently. As a rule, keep your jumps tight enough to erase the prior valley depth in one to two full passes—roughly a 30–50% jump in P-grade is safe for high-visibility finishes. On a DA sander, close the loop: align the tool’s orbit, pad durometer, and interface thickness to modulate pressure and scratch planarity. High-build coatings and soft substrates appreciate a softer interface; harder surfaces reward a firmer pad that flattens rather than follows.
Finally, commit to a verification method. Use a raking light and a contrasting guide coat, or quantify surface roughness with a handheld profilometer. The fastest way to a flawless finish is refusing to guess.
When silicon carbide sandpaper is the edge
Silicon carbide (SiC) distinguishes itself by hardness (≈9.5 Mohs) and a needle-sharp crystalline morphology that fractures into fresh points. The net effect is a cool, fast, shallow cut with a fine, tightly spaced scratch—precisely what you want in brittle, glassy, or high-solid films like automotive clear, urethane primers, polyester gelcoat, and conversion varnish. Its waterproof backings and stearated coats make SiC the go-to for wet sanding, where water or a mild surfactant-lubricated solution carries swarf and mitigates loading.
On pigments and clearcoats, SiC sheets or discs in P800–P3000 excel at flattening orange peel and leveling nibs without plowing in deep grooves that demand excessive compound. In composites, SiC maintains edge definition at low pressure, reducing the risk of resin smear. On non-ferrous metals—aluminum, brass, copper—SiC cuts cleanly, but monitor loading; a light stearate and wetting fluid keep it honest. On mineral substrates (glass, stone, ceramic), the hardness match is ideal, and SiC retains bite where AlOx dulls.
Compared with AlOx, SiC’s life is shorter in coarse grits on tough metals—the same friability that makes its finish so clean causes faster breakdown under heavy force. Against zirconia, SiC loses in sustained, high-pressure stock removal but wins when your metric is scratch refinement and surface integrity at low to medium pressure. Use it as the “finisher’s abrasive” in your stack, bringing the surface into polish-ready territory with fewer passes.
Practical moves that maximize SiC:
- Pre-soak wet sheets for 5–10 minutes to relax the backing and improve flexibility around contours.
- Use an interface pad (3–5 mm) on a DA for clearcoat leveling to reduce edge digging and pigtails.
- Apply a dry guide coat, then sand until the last specks of guide disappear uniformly—stop immediately to avoid deepening scratches.
- Flush the surface every 6–8 passes; trapped swarf becomes rogue grit.
According to a article, silicon carbide is offered across a wide grit range for PSA cloth discs, underscoring that even a sharp, high-refinement grain can be productive from coarse leveling through micro-finishing when matched to the right substrate and goal.
Alternatives: AlOx, zirconia, and ceramic
There are compelling reasons to reach beyond SiC depending on workload and substrate.
Aluminum oxide remains the generalist. Its microstructure balances toughness and friability, making it suitable from raw wood dimensioning to finish sanding. In hardwoods at P120–P220, quality AlOx stearated papers maintain cut while resisting clogging from resins and oils. Its scratch is slightly broader and more durable than SiC, which can be a virtue when you need a stable scratch floor that doesn’t over-refine too soon—especially before staining, where overly fine sanding can unevenly burnish earlywood/latewood.
Zirconia alumina thrives under pressure. The grain’s self-sharpening behavior requires an honest bite to trigger fracture; too little pressure and it skates, too much and heat spikes. Use zirconia on ferrous metals, heavy mill scale, and aggressive shaping in P36–P120 belts or discs. It shines on weld blending and stock removal where heat management, life, and throughput drive the economics. For woodworking, zirconia belts on widebelt sanders or edge sanders can extend life in coarse grits, but switch to AlOx or SiC to finish.
Ceramic alumina occupies the top of the durability spectrum for exotic alloys and high-horsepower applications. Its engineered microfracture performs at elevated pressures and temperatures. Use ceramic in P36–P80 for beveling stainless, grinding heat-resistant steels, and when you need the lowest cost per part in heavy removal. But it’s a sledgehammer for finishing—transition to AlOx or SiC as you approach the target texture.
Backings, bonds, and additives matter as much as grain. Closed-coat abrasives cut aggressively but load sooner; open-coat and semi-open mitigate loading on resinous woods and paints. Stearates reduce clogging in coatings but can interfere with adhesion if not cleaned before recoating. Cloth backings (X, J) control flexibility; PSA vs. hook-and-loop affects interface compliance and scratch conformity.
Match grain to pressure and horsepower:
- If your tool or operator cannot sustain the pressure zirconia or ceramic need, they will underperform—choose AlOx or SiC.
- If heat is your bottleneck, add lubrication (wet sanding, misting) or switch to a cooler-cutting grain (SiC) with a softer pad to spread load.
- If scratch fidelity is paramount (optical clear), retire tough grains early and hand the surface to SiC before the valleys get too deep.
Workflow design: grits, passes, and QA
A finish is the sum of every controlled scratch. Lock down your sequence, make it repeatable, and audit it the same way every time.
Define your grit ladder by substrate and finish:
- Automotive clear: P800 flatten, P1200 refine, P1500 orient, P2000–P3000 final; polish with a diminishing compound and a finishing polish.
- Hardwood for clear satin: P120 level, P150 refine, P180 set tooth, P220 finish; stop at P180 before stain if color depth is weak, then scuff to P220 after.
- Brushed stainless (#4): P120 establish, P180 blend, P240 finish in one direction with a non-woven scuff to unify sheen.
Control the geometry of each pass. Use cross-hatch patterns (e.g., 10–15% overlap at 45° opposing angles) to ensure uniform material removal and easy visual confirmation that the previous scratch is gone. On a DA sander, pair orbit size to finish: 5 mm for leveling, 2.5–3 mm for refinement. Choose pad durometer: firm for flatness, soft for contour compliance. Keep interfaces clean—stray grit ruins sequences.
Measure, don’t assume. Guide coats are inexpensive defect detectors. For high-stakes finishes, a handheld profilometer that reports Ra/Rz lets you correlate scratch depth with grit and confidently set your stop points. Gloss and DOI meters validate polish readiness without relying solely on shop lighting.
Five field-proven tips:
- Always sand to the minimum grit that meets the finish target; going finer than needed often wastes time and can reduce adhesion before recoats.
- Limit grit jumps to 1.5–2.0× in P-grade; if a scratch persists after two methodical passes, you jumped too far—step back one grit.
- For wet SiC work, refresh your lubricant often and squeegee between passes; visible slurry color change is your cue that the cut has slowed.
- Isolate edges with tape or a firmer pad when leveling clear; edges thin first and magnify pigtails.
- Vacuum, then wipe with a compatible solvent or waterborne cleaner between stages; stearate and swarf residues change how the next grit cuts.
Build documentation around your best outcomes: tool, pad, interface, grit sequence, passes, lube, and inspection method. That way, “perfect on Wednesday” becomes your standard on Monday and Friday.
Color Sanding Aluminum — Video Guide
A practical side-by-side comparison of color sanding with aluminum oxide and silicon carbide sandpapers examines which grain better levels and refines automotive clear and single-stage paints. The demonstration walks through equal-grit sequences, tool setup, and lubrication, then evaluates scratch clarity, cut rate, and how quickly each path reaches polish-ready.
Video source: Color Sanding Aluminum Oxide Vs Silicone Carbide Sandpaper - Which Is Best!? (Yes, there Is a Best)
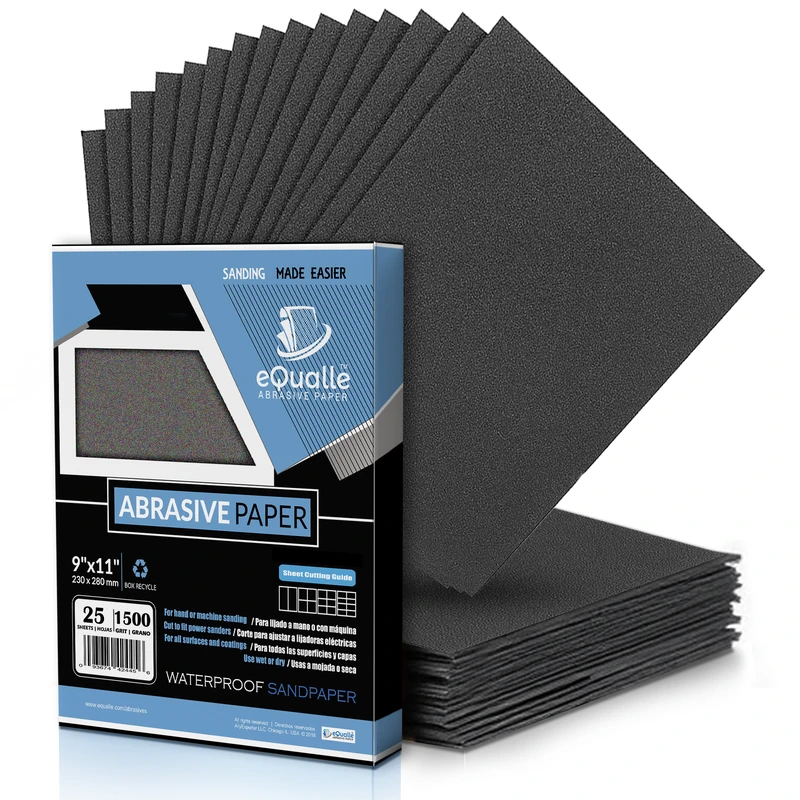
1500 Grit Sandpaper Sheets (25-pack) — 9x11 in Silicon Carbide Abrasive for Wet or Dry Use — Professional ultra-fine grit for satin or semi-gloss finishing. Removes micro-scratches from clear coats and paint touch-ups. Produces flawless textures and consistent results before final polishing. (Professional Grade).
Frequently Asked Questions (FAQ)
Q: When should I choose silicon carbide sandpaper over aluminum oxide?
A: Use SiC when you need a shallow, uniform scratch in brittle films or hard materials—automotive clear, primers, gelcoat, glass, and ceramics—especially with wet sanding. Choose AlOx for general-purpose sanding on wood and soft metals where durability and moderate scratch depth are advantageous.
Q: How big should my grit jumps be to avoid visible scratches after polishing?
A: Keep jumps to about 1.5–2.0× in P-grade. For example, P800 → P1200 → P1500 → P2000. If prior scratches persist after two controlled passes, step back one grit to fully erase them before moving on.
Q: Does stearate on sandpaper affect coating adhesion before recoating?
A: It can. Stearate reduces loading but leaves residues that may inhibit adhesion. After sanding, vacuum thoroughly and wipe with a compatible cleaner or solvent per the coating manufacturer before applying the next coat.
Q: What causes pigtails, and how do I prevent them in fine finishing?
A: Pigtails stem from embedded debris, worn discs, or too much pressure on a DA. Prevent them by cleaning between passes, changing discs promptly, using an interface pad for compliance, and lowering pressure—let the abrasive cut, not the weight of your arm.
Q: Is wet sanding always better for final finishes?
A: Not always. Wet sanding with SiC controls heat and loading and can yield a finer, more uniform scratch in coatings. However, on woods prone to grain raise or when moisture risks substrate damage, stay dry with stearated AlOx and manage dust aggressively.