
Eco Sandpaper and Safety Data: What Makers Need
On a Saturday morning that smells faintly of sawdust and citrus cleaner, you spread drop cloths across the living room and line up your tools. A side table waits for new life, its edges dulled by time. You reach for a sleeve of eco sandpaper you picked up after reading about reduced-resin formulas and recycled paper backings. You want a smooth finish, but you also want your air to stay clean, your family safe, and your project to be as responsible as it is beautiful. If the box promises greener materials, shouldn’t the work feel lighter on your lungs and conscience, too?
Then the reality of sanding sets in: fine dust hangs in the morning light; the discs warm with friction; and you remember that even “simple” materials have technical backstories. That’s where the Safety Data Sheet—SDS—earns your attention. It’s not a document to skim and forget. It’s a map of the material’s life cycle: what’s in it, how it behaves, and what it asks of you to keep the job healthy and precise. The best makers I know keep one eye on their surface and the other on the SDS.
You don’t need to be a chemist to read these sheets, just curious and methodical. Whether you’re resurfacing a desk, refinishing hardwood, or prepping an outdoor bench, understanding the SDS behind your eco sandpaper helps you choose the right grit, set up ventilation, and plan for safe cleanup. It keeps the craft in your hands and the guesswork out of your lungs. Think of it as a companion you consult between passes—a well-organized voice that helps you sand smarter.
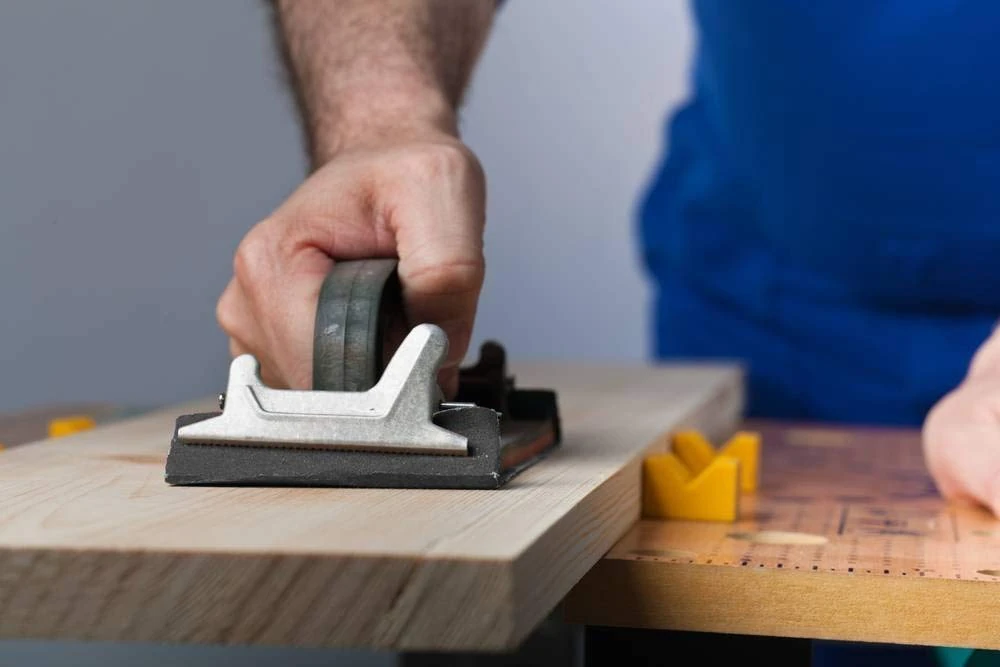
Quick Summary: Safety Data Sheets turn sanding from guesswork into confident, cleaner practice by explaining hazards, controls, storage, and disposal—especially vital when selecting eco sandpaper.
What an SDS actually tells you
A Safety Data Sheet is standardized into clear sections under the Globally Harmonized System (GHS), and knowing what to scan saves time. Abrasives are often classified as “articles,” meaning the intact product may not be hazardous as sold; the bigger story is the dust you generate when you use it. Here’s how to read it like a pro.
- Identification and hazards: Section 1 names the product and supplier; Section 2 outlines hazards. For sandpaper, you’ll often see notes about “nuisance dust” or “particles not otherwise classified” (PNOC). While the sheet may say the article isn’t hazardous in its packaged state, look for statements about dust generated during use—those lines matter most.
- Composition: Section 3 lists key ingredients: abrasive grains (aluminum oxide, silicon carbide, garnet), adhesives and resins (often phenolic), and backings (paper, cloth, film). This helps you anticipate performance and risks, like potential formaldehyde residues bound in cured resins (typically low and not emitted under normal sanding temperatures).
- Exposure controls/PPE: Section 8 points to ventilation needs and respiratory protection. You’ll see references to exposure limits for airborne particulates, guidance on local exhaust, and recommended filter ratings (e.g., N95 or P100) depending on the task.
- Physical and reactivity data: Sections 9 and 10 explain heat tolerance, stability, and what conditions to avoid. With abrasives, you want to know if elevated heat could degrade the binder or create fumes—rare in typical hand sanding but more relevant in high-speed machine work.
H3: Two abrasive-specific nuances
- The dust is often more about what you’re sanding than the abrasive itself. Wood dust, for example, can be sensitizing, and coatings may contain silica, metals, or isocyanate residues. The SDS will nudge you to consider substrate hazards, which is a smart trigger to pull the coating’s SDS as well.
- “Article” status isn’t a free pass. Even if there’s no hazard pictogram on the label, the exposure section still applies to the dust you generate. It’s your cue to plan dust capture and fit-tested respirators if your task warrants.
Reading SDS for eco sandpaper choices
“Eco” labeling varies widely. A greener abrasive might feature recycled paper, sustainably sourced fiber backings, longer-wearing grains that reduce waste, water-based adhesives, or low-resin technologies. The SDS can help you sort genuine improvements from glossy claims by focusing on performance, emissions, and disposal implications rather than just slogans.
- Composition signals: In Section 3, look for grains like garnet (natural, though softer), high-efficiency ceramic-alumina blends (longer life means fewer discs used), and paper or film backings described as recycled or sustainably sourced. Note that not every environmental attribute appears in the SDS—some are marketing disclosures—but consistent naming and supplier transparency are good signs.
- Hazard language: Section 2 may still describe dust as an inhalation irritant. Eco sandpaper isn’t “dust-free,” but better-engineered hole patterns, anti-clog stearates, and durable grains can reduce airborne particulates by shortening sanding time and maintaining cutting efficiency. The SDS won’t rate “eco-ness,” but it will clarify whether any unreacted monomers or solvent residues are relevant at use temperatures.
- Performance equals impact: Section 8’s exposure controls and the product’s recommended operating speeds matter. If a disc lasts twice as long and mates to good extraction, your footprint drops: fewer discs, less packaging, reduced energy, and cleaner air in the shop.
H3: What to check fast
- Are there any specific hazard statements beyond nuisance dust? If yes, plan stronger controls.
- Does the SDS mention stearates or additives? Helpful for anti-clogging, but mind finishing steps; they can affect stain absorption if not cleaned off.
- Lifespan clues: manufacturer notes, recommended substrates, and heat tolerance. Longevity is one of the most practical eco metrics of all.
- Cross-reference substrate SDS (old coatings, fillers, concrete) for a full view of potential contaminants your sanding could release.
Dust, ventilation, and health by design
Sanding is a small act multiplied countless times per second—light strokes, tiny cuts, and steady friction between grain and surface. The particles released depend on grit size, tool speed, and substrate. A thoughtful setup shrinks your exposure and improves results.
- Source control: Choose the coarsest grit that removes defects without gouging, then step through to your finish grit with minimal passes. Fewer passes, fewer particles. Consider vacuum-ready sanders and perforated discs that align with extraction pads; they can capture a surprising portion of fines at the source.
- Airflow strategy: Combine local extraction (tool-connected vacuum with HEPA filtration) and general ventilation (a clean-air machine or well-placed exhaust). Place makeup air behind you so dust travels away from your breathing zone toward the intake.
- Work technique: Keep the tool flat, pressure light, and motion consistent. Pressing harder doesn’t speed removal; it generates heat, clogs the abrasive, and throws more dust. Empty the vacuum bin before it’s half full to maintain suction, and tap the hose to dislodge fines from corrugations.
- Respiratory protection: Match filters to risk. For most wood and paint prep without silica or lead, a NIOSH-approved N95 can be suitable; for higher dust loads, all-day sanding, or unknown substrates, P100 offers more capture efficiency. Fit matters as much as rating—do a seal check each time.
Wet sanding can reduce airborne dust but isn’t automatically safer. The slurry can carry the same contaminants and needs containment—no rinsing into storm drains or lawns. Wipe and bag the residue; allow it to solidify if required by local rules before disposal.
According to a article.
Storage, transport, and end-of-life
You can treat abrasives like they treat surfaces: with steadiness and respect. The SDS offers pragmatic guidance that extends tool life and minimizes risk long after checkout.
- Storage: Keep sandpaper flat, dry, and away from heat sources. Humidity warps paper backings and softens adhesives; heat can pre-age resin bonds and shorten disc life. A sealed bin with desiccant keeps grit sharp and backing pliable. Label bins by grit and date opened so you rotate stock.
- Transport: Most sandpaper ships as a non-hazardous article. The twist happens when used media carries residues—particularly from old coatings that could include lead, chromium, or isocyanates. If you’re a contractor, document what you sanded and separate bags by job to simplify any needed waste characterization.
- Disposal: New abrasive sheets are typically landfill waste. The eco lever is longevity—using fewer pieces across a project. For used media, the substrate calls the shots. If you’ve abraded lead-painted trim or metal with chromium-containing primers, follow local hazardous waste guidance. Capture vacuum contents in heavy-duty bags; mist the bag before sealing to reduce dust release; label plainly (e.g., “Sanding Dust—Bedroom Windows, 1950s home”).
H3: Product choices that reduce waste
- Durable grains (ceramic-alumina or zirconia blends) last longer under pressure, meaning fewer discs per job.
- Anti-loading topcoats keep pores clear when sanding resinous woods or paints, stretching life and keeping extraction effective.
- Right tool, right pad: A clean, flat backing pad maintains even contact, cutting faster and reducing time on the surface.
Real-world tips for safer sanding
Small, consistent habits add up to cleaner air, smoother finishes, and less waste. Try these field-proven practices the next time you reach for that box of eco sandpaper.
- Build a five-minute SDS checklist: skim Sections 2 (Hazards), 3 (Composition), 8 (Exposure/PPE), 7 (Handling/Storage), and 13 (Disposal). Note one action per section and tape the list to your vacuum.
- Fit your extraction: Match disc hole pattern to your pad; replace worn gaskets; use an antistatic hose; and set vacuum airflow to the lowest effective level to avoid swirl marks.
- Step your grits with intent: Don’t skip more than one grit step (e.g., 80→120→180). Mark a scrap with your intended sequence and do a 60-second test; if dust piles quickly or the disc glazes, adjust the starting grit.
- Choose respirators on purpose: Keep both an N95 and a P100 on hand. Use P100 for unknown substrates, long sessions, or when sanding coatings; switch to N95 for quick, light wood prep. Always perform a seal check.
- Housekeeping as control: Between grit changes, vacuum the workpiece and pad; blow off discs only into a capture hood or outdoors and upwind. At day’s end, mist the floor lightly, sweep, then HEPA-vac; never dry-sweep fine dust.
Ask The Pool — Video Guide
In a segment from the “Ask The Pool Guy” channel, the team discusses why a sprayed pool coating can end up with a gritty, sandpaper-like feel. They cover application variables such as spray technique, cure, and environmental conditions, and how water chemistry and maintenance can accentuate surface texture over time.
Video source: Ask The Pool Guy: Why does my ecoFinish feel like sandpaper?
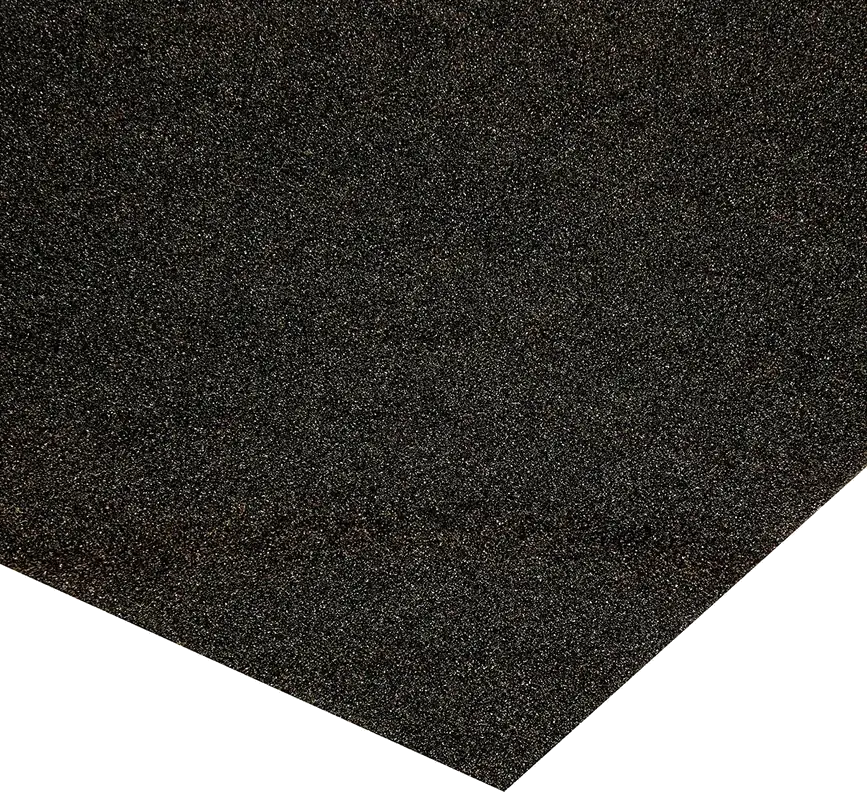
150 Grit Sandpaper Sheets (25-pack) — 9x11 in Silicon Carbide Abrasive for Wet or Dry Use — Versatile medium grit that transitions from shaping to smoothing. Works well between coats of finish or for preparing even surfaces prior to paint. (Professional Grade).
Frequently Asked Questions (FAQ)
Q: Are sandpaper sheets themselves hazardous according to SDS documents?
A: Most sandpapers are classified as non-hazardous “articles” in their packaged form. The primary risk arises from dust generated during use. The SDS will highlight inhalation and eye irritation concerns and recommend ventilation and PPE to manage airborne particulates.
Q: Is eco sandpaper safer to breathe around than standard options?
A: “Eco” usually speaks to lifecycle improvements like recycled backings, longer life, or lower-emission binders—not zero dust. Breathing safety depends far more on dust control, substrate hazards, and PPE. A well-extracted setup with any quality abrasive is safer than “green” media used without controls.
Q: What respirator should I wear when sanding old paint?
A: If there’s any chance of lead or unknown additives, upgrade to a P100 filter and follow lead-safe practices, including containment and HEPA cleanup. Review the paint or coating’s SDS when available, and comply with local regulations before you start.
Q: How should I store sandpaper to extend its life?
A: Keep it flat in a dry, cool space away from sunlight. Use sealed bins with a small desiccant pack and label by grit and date opened. Humidity and heat degrade backings and resins, leading to premature wear and more dust.
Q: How do I dispose of sanding dust and used discs?
A: For clean wood or modern low-tox coatings, bag and landfill per local guidance. If you sanded old coatings, metals, or masonry with potential contaminants (e.g., lead), treat dust as potentially hazardous: double-bag, label by area and date, and use community or contractor hazardous-waste channels as required.