
Grain Preparation to Tame Reversing Wood Grain
The shop gets quiet after dinner. You kill the overheads, switch on the raking light, and the panel on your bench suddenly tells the truth. The cathedrals in the oak are bright as ripples, but around that one knot, the texture changes under your fingertips—silky one direction, grabby the other. You thought the random orbital sander had it licked at 150 grit. Then a quick wipe with solvent showed shadowy half-moons, and the streaks popped along a stubborn patch. Reversing grain. It’s the woodworker’s rite of passage and the most common reason a flawless finish looks “shop-made” instead of custom. Welcome to the craft within the craft: grain preparation that respects what the fibers want to do, not what your tool wants to do.
If you’ve ever glued up a panel of boards that each had their own personality—straight grain here, a little interlock there—you already know reversing grain isn’t a mistake; it’s wood telling you how it grew. Curly maple that glows like silk, sapele that flashes as you walk past, even a simple SPF top with a knot—all of it can force fibers to rise against your sanding direction. The result? Tear-out when planing, swirl marks when sanding, and finish that refuses to lay down cleanly. The solution isn’t more pressure or jumping two grits higher. It’s strategy. It’s patience. It’s learning to read and respond—one square foot at a time.
In this guide, I’ll show you how to dial in your sanding approach so reversing grain stops being a trap and becomes another variable you control. We’ll break down how to read panels before you touch them, set a grit ladder that doesn’t back you into a corner, and deploy hand tools and trick moves (shear sanding, anyone?) to keep fibers flat. I’ll share real shop tips and checks that stop mistakes before they reach your finish. Whether you’re a weekend warrior or the person everyone calls for the “impossible” tabletop, this is the grain preparation that keeps you out of trouble.
Quick Summary: Sand reversing grain panels by reading the surface, choosing a disciplined grit ladder, using scrapers and shear-sanding for trouble spots, and inspecting under raking light before finishing.
Read the board, not the sander
Reversing grain punishes guesswork. Before you sand anything, put the sander away and read the panel. Grain reading is a tactile and visual process: you’re learning where fibers dive and where they stand proud so you don’t chase defects with the wrong move.
- Raking light first. Kill overheads and use a flashlight or low-angle shop light slid across the panel. Swirls, ridges, and fuzzy patches show immediately. Pencil-mark problem areas so you can check them later.
- Fingertip test. Drag your fingertips lightly in both directions. If one way feels smooth and the other feels raspy, you’ve got reversal. On figured woods—sapele, elm, curly maple—you’ll feel alternating bands every couple of inches.
- Read cathedrals and rays. In ring-porous woods like oak, the “smiles” of the cathedral grain usually point in the direction that sands cleaner with less tear-out. Rays and fleck can shift this, so confirm with the fingertip test.
- Watch the edges and around knots. Knots and their surrounding grain compress differently. Expect reversal radiating out from the knot and treat those halos as special zones.
With a map in hand, your first passes should remove milling marks and flatten glue lines without agitating problem areas. If you see dark glue residue at seams, don’t sand it until you scrape it. Hardened glue chews abrasives and creates low spots that trap light later. I keep a sharp cabinet scraper at the ready to kiss off any squeeze-out and plane tracks before the sander touches down.
Finally, choose your weapon intentionally. A 5-inch ROS with a hard pad is great for flattening at coarse grits, but it’s not a bulldozer. Let the tool float. If you can feel vibration or see the pad chattering near figure, plan to hand-sand or shear-sand those areas rather than force a uniform approach across the panel.
Smart grit ladders and grain preparation moves
Your grit ladder is a contract with yourself: every scratch you make now, you agree to erase later. On reversing grain, that contract needs stricter terms. Here’s a reliable sequence and how to bend it when the panel asks.
- Baseline sequence. 80 (only if you truly need to flatten), 100, 120, 150, 180, then 220 if the finish benefits. For many oil or oil/varnish blends on open-pored woods, 180 is a sweet spot; for water-based or film finishes, 220 or even 320 on end grain pays off.
- Pencil guide. Before each grit, scribble a light pencil grid. Sand until the pencil disappears evenly. If a trouble zone keeps its pencil while the rest is clean, stop and plan a local tactic—don’t over-sand the whole panel trying to chase one patch.
- Lighten up early. Treat 120 as your first “refinement” grit. From here on, reduce pressure and slow the ROS speed one notch. On reversing grain, pressure presses fibers down; then they spring up after you leave, and finish reveals the lie.
- Interface pads with caution. A soft interface pad at fine grits helps conform without gouging, but it also rounds edges and can dish around glue lines. Use soft pads surgically on figured zones, not across the whole panel, unless you’ve already established dead flat with a hard pad.
H3: Tuning the schedule by wood and finish
- Pine, fir, and SPF. Resinous softwoods load paper quickly and crush under pressure. Start at 100 or 120; favor fresh, stearated abrasives; clean the disc frequently with a crepe block. Move through 150 to 180, and hand-sand with the grain at 220 for clarity. Water-based finishes? Raise the grain with a damp cloth, let dry, and kiss back at 220.
- Maple, birch, and tight-pored hardwoods. These show scratches brutally. Don’t skip grits. Stop at 180 for oil; go to 220 or even 320 for water-based topcoats after a grain raise. When curl is present, plan on scraper work and shear-sanding for bands that reverse.
- Oak, ash, and open-pored species. 150 to 180 often delivers the best pore definition under oil. For water-based finishes, pore filler changes the game—sand to 180, fill, then sand back with 220.
Grain preparation isn’t about “more grit, more better.” It’s about the right touch at the right time. If a patch is misbehaving at 120, no miracle happens at 320; switch tactics instead of hoping.
Tools and techniques for tricky fibers
Some fibers won’t lie down for a ROS, no matter how polite you are. That’s when you reach for the specialist kit and a couple of pro tricks that always earn their keep on reversing grain.
H3: The cabinet scraper and scraper plane A sharp, properly turned cabinet scraper erases raised fibers without the cross-grain bruising a sander can leave. Flex it just enough to engage the bur, pull diagonal to the grain, then finish with lighter passes along the grain. On big surfaces, a scraper plane gives you the same control with less fatigue. The goal isn’t to level the panel, but to tame the few square inches where the grain flips.
H3: Shear-sanding with a ROS This is the workshop secret few people teach. Tilt the ROS a few degrees to put the leading edge of the pad in contact, then move with a slight skew to the grain. You’re creating a shearing action that slices fibers instead of pummeling them. Keep pressure feather-light, speed moderate, and never linger; a few passes can transform a fuzzy, resistant band without telegraphing swirls.
H3: Hand blocks and backers Always keep a flat cork- or rubber-faced sanding block on the bench. After each ROS grit, take the same grit by hand with the grain for three to five passes. It aligns the scratch pattern and knocks down any rogue swirls before they become a problem. For inside corners and around knots, a rigid backer prevents your fingers from grooving the surface.
H3: Dust extraction and clean abrasives Dust is a scratch-maker and a liar. Hook your ROS to a vac and keep the hose out of your way. Clean your disc with a crepe stick every couple of minutes on softwoods or resin-heavy patches. The moment a disc burns or polishes instead of cutting, bin it. Fresh paper cuts cooler and makes better decisions for you.
According to a article, end grain demands finer sanding than long grain and scraping can be the smarter prep on softwoods—both spot-on points when you’re wrestling with reversal at panel seams and around knots.
End grain, edges, and panel seams
Panels aren’t just broad fields; they’re a chorus of edge conditions that can either look crisp and rich or betray your work. Reversing grain likes to hide here, so give these zones their own playbook.
H3: End grain first, and finer End grain drinks finish; it’s a bundle of open straws. Sand it two steps finer than the face—if you stop at 180 on the face, go 220–320 on the ends. Use a hard, flat block, and work in light, even strokes. On some species, a light shellac wash or pre-stain conditioner evens uptake, but your primary control is scratch depth. Blend the transition by easing the corner slightly before you do the end grain so you don’t catch the face with coarse strokes.
H3: Glue lines and different densities Most panel seams have glue that’s harder than the wood. If you bulldoze that ridge with a ROS, the soft fibers around it will yield, and you’ll dish the seam. Scrape the line first; then, with a hard pad and fresh paper, take shallow, overlapping passes that run across the seam at 45 degrees before returning to with-the-grain strokes. Switch to a softer interface pad only after flatness is established.
H3: Edge profiles and rounding control Soft pads and high grits can turn a crisp arris into a tired, rolled edge. If the design wants a chamfer or a round-over, cut it intentionally with a plane, router, or block, then sand minimally to refine. If it wants to stay sharp, tape protection near the edge and keep ROS passes off the arris. Hand-sand the final passes with a block, following the grain direction of the adjacent board.
Actionable tips for these tricky zones:
- Pre-mark end grain with a different pencil pattern so you don’t forget to take it finer.
- Scrape glue lines while glue is rubbery (just past tacky) to avoid tearing fibers.
- For knot halos, spot-scrape and shear-sand, then feather by hand with a rigid block.
- Keep a dedicated “edge block” with fresh 180/220 paper just for arrises and ends.
Light, solvent, and pre-finish inspection
Finishes don’t hide sanding mistakes; they highlight them. Before you commit, do a proper inspection cycle. It’s boring, it’s methodical, and it’s the reason pros sleep well.
H3: Raking and cross-lighting Set a bright LED on the bench and drag it across the surface at low angle. Rotate it 90 degrees and do it again. Swirls hide in one direction and scream in another. Use your pencil to tag anything you see. Fix only the marks you’ve identified—don’t erase the whole panel’s progress unless you have to.
H3: Solvent preview A wipe with mineral spirits, naphtha, or alcohol (compatible with your finish and shop safety) pops defects you can’t see dry. Work in sections with a clean rag and short wipes so it flashes off quickly. If a patch goes dull differently or telegraphs micro-swirls, that’s a signal to revisit with the previous grit by hand. Ventilate well and respect flammability.
H3: Grain raising on your terms If you’re using a water-based finish, raise the grain before your final grit. Lightly mist the panel, let it dry fully, then hand-sand with your final grit using a block. This forces fibers to stand up and get clipped cleanly. Skip this, and the first coat does the raising, locking fuzz under your film.
H3: Stop points and restraint Know when to stop. On open-pored hardwoods with oil, 180 leaves a lively surface that finishes beautifully; taking it to 320 can burnish pores and make finish adhesion uneven. On tight-pored woods under waterborne finish, the extra step to 220 or 320 pays off. Your inspections drive the decision, not habit.
Three quick inspection habits that pay off:
- Always hand-sand the final passes with the grain after the ROS step at the same grit.
- Always inspect under raking light before changing grits.
- Always solvent-preview at least once on broad fields and once on end grain.
How to Make — Video Guide
There’s a helpful mindset lesson in a video that walks through preparing grain for mushroom cultivation—soak-no-simmer prep and inoculation, plus an overview of gear and classes. While the subject is different, the disciplined approach mirrors our shop work: measured steps, clean setups, and controlled environment all drive consistent results.
Video source: How to Make Mushroom Grain Spawn Soak no Simmer Preparation and Inoculation
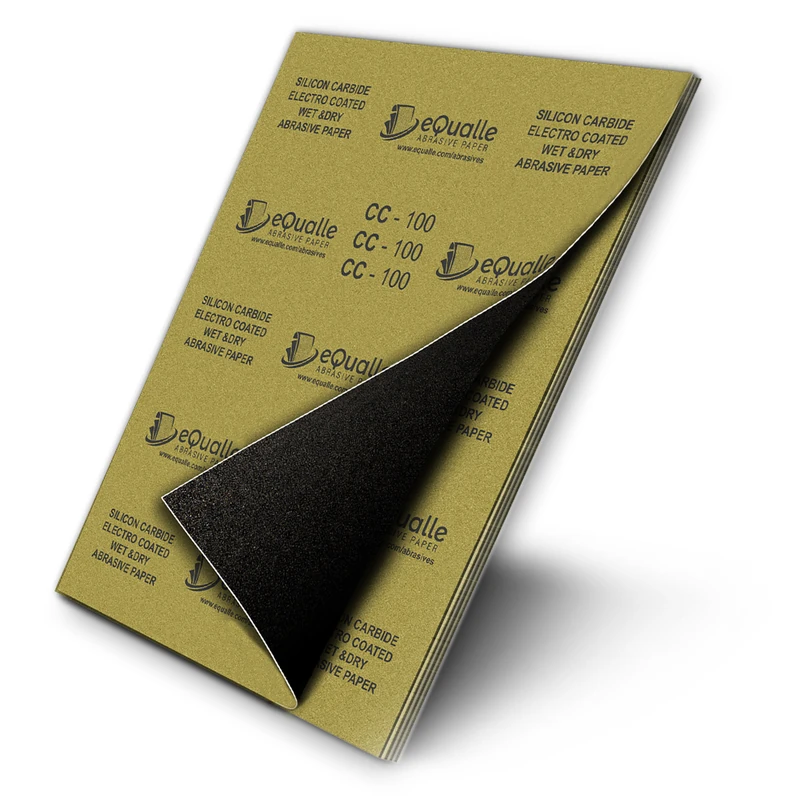
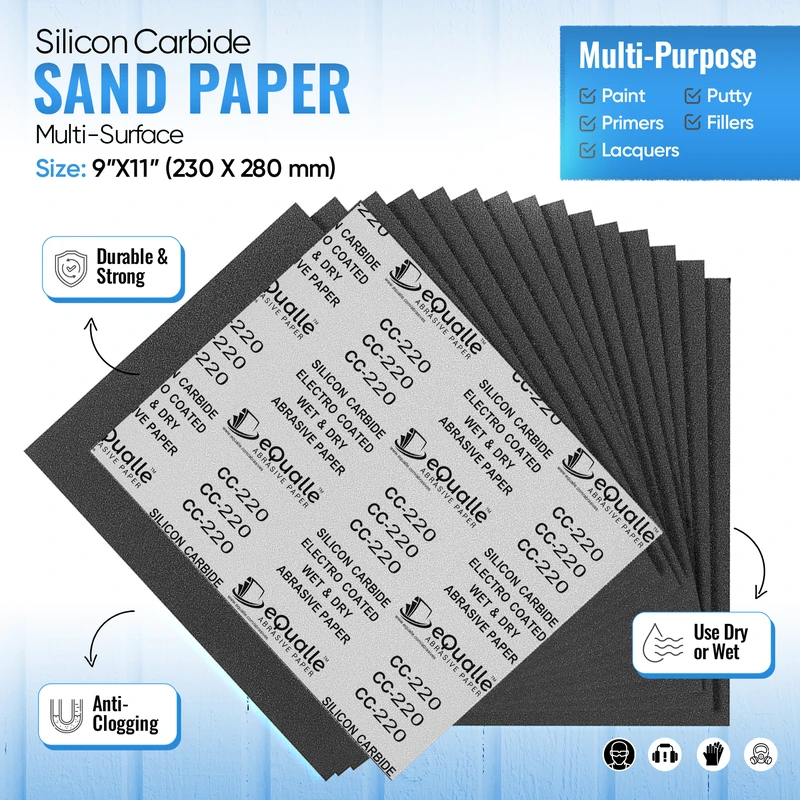
150 Grit Sandpaper Sheets (10-pack) — 9x11 in Silicon Carbide Abrasive for Wet or Dry Use — Balanced medium grit for surface preparation and between-coat sanding. Smooths minor imperfections in wood, paint, or primer. Works equally well for wet or dry applications in both DIY and professional projects. (Professional Grade).
Frequently Asked Questions (FAQ)
Q: What’s the fastest way to deal with a small reversing grain patch without re-sanding the whole panel?
A: Pencil the spot, shear-sand it with a lightly tilted ROS and fresh paper at your current grit, then hand-sand with the grain on a rigid block. Inspect under raking light. Only drop a grit if the defect persists.
Q: Should I scrape before sanding or after when I see tear-out?
A: Scrape first to remove isolated tear-out or glue ridges, then resume your grit ladder. Scraping after fine sanding risks creating a scratch pattern that requires stepping back multiple grits.
Q: Do I really need to sand end grain finer than the face?
A: Yes. End grain is thirsty and highlights scratches. Go at least one to two grits finer than the face—often 220–320—then blend the transition so the face doesn’t pick up cross-scratches.
Q: Why do swirls show up only after applying finish?
A: Finish changes how light refracts off the surface and can swell fibers. Micro-swirls invisible when dry pop under film. That’s why raking light and solvent previews are mandatory steps.
Q: What grit should I stop at for oil vs. water-based finishes on reversing grain panels?
A: For oil or oil/varnish on open-pored woods, 180 is often ideal. For water-based finishes on tight-pored woods, raise the grain and finish at 220–320. Let your raking light and solvent checks confirm the stop point.