
Furniture Restoration for Wobbly Chairs That Last
You notice it the moment you sit—an uncertain sway, a quiet creak, a warning from a favorite chair that’s served a hundred conversations and family dinners. It’s tempting to ignore, to shift your weight just enough to make it through the meal. But that gentle wobble is a message. Wood dries and swells; old glue gives up; rungs loosen, and mortises gape by a hair. The good news is this: with a calm plan and a few shop-proven techniques, you can bring real stability back. That’s the heart of furniture restoration—seeing what’s worth saving, understanding how it was built, and repairing it so it lasts for years without losing its character.
Maybe your chair is an heirloom that’s endured a dozen moves. Maybe it’s a thrifted gem with a story etched into every ding. Either way, wobbles aren’t moral failings; they’re maintenance signals. Repairing them isn’t just about glue—it’s about diagnosing the joint style, preparing clean mating surfaces, choosing an adhesive that fits the job, and applying even clamping pressure so everything dries square. Done right, reglue work looks invisible, feels solid, and respects the piece’s history.
For many households, a single stable chair anchors the kitchen, the desk, the sunny reading corner. I think of the small rituals: a cup of tea at a writing table, a toddler’s slippery socks finding footing on a rung, a friend lingering for one more story. These are the quiet reasons we reach for furniture restoration methods that don’t cut corners. You don’t need a full shop to do it—just patience, accurate diagnosis, and a willingness to practice the steps slowly. The chair will tell you what it needs if you know where to look and how to listen.
Let’s slow down, learn to read the joints, and bring your chair back to steady, confident silence—one careful repair at a time.
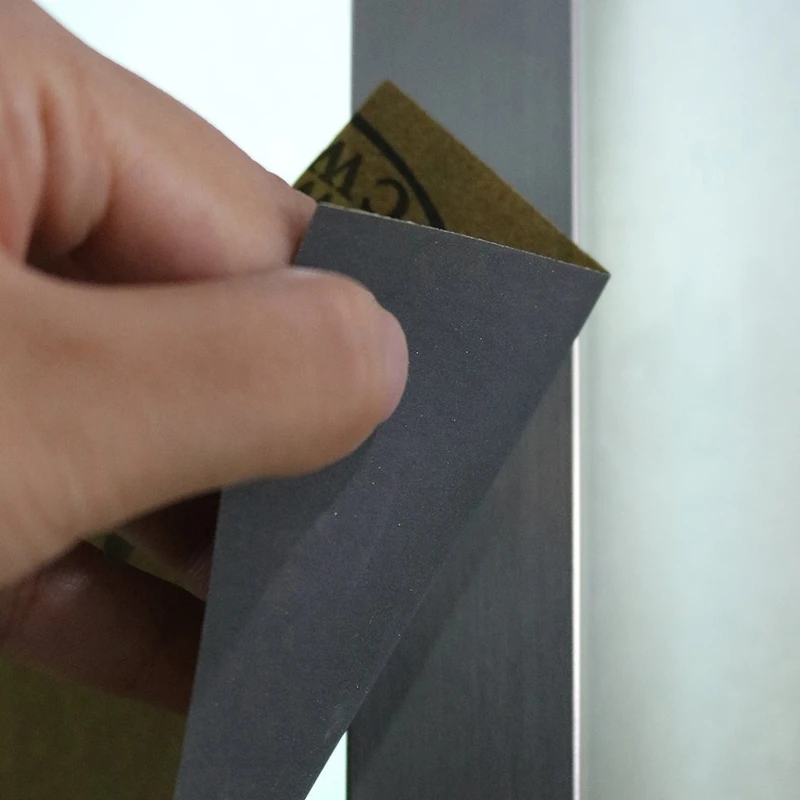
Quick Summary: Identify which joints are loose, clean and prepare them, choose the right glue, clamp with precision, and let everything cure fully to end chair wobbles for good.
Find the Source of the Wobble
Before you reach for glue, learn where the movement originates. Most wobbles come from one or more loose joints—often rungs (stretchers), back spindles, or the junction where legs meet the seat. A clean diagnosis saves you from sealing in a problem.
Start by placing the chair on a truly flat surface. Gently press each corner of the seat to see which leg lifts or shifts. Note whether the wobble is front-to-back, side-to-side, or diagonal. Then, grasp components in pairs and test for movement: leg to seat, leg to stretcher, stretcher to stretcher, and back assembly to seat rails. If you can, use painter’s tape to mark each moving joint as “suspect.”
Visual inspection helps too. Look for telltale rings of old, yellowed glue, hairline gaps around tenons or dowels, crusty squeeze-out that’s long since failed, or shiny burnished wood where a tenon spun inside a mortise. Use a bright headlamp and a dental mirror to peek into shadowed corners. Don’t overlook the seat itself: saddle seats can crack along the grain, making the leg hole slightly oversized. If the padding or upholstery hides joinery, remove it carefully so you can see the structure.
A few caution signs warrant extra care: split tenons, crushed dowel fibers, or cracked mortise walls. These may require reinforcement beyond simple reglue. If hardware is present (older chairs sometimes include brads or later “fixes”), document placement with photos before disassembly. Your aim here isn’t just to find a loose joint; it’s to understand why it loosened—seasonal movement, impact, age, or past repairs—so you select the right fix and prevent a repeat.
Furniture restoration mindset for chairs
Approaching a wobbly chair with a furniture restoration mindset means balancing strength, appearance, and reversibility. You’re not only making it solid; you’re preserving its story. That starts with respecting original joinery and choosing methods that don’t strip away value or cause new stress.
Think first in systems: the chair is a network of triangles and rectangles. Tightening one link can change loads elsewhere, so plan the whole repair—disassembly order, glue choices, clamping sequence—before you open a single joint. Test-fit dry (without glue) and ensure components seat fully without force. For older pieces assembled with hide glue, aim to use compatible, reversible adhesives for future serviceability.
- Prioritize reversibility on antiques: hot or liquid hide glue stays strong yet repairable.
- Match the repair to the gap: PVA for snug, clean fits; epoxy for crushed fibers or slight voids.
- Preserve finish and patina: protect surfaces with tape and use cauls during clamping.
- Work methodically: repair related joints in sets so geometry stays square.
- Document with photos: label parts and grain directions to avoid confusion during reassembly.
Handle chairs by the seat, not the back, during all tests and moves; backs are lever arms that can worsen looseness. If a joint feels spongy but won’t separate easily, don’t pry blindly—soften old glue first, or you risk splitting. If you encounter a prior repair of polyurethane construction adhesive or brittle epoxy, consider it a red flag for more careful cleanup and possibly refitting the joint. Above all, patience pays dividends: good preparation is the invisible difference between a repair that holds and one that fails within a season.
Smart disassembly and clean prep
Opening joints without damage is the art before the science. The approach depends on the original glue. Traditional hide glue softens with heat, moisture, and time—use a steam wand, damp cloth plus a household iron through foil, or warm water delivered with a syringe to coax it apart. With PVA (yellow woodworking glue), moisture helps little; careful mechanical persuasion, mild heat, and patience do more. Avoid brute force: twist gently while supporting the surrounding part to keep leverage off thin spindles.
Work in a sequence that preserves geometry. Often, removing stretchers releases leg tension, then the seat can free up. Label each tenon and mortise with matching marks (1A/1B, 2A/2B) and note orientation arrows. As joints open, scrape away old glue with a sharp chisel, card scraper, or narrow file. A brass brush and dental picks can help chase residue in corners. Don’t over-ream mortises: you want clean wood, not an enlarged pocket. For doweled joints with polished, undersized holes, consider light abrasion with rolled sandpaper (320–400 grit) to restore micro-tooth without altering fit.
If fibers are crushed or a dowel is loose even when clean, plan a refit: slightly oversized replacement dowel, veneer shim on a tenon, or, in some cases, consolidating epoxy inside a damaged mortise followed by careful redrilling once cured. Keep parts dry between steps; trapped moisture weakens new glue bonds.
According to a article.
A few setup habits help: lay parts on a padded surface; keep containers for hardware; and pre-fit all clamps and cauls before glue day. Wipe the surrounding finish with a bit of paste wax ahead of time so accidental squeeze-out releases cleanly. Measured prep prevents mid-glue scrambles—the moment where rushed decisions often lead to misalignment.
Glue choices and regluing techniques
The right adhesive depends on joint style, gap size, and the chair’s age. For snug, freshly cleaned tenons and dowels, aliphatic resin PVA (yellow wood glue) excels—strong, easy, and forgiving. For historically accurate or reversible work, hide glue (hot or liquid) is excellent: it grabs fast, bonds well to old hide glue, and can be warmed apart in the future. For crushed fibers or slight gaps that no longer clamp tight, a slow-set epoxy can bridge voids and reset the interface; just don’t use it to mask sloppy prep. Thin CA (cyanoacrylate) can wick into hairline cracks or stabilize fibers, but it’s best as a specialty assist, not the main bond in high-shear joints.
Apply glue to both mating surfaces for most joints, but don’t flood. For deep mortises, a small acid brush or syringe ensures coverage; on tenons, a thin, even coat avoids hydraulic lock and messy squeeze-out. Assemble in the widest subassemblies you can manage squarely—often leg pairs with stretchers, then into the seat. Test all sequences dry first.
- Use PVA for tight fits; hide glue where reversibility matters.
- Reserve epoxy for gaps or crushed wood; mix thoroughly and avoid overfill.
- Wick thin CA to firm up end grain, then use your primary adhesive for the joint.
- Warm hide glue and parts in cool shops for longer open time and better flow.
- Pre-wax nearby finish and stage damp rags and a sharp chisel for quick cleanup.
For loose doweled chairs where removal risks breakage, wicking adhesives marketed for chairs can sometimes buy time by penetrating tight crevices. Still, the most durable result comes from full disassembly, cleaning, and proper reglue. If a tenon is undersized after cleanup, a veneer shim or paper-thin hardwood sleeve (glued and trimmed) can restore a crisp, snug fit. Aim for a press fit you can seat by hand; if you need a mallet, tap gently and support the joint to avoid shock fractures.
Clamp, align, and lock in stability
Clamping is where theory becomes structure. The goal is even pressure that seats joints fully while keeping the chair square and true. Use band or web clamps to draw frames evenly; supplement with bar clamps and protective cauls to avoid denting. For spindle backs, elastic bands or soft cord can apply distributed tension without bruising slender parts. Always rehearse the clamping layout dry; note clamp lengths, pad locations, and the order you’ll tighten.
Check alignment in multiple ways. Measure diagonals of rectangular sections; they should match. Sight down legs and rails for twist. Sit the chair on a flat surface while glue is still workable and gently adjust for rock. If legs splay consistently, ensure stretchers are seating symmetrically. Wipe squeeze-out promptly—warm water on PVA, a warm rag for hide glue, and a careful scrape after gel stage for epoxy.
Cure fully—longer than you think. PVA sets quickly but needs 24 hours for strength; epoxy may need the same or more. Avoid loading the chair during cure.
- Tighten clamps gradually in rotation to prevent skew.
- Use cauls wrapped in packing tape to keep from sticking.
- Confirm seat height and leg contact on a flat surface before the glue sets.
- Correct a minor end wobble by planing or sanding leg bottoms only after full cure.
- Add discreet pads or glides to equalize tiny variations and protect floors.
After curing, retest for wobble. If there’s still a rock, identify whether it’s geometry (uneven leg length) or renewed joint movement. True up legs minimally—use a flat reference and mark the shortest leg as your benchmark. When trimming, remove the least material needed, staying square to each leg’s axis. Finish with a light burnish and a matching touch-up to keep the repair invisible. For prevention, maintain indoor humidity between 35–55%, carry the chair by the seat, and do a quick annual check of rungs and rails for the earliest signs of movement.
How to Repair — Video Guide
If you’re a visual learner, a workshop demonstration of proper chair stabilization can connect all these steps. In a clear, shop-floor walkthrough, an expert addresses a loose, wobbly chair—showing how to diagnose the problem, open failing joints, and reglue them with the right adhesives. You’ll see practical techniques that homeowners can follow safely with common tools.
Video source: How to Repair Wobbly Chairs Properly - Furniture Restoration Techniques
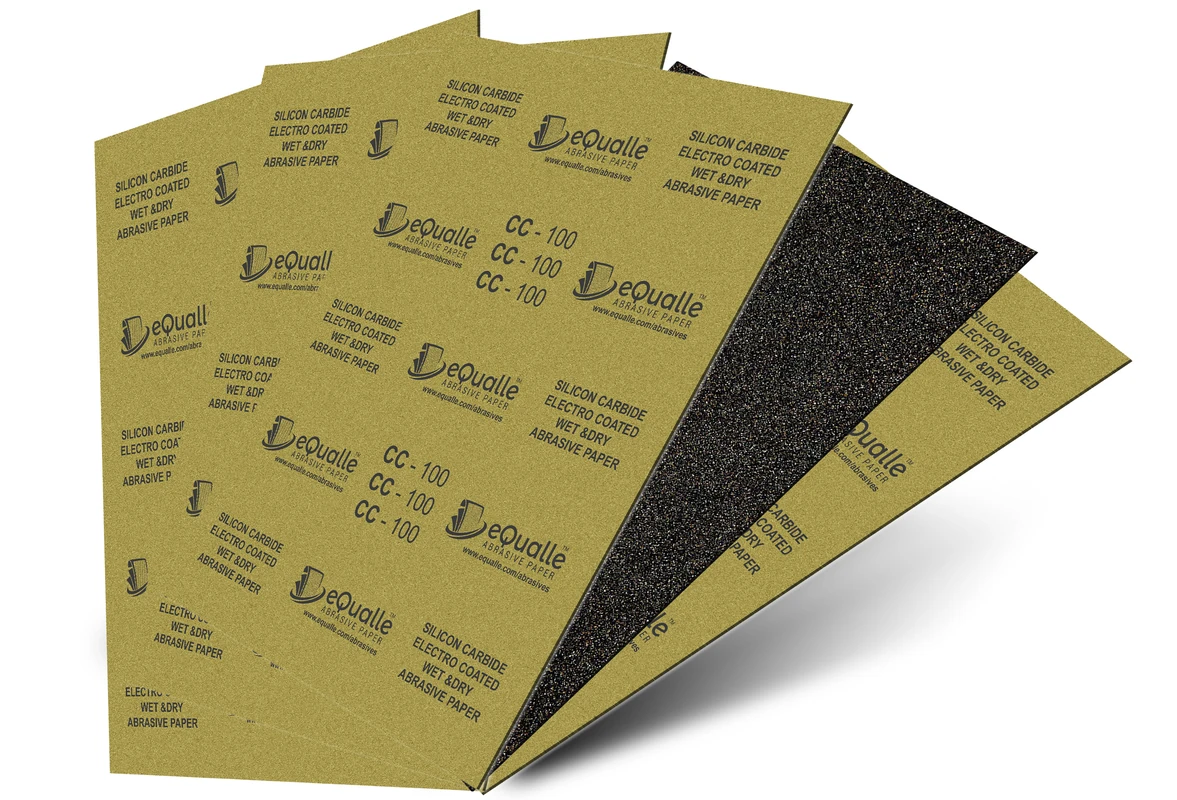
1500 Grit Sandpaper Sheets (50-pack) — 9x11 in Silicon Carbide Abrasive for Wet or Dry Use — Refining grit that bridges polishing and buffing—perfect for restoring a subtle satin or semi-gloss look on painted finishes. (Professional Grade).
Frequently Asked Questions (FAQ)
Q: Can I fix a wobbly chair without taking it apart?
A: Sometimes. Wicking adhesives can penetrate tight joints and improve stability short-term. For lasting results, full disassembly, cleaning, and proper regluing are best.
Q: Which glue should I use for antique chairs?
A: Hot or liquid hide glue is ideal for antiques because it’s strong, bonds to old hide glue, and is reversible for future repairs. It also aligns with traditional construction.
Q: How do I know if I need epoxy instead of wood glue?
A: Use epoxy when fibers are crushed or there’s a slight, uncloseable gap even with clamping. If the fit is snug after cleaning, PVA or hide glue is stronger and more appropriate.
Q: My chair still rocks after regluing—what now?
A: First, confirm all joints cured solid. If yes, the wobble may be unequal leg length. Level the chair on a flat surface and trim the longest leg minimally, then add protective pads.
Q: Is sanding tenons to fit a good idea?
A: Sand sparingly. You want a precise, snug fit. If a tenon becomes undersized, add a thin veneer shim rather than over-sanding; it preserves strength and alignment.