
Feather Edges That Disappear: Joint Compound Sanding
A late afternoon sunbeam has a way of telling the truth. The room looks ready for paint—fresh tape over seams, two coats of mud already dry to a forgiving off-white. Then you step back and the raking light cuts across the wall like a laser level. A glossy ribbon betrays the edge of your patch, and a subtle ridge turns into a shadow that won’t unsee itself. I’ve been there, with a roller in one hand and growing doubt in the other. That’s the moment you realize the real craft isn’t spreading joint compound, it’s how you make its edges disappear.
When I evaluate finishing tools and abrasives, I treat that harsh test light as the final exam. If the feather blends in at sunrise and again at twilight, it passes. If it casts a halo, back to the bench. Achieving that pass has far more to do with the geometry of your feather and your approach to joint compound sanding than with how much mud you can put down. The goal is counterintuitive: use less compound, over more distance, with more control.
As a product engineer, I track a few metrics that correlate with a “can’t-find-it” finish. Average surface deviation under a 4-foot straightedge matters. So does peak-to-valley texture after sanding, measured informally by fingertip feel and more formally by surface roughness standards. Abrasive type and grit progression change clogging rates and dust particle size—crucial if you’re working in a lived-in home. And of course, tool flexibility, blade crown, and compound rheology (how it thins and flows under pressure) set the upper limit on how cleanly you can feather.
If you’re staring at a patch today, take a breath. With a precise strategy—right knives, controlled pressure gradient, minimal but targeted joint compound sanding, and dust-smart techniques—you’ll paint tonight and forget where the repair even was.
Quick Summary: Feather by spreading thinner over wider, control blade pressure to zero at the perimeter, then perform minimal, dust-smart sanding only where it improves the blend.
Feathering logic: thin to nothing
Feathering is a geometry problem disguised as a craft. Drywall is flat; patches and seams add height. If that height drop-off is abrupt, light skates across and reveals it. If it’s gradual enough—over a wide radius—shadows fade and the repair visually disappears. Practically, that means building the center of a seam or patch higher than the edges, then tapering thickness to nearly zero at the perimeter over 8–18 inches.
Two variables make the biggest difference: knife width and pressure gradient. Use a 6-inch knife to prefill and a 10–12-inch (even 14-inch) knife for feather coats. The technique is to bias pressure onto the outer edge of the blade while keeping a shallow angle (about 10–15 degrees relative to the surface). The inside of the blade rides the crown of the seam; the outside edge stays in firm contact with clean drywall, shaving down the mud’s edge. That outer-edge pressure is what creates the “thin to nothing” taper.
Compound consistency matters. Topping or lightweight joint compound thinned to yogurt-like viscosity will level better and shrink less than over-watered all-purpose. If you’re using a setting-type powder (hot mud), mix it lump-free and use shorter working arcs because it gels faster—great for speed, unforgiving for overworking.
A guide coat is the fastest QA step I know: scribble a soft pencil haze across the dry surface before your next pass. After you skim, the remaining pencil shows where your knife didn’t fully cut down the edge—that’s where a feather touch or micro-skim is needed before any sanding.
Actionable techniques:
- Pull each feather coat with overlapping, offset passes, shifting outer-edge pressure slightly further out on each pass.
- Keep a clean, damp rag to wipe blade edges every two passes; dried nibs create micro ridges that broadcast under paint.
- Use raking light during application—hold a work light against the wall to see the edge collapse as you feather.
Optimizing joint compound sanding results
Done right, sanding should be quick, targeted, and dust-smart. Your goal is to refine the feather, not to sculpt bulk material. Choosing the right abrasive and tool impacts both finish quality and air quality.
Abrasive materials: Aluminum oxide is the workhorse—tough, friable enough to self-sharpen slightly, and affordable. Silicon carbide cuts faster but can leave deeper scratches at equal grit; I reserve it for early passes on harder setting compounds. Ceramic-blend films (often on purple or red discs) maintain cut significantly longer and resist loading due to stearate coatings. For drywall compound, open-coat papers or mesh screens shed dust better than closed-coat papers.
Grit progression: If your feather is dialed, start at P180 or P220 (FEPA). Heavier corrections may need P150 initially, but avoid going coarser—you’ll chase scratches under primer. Finish at P220–P320, especially in bright rooms. With sanding sponges, “fine” is roughly P180–P220. Use a soft-back interface pad on power sanders to keep edges from digging.
Tools: Mesh on a pole sander connected to a HEPA vacuum captures dust efficiently; look for 90–150 CFM with auto-filter cleaning. For small patches, a hand block with mesh and a hose stub to a compact vac is quieter and nimble. Random-orbit drywall sanders level quickly but can overcut at edges—keep them flat and moving.
Workflow I recommend:
- Pencil guide coat; 2) Light P180 pass only on edges; 3) Spot-fill any lows; 4) Final P220 blend over a wider halo; 5) Damp microfiber wipe to lift fines before priming.
According to a article, the second-coat feather technique is critical—if you nail that taper, your sanding stage is nearly ceremonial.
Metrics that matter: I target a surface deviation under 0.5 mm across a 24-inch span and a finish roughness that feels uniformly “silky” to the palm. If you can feel a boundary line with your eyes closed, the paint will show it.
Blade selection and compound behavior
Knives aren’t just sizes—they’re profiles. Stainless steel taping knives typically have a slight crown (a gentle arc) that helps lay a controlled center thickness while naturally biasing thin edges. Ultra-flex blades excel at final feather coats because they float better over micro undulations. Stiffer blades are ideal for prefill and for setting tape where you need authoritative pressure.
Width progression is your friend: 6-inch for embed and fill, 10–12-inch for feather, and optionally a 14-inch skim to erase the last hint of an edge. Keep your blade polished; micro burrs telegraph as chatter under skim coats. I’ve measured edge chatter ridges as small as 0.1 mm that still print under eggshell paint.
On the compound side, rheology dictates how forgiving your pass will be. Drying-type premix (all-purpose, topping, lightweight) thins with shear—stirring reduces viscosity temporarily (thixotropy). That’s good: it spreads easily under the knife, then thickens as it sits, resisting sag. Too much water defeats that and increases shrinkage, creating a flat spot after drying that you’ll need to refill. Aim for a mix that holds a soft peak on the knife yet flows under pressure.
Setting-type compounds (e.g., 20/45/90-minute) chemically cure via hydration. They’re stronger and shrink less but sand harder. I like them for deep fills and first coats; for feather coats, a lightweight topping often sands cleaner and dusts finer, reducing edge risk.
Tape choices affect feather strategy. Paper tape embedded in all-purpose compound creates a known crown to feather from. Fiberglass mesh is fast but can require a wider feather to bury the grid under bright light. The California patch is a special case: the paper face of the patch becomes your feather zone—work that outer paper with gentle pressure and a thinned topping coat to avoid a visible edge.
Testing your setup: Skim a practice board and let it cure overnight. Run a 24-inch aluminum straightedge and backlight it; note any light leaks. Map them with pencil, sand with P220, and recheck. This loop tightens your feel for knife pressure and compound consistency far better than watching ten how-tos.
Dust control, testing, and pro tips
Dust is more than a mess; it’s a variable. Airborne fines can resettle into wet paint, and they change your tactile read when checking the feather. My baseline is to integrate dust control into every sanding step.
Extraction: A HEPA vac rated 90–150 CFM with a 1-1/4 to 1-3/8 inch hose balances capture and maneuverability on pole sanders. Mesh abrasives paired with perforated backing improve airflow. Keep the hose as short as practical to reduce pressure drop, and check that your sander’s pad vents align with the disc holes.
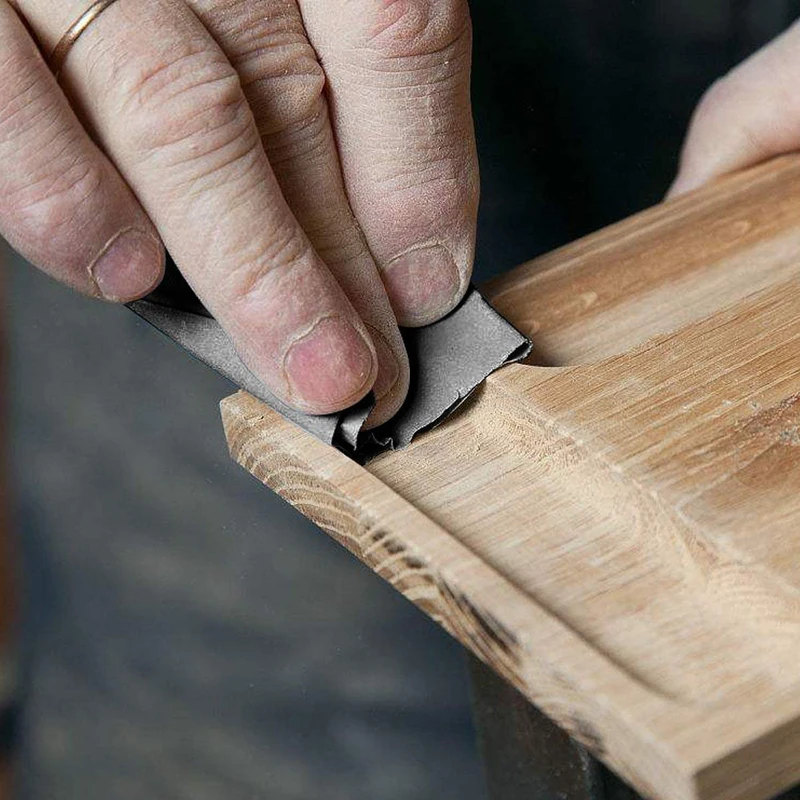
Wet refinement: For micro tweaks on drying-type compounds, a damp (not soaked) sanding sponge can “erase” lint and small ridges with almost no dust. Rinse the sponge frequently and avoid saturating the surface, which can soften paper face and raise nap.
Light and measurement: Use raking light across, not at, the wall. Close your eyes and palm-scan the area—human fingertips detect height changes under 0.1 mm that eyes may miss without paint. If you want empirical data, a simple feeler gauge under a 24-inch straightedge quantifies your feather within seconds.
Four pro tips that consistently move results from “good” to “seamless”:
- Build the radius: On the last coat, extend your feather at least 8 inches beyond the patch edge; small ridges vanish faster when the transition is wide.
- Guide, then glide: Always pencil a guide coat before sanding; stop as soon as the marks at the perimeter disappear.
- Angle discipline: Keep your knife around 10–15 degrees and bias pressure to the outer edge; flattening the knife increases drag lines and central lows.
- Prime to verify: Use a high-build drywall primer and re-scan under raking light before finish paint; spot-skim any telegraphed edges and touch-sand P220.
If you’re finishing in an occupied room, mask doorways and use negative air (box fan in a window) to maintain airflow out. The less dust you make—and the more you capture—the more your finish tells the story you want when the sun swings low again.
You'll never sand — Video Guide
Leah from See Jane Drill demonstrates a clean alternative to sanding: water troweling a finish coat so the edge is burnished rather than abraded. Instead of creating dust, she uses a dampened blade to reflow and slick the compound, effectively feathering to zero while the mud is still workable.
Video source: You'll never sand JOINT COMPOUND again!!!
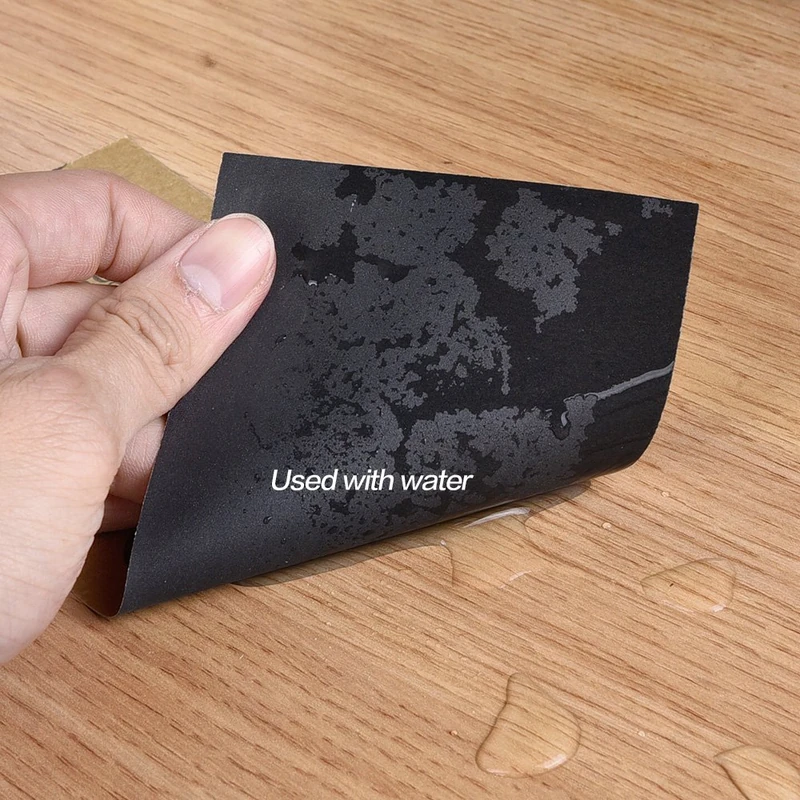
320 Grit Sandpaper Sheets (100-pack) — 9x11 in Silicon Carbide Abrasive for Wet or Dry Use — Precision finishing grit that enhances clarity between paint or lacquer coats, ensuring a flawless final layer. (Professional Grade).
Frequently Asked Questions (FAQ)
Q: What grit should I use for the final pass on feathered edges?
A: Finish with P220–P320 depending on room light and paint sheen. Bright, low-angle light benefits from P320; otherwise, P220 is typically sufficient.
Q: How wide should my feather extend beyond a patch?
A: For small patches (under 4 inches), extend 6–8 inches beyond the edge. For seams or larger patches, extend 10–18 inches to smooth the light transition.
Q: Is wet sanding better than dry sanding for joint compound?
A: Wet sanding creates less dust and is great for minor refinement. Dry sanding with mesh and HEPA extraction removes material faster and is better for shaping.
Q: Which compound is best for the final feather coat?
A: Lightweight topping compound, thinned slightly, levels well and sands cleanly. Use setting-type for deep fills, then switch to topping for the feather coats.
Q: How do I know if I’ve over-sanded into the paper?
A: The surface will look fuzzy or darken. Stop immediately, spot-skim with thinned compound, let dry, and re-sand lightly with P220 using minimal pressure.