
Deck sanding without gouges: pro tips and steps
Saturday morning, coffee in hand, I ran a palm over the deck rail and felt that familiar sting—another splinter. The boards below were gray and furred like a weathered sweater. Summer chairs wobbled on cupped planks, and the kids tiptoed around the rough spots like they were hot coals. If you’ve been there, you know the feeling: this deck has stories, but it’s due for a reset. That reset starts with deck sanding done right—without carving ruts or dishing out the boards. I’m Lucas Moreno, Workshop & DIY Specialist for eQualle Blog, and I’ve sanded more tired decks than I can count. The good news? You don’t need brute force, a trailer full of machines, or some mystical touch. What you need is a clear plan, a light hand, and the right sequence so your sander never bites harder than it should.
Let’s set expectations. Weathered boards aren’t all the same—some are soft on top from sun and rain, some are cupped like shallow boats, and many hide proud screws and nails that love to shred sanding discs. If you fire up a belt sander or tilt a random orbital on an edge, you can gouge quicker than you can say “oops.” But with a methodical workflow, controlled pressure, and a few small upgrades—an interface pad here, the right grit there—you’ll turn those gray ridges into clean, even grain ready for stain or sealer. This is not about polishing; it’s about flattening lightly, removing the fuzz and old finish, and leaving the surface consistent so your finish lays down smooth and lasts. I’ll show you how to diagnose your boards, set up safely, choose tools that forgive small mistakes, and move in passes that respect the wood. By the end, you’ll have a deck that looks new without losing life to deep sanding scars.
Quick Summary: With proper prep, gentle machines, smart grit progression, and controlled passes, you can sand a weathered deck smooth and flat without gouging.
Start with a safe, clean deck surface
Before we touch sandpaper, we make the deck safe for sanding and safe for feet. Your first job is to clear, fix, and clean so the sander isn’t fighting bumps, screws, and grit.
- Inspect and mark hazards. Walk the deck in raking light. Circle raised fasteners with chalk, flag split ends, and note cupped boards.
- Set or swap fasteners. Countersink any proud screws at least 1/16 inch. Replace loose nails with exterior screws. Fill deep voids with exterior wood filler only if you’ll use solid stain; otherwise, patch with wood plugs.
- Clean the surface. Sweep, vacuum, then wash with a deck cleaner to lift grime and old mildew. Rinse thoroughly.
- Dry time matters. Let the deck dry 24–48 hours (longer in shade or humidity). Aim for wood moisture content near 12–15% if you have a meter. Sanding wet fibers leads to clogs, fuzzing, and uneven cuts.
- Protect the perimeter. Mask metal railings, glass, or painted trim with plastic and tape. Fine dust goes everywhere; better to trap it now.
- Suit up smart. Eye protection, hearing protection, and a good respirator are musts. Gloves help, but avoid bulky ones that blunt your touch on the tool.
Actionable tips:
- Run a putty knife or 6-in. taping knife along board edges to pop lodged grit before sanding—sandpaper lasts longer.
- Keep a rare-earth magnet or magnetic sweeper handy to snag old nails and screws you uncover mid-job.
- Chalk a centerline and work outward. It keeps your passes consistent and avoids missed strips.
A clean, dry, fastener-flush deck is the difference between a calm, controlled sanding day and a frustrating one. You’re creating a stage where your sander can float, not fight.
Smart deck sanding workflow and grit choices
Grits and order matter more than muscle. Your goal isn’t to turn cedar into a tabletop—it’s to remove gray fiber, scuffs, and peeling finish while keeping the board face flat. That means starting as fine as you can get away with and moving just enough to remove defects.
- Start test: Pick a quiet corner and try 80-grit on a random orbital sander (ROS). If it cuts the gray cleanly in 3–5 slow passes, great. If not, drop to 60-grit. Only reach for 40-grit when boards are severely ridged or coated with stubborn film finishes.
- Progression by finish type:
- Clear or semi-transparent stain: 60, then 80. Stop at 80 to avoid over-polishing; too smooth and stain won’t bite.
- Solid-color stain or paint: 60 only, or 60 to 80 if needed for feel. No need to go finer.
- Bare softwoods (cedar, pine) often top out at 80. Harder woods (ipe, mahogany) may prefer 80–100, but take care—these can glaze.
- Board condition dictates approach:
- Cupped boards: Skim diagonally at 60 with very light pressure to knock down high edges, then finish with the grain at 80.
- Deep scratches or ridges: Use 60 with more passes, not more pressure. Pressure causes dips; passes preserve flatness.
- Edge and end-grain strategy: Hand-sand end grain with a block at 80. For edges between boards, a detail sander with 80 avoids chewing grooves with a big pad.
Workflow steps:
- Test cut and choose the coarsest grit that just barely does the job.
- Sand the field in overlapping lanes (50% overlap), keeping the tool flat and moving.
- Vacuum between grits; dust hides swirls and wastes paper.
- Inspect at raking light and pencil-squiggle the surface; sand until squiggles fade evenly before moving up a grit.
Pro tips to avoid gouges:
- Use an interface pad (soft foam) under your ROS disc on cupped or uneven boards; it lets the pad float instead of digging at edges.
- Keep your ROS speed at medium-high; max RPM with heavy pressure can chatter on soft earlywood.
- Don’t exceed 80–100 on exterior decks; finer grits burnish fibers and reduce finish adhesion.
Consistency beats aggression. If you’re leaning on the tool, you’re doing it wrong—let the grit work.
Tools that won’t gouge weathered boards
The best gouge prevention is choosing forgiving tools. While pros can tame anything, some machines amplify small mistakes. Here’s what works in the real world.
Random orbital sanders (ROS), 5- or 6-inch:
- The go-to for control. The orbital + rotational motion resists cutting trenches.
- Use 60–80 grit, multi-hole mesh or ceramic abrasives, and hook the sander to a vac for cooler, cleaner cuts.
- Add a 1/4-in. soft interface pad on cupped or wavy boards. Swap to a firm pad on flatter sections.
Square-buff or orbital floor sanders:
- Excellent for large surfaces with minimal risk. They don’t dig like drum sanders and are friendly to mixed board conditions.
- Fit with 60- or 80-grit sheets or screens. Work in slow, overlapping passes, then feather with a handheld ROS where needed.
Detail and corner sanders:
- For tight spots, between balusters, and board edges. Keep 80-grit on them and avoid lingering on soft summerwood.
What to be cautious with:
- Belt sanders: They remove stock fast and straight—but tip a belt sander and you’ll carve a trench in one heartbeat. If you must use one, fit 80-grit, hold perfectly flat, and keep moving. Practice on scrap first.
- Drum floor sanders: Incredible on hardwood floors, risky on decks. Uneven boards, screws, and soft grain make them prone to dig. If rented, proceed with a very fine setup and feather touch only.
Accessories that help:
- Dust extractor or shop vac with a HEPA bag—better sightlines and cooler paper.
- Raking-light setup: A clamp work light at a low angle shows swirls and highs/lows immediately.
- Moisture meter: Saves you from sanding damp fibers that clog and fuzz.
According to a article.
Actionable tips:
- Mark your ROS pad “X” with a marker; rotate discs occasionally so wear patterns don’t cut unevenly.
- Keep a nylon or brass brush to clean discs on the fly; loaded paper scratches.
- Run cord management—clip cords to your belt or use a cord hook so you don’t drag grit across freshly sanded boards.
Pick tools that slow you down just enough to stay accurate. Your future self, and your deck boards, will thank you.

Technique: pressure, angles, and passes
With setup and tools sorted, technique keeps you out of trouble. Think glide, not grind. Every move is about even contact and controlled overlap.
Pressure and body mechanics:
- Two hands, light grip. Let the sander’s weight do most of the work; add just enough pressure to keep it planted. If the motor bogs, you’re pushing too hard.
- Keep wrists neutral and elbows soft. A death grip telegraphs twitches into the pad.
- Start and stop off the workpiece when possible; landing a spinning pad on the deck can leave a divot.
Angles and approach:
- With the grain is home base. On cupped boards or heavy weathering, take one or two diagonal “flats” at 60-grit to reduce highs, then finish with the grain at 80.
- Avoid riding board edges. The pad’s outer 1/2 inch cuts fastest; tilt or linger and you’ll dish. Center the pad and move steadily.
- Overlap each lane by about 50%. Picture mowing a lawn—no racing stripes.
Pass timing:
- Count on 3–5 slow passes at each grit in problem areas. Slow means about 1 inch per second. Yes, that slow.
- Pencil-squiggle control: Lightly scribble each board before a pass. When all marks just vanish, stop and move up a grit or on to the next section.
- Vacuum and inspect at raking light between grits; swirls hide until you put stain on them.
Edges, ends, and details:
- Hand-sand end grain with a cork block at 80. Power tools dig fast on end grain.
- For inside corners, use a triangular pad sander, light pressure, quick touches.
- Where boards meet posts, switch to a sanding sponge. It conforms without biting.
Environmental rhythm:
- Work in shade or cool hours. Hot sun softens resins and makes paper load; also, glare hides defects.
- Keep a breeze or fan moving dust away from you—but not across freshly sanded sections where it can embed.
Actionable tips:
- If you see pillowy “dished” growth rings, you’re pushing too hard on soft earlywood. Back off pressure and make more passes.
- Hear a sudden pitch change or feel a hop? Stop—check for a raised fastener or loaded paper before you carve a circle into the wood.
- Before finishing, lightly hand-sand with the grain using a fresh 100-grit sheet to break any ROS swirl on select boards, then vacuum thoroughly.
A light, consistent touch outperforms brute force every time. You’re creating a uniform scratch pattern, not sculpting.
Power washing VS — Video Guide
If you’re on the fence about how much sanding helps, there’s a clear visual in a short video comparing power washing to sanding on a real deck. The host lays out the basic gear list, demonstrates the workflow, and shows how a measured approach can transform gray boards without deep cuts or big expenses.
Video source: Power washing VS Sanding Deck - See the difference!
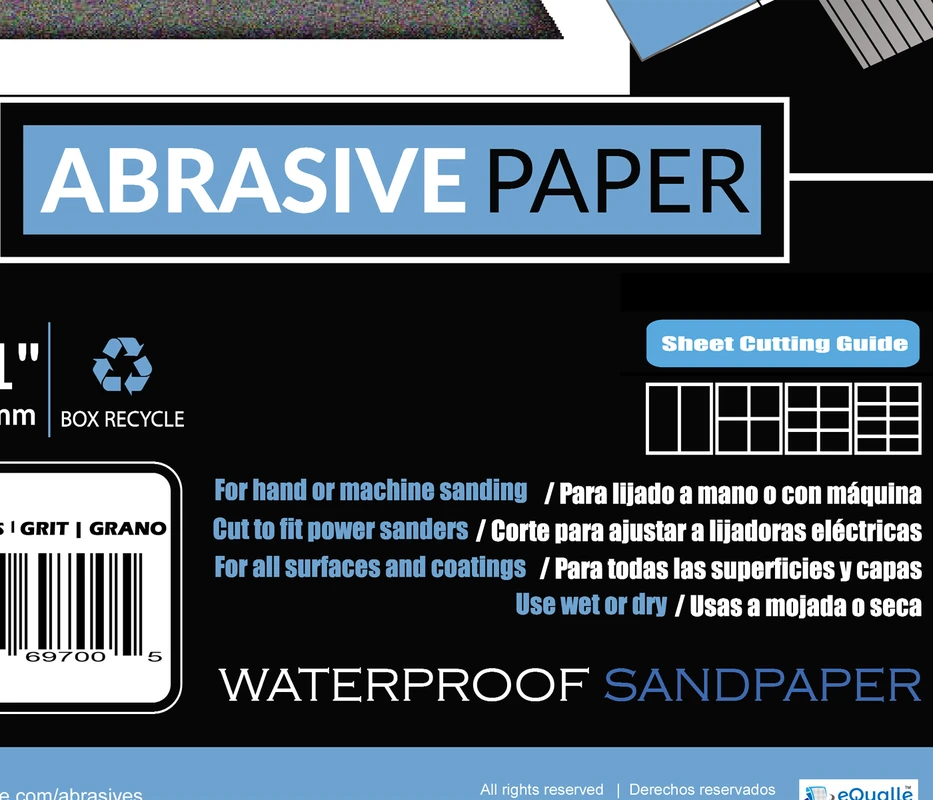
320 Grit Sandpaper Sheets (10-pack) — 9x11 in Silicon Carbide Abrasive for Wet or Dry Use — Fine finishing grit for sanding between coats of paint, primer, or lacquer. Provides smooth, even results for woodworking, automotive, and precision finishing. Works efficiently for wet or dry applications. (Professional Grade).
Frequently Asked Questions (FAQ)
Q: What grit should I start with on a weathered deck?
A: Test 80-grit first; if it won’t clear gray in a few slow passes, drop to 60. Only use 40 on severe ridges or thick finishes, and always finish at 80.
Q: How do I avoid swirl marks showing under stain?
A: Keep the sander flat and moving, vacuum between grits, sand in raking light, and stop around 80–100 grit. Hand-sand a quick final pass with the grain.
Q: Can I use a belt sander on deck boards?
A: You can, but it’s risky. Keep 80-grit, hold perfectly flat, and keep moving. A random orbital or square-buff sander is far more forgiving and safer against gouging.