
DA vs RO Sanding: 3mm vs 5mm Orbit for Autos
It starts the way so many satisfying projects do: a clean shop floor, a fresh cup of coffee, and a fender masked off under bright LED lights. You run your fingertips across the surface—there’s a faint texture left from primer work and a few specks of dust settled into cured clear. You’ve got two sanders on the bench and a stack of discs ready to go. In your head, you’re hearing old advice about “keep it moving” and “don’t chase one spot,” but today you want more than rules of thumb. Today you want to understand why certain strokes cut faster and others finish cleaner. You want a finish that survives the harsh glare of the sun, not just the forgiving glow of the shop.
That’s where the specifics matter: DA vs RO sanding, and within that, choosing a 3 millimeter versus 5 millimeter orbit for auto sanding. If you’ve ever wondered why the same grit can behave so differently from one sander to another, orbit size is the missing variable. It’s the length of the tool’s tiny circular path, and it changes everything—from how quickly you flatten orange peel to how safely you refine clearcoat before polishing. The wrong choice can leave pigtails and haze that only appear hours later, when you’re doing the final wipe-down. The right choice keeps you in control: leveling when you need speed, and finishing when you need finesse.
Whether you’re dialing in primer, blending an edge, or chasing micro-defects after paint correction, understanding orbit size puts intention behind every pass. And once you connect those dots, the decision between 3mm and 5mm becomes less about habit and more about outcome—fewer surprises, better texture, and a finish you’re proud to sign with your name.
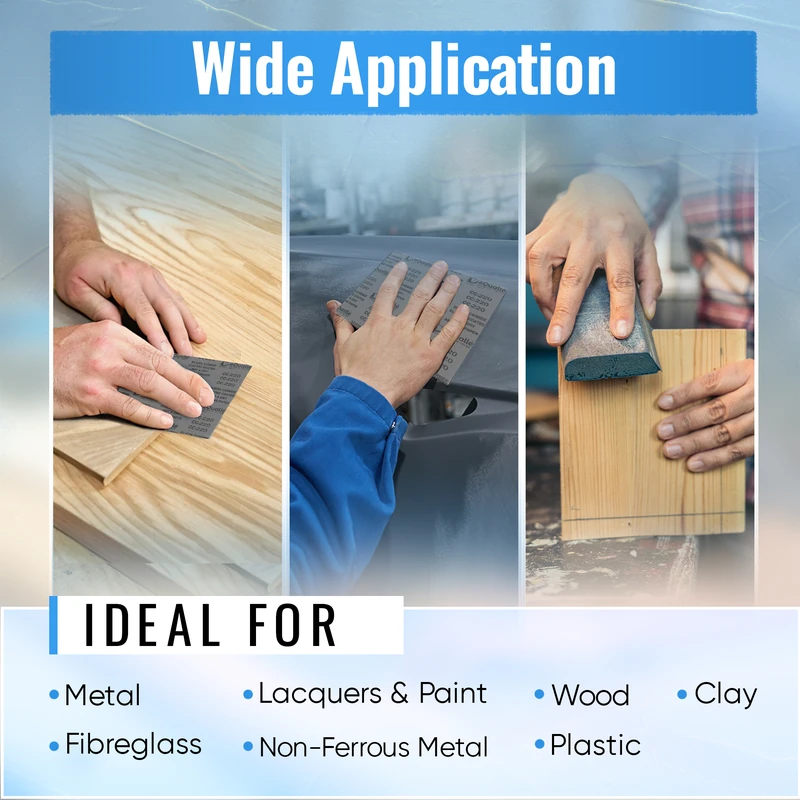
Quick Summary: Use 5mm orbit for faster leveling in prep and primer stages, and 3mm orbit for controlled, finer finishing on clearcoat and edges before polishing.
Orbit Size Basics for Auto Sanding
Orbit size is the stroke length of your sander’s pad—the diameter of the small circle it travels while spinning. In automotive work, 3mm (about 1/8") and 5mm (about 3/16") are the two most common orbits. While both are used with dual-action/random-orbital mechanics, the difference in stroke length shifts how aggressively the abrasive cuts, how deep the scratch pattern is, and how likely you are to leave pigtails or visible haze.
Think of orbit size like gear selection. A 5mm orbit is your “low gear”: it transfers more lateral motion into the abrasive, which improves stock removal, flattens surfaces faster, and helps you erase texture such as orange peel, runs after leveling, or highs across a panel skimmed in primer. The trade-off is that the scratch pattern is inherently coarser, so you must step through grits more carefully and maintain good dust extraction to avoid pigtails.
A 3mm orbit acts like a “high gear” for finesse. Because the stroke is shorter, each abrasive grain tracks a tighter path. That means shallower, more uniform scratches and less risk when you’re close to color or working on thin clear, edges, or complex body curves. You’ll notice the 3mm orbit shines for denibbing, refining after 5mm work, or preparing for polishing with fine abrasives (P1500–P3000). The trade-off? It removes material more slowly, so using it for major leveling can waste time (and discs).
Two other variables interact with orbit size: disc diameter and pad hardness. A 6" disc on a 5mm orbit magnifies cut and panel coverage, great for large, flat areas. A 5" disc or softer pad calms the tool, better for contours or softer clears. Build your workflow by matching orbit size, disc size, and pad hardness to the stage of work and the shape of the panel. Do that consistently, and you’ll start to predict results before the sander even touches the paint.
How DA vs RO sanding choices shape results
Terminology causes a lot of confusion. In many body shops, “DA” (dual action) is used casually to mean a pneumatic random-orbital sander—the everyday palm sander with a free-spinning pad. Technically, DA can also mean a tool with two operating modes: a free random orbit and a lockable or forced-rotation mode. “RO” (random orbital) specifically refers to the free-spinning motion where the pad both spins and orbits, driven by air or an electric motor, with friction dictating pad rotation.
Why does this matter for 3mm versus 5mm orbit decisions? Because motion type and orbit size compound. A free-spinning RO sander with a 5mm stroke will cut fast but is sensitive to pressure and dust. Lean too hard and you can stall the spin while the orbit continues, making pigtails more likely. Keep the pad flat with light pressure and strong vacuum, and it levels like a champ. A 3mm RO setup, by contrast, is naturally forgiving—ideal when you’re finishing on paint or blending edges where heat and deep scratches are risky.
If your “DA” is a model with a selectable forced-rotation mode, think of that mode as a turbo button for leveling: it resists stalling and maintains consistent spin, which boosts cut even further—especially with a 5mm orbit. Save that for heavy primer flattening or bodywork transitions, and always follow with a finer, free-spinning pass to normalize the scratch pattern before stepping down in grit.
Electric vs air power changes the feel, not the fundamentals. Pneumatic sanders tend to be lighter and spin up quickly; electric units often offer better speed control and can maintain pad rotation under light load. Regardless of power source, match your orbit to the task:
- Choose 5mm when you want fast material removal, surface flattening, or aggressive defect correction.
- Choose 3mm when you want control, refined scratch patterns, and safer work near edges or on cured clear before polishing.
Mastering DA vs RO sanding with purpose-built orbit sizes is what turns a good surface into a great one—consistent, predictable, and ready for the next stage.
3 mm Orbit: Precision, Control, and Clearcoat Safety
When you move to finishing and refinement, a 3mm stroke becomes your most reliable ally. The shorter orbit tracks a tighter path, producing a finer, more uniform scratch that’s easier to polish out. It’s the setting professional refinishing techs lean on for denibbing (removing dust nibs), smoothing blends, and pre-polish refinement where you can’t afford surprises.
Typical grit ranges for a 3mm orbit start around P600–P800 when you’re transitioning from leveling to refinement in primer, then move to P1000–P3000 on base/clear. If you’re correcting minor orange peel or texture on fresh clear, a 3mm orbit with a soft interface pad and P1500–P2000 dry can reduce texture without etching deep grooves. On older, harder clears, you might step to P1000–P1200 first, then re-refine with P2000–P3000 before compounding.
The 3mm orbit also manages heat and edge risk better. With less lateral throw, there’s less chance of digging in at panel edges or peaks on complex body lines. Pairing a 5" pad with a soft or multi-hole interface pad further distributes pressure, helping you maintain a consistent contact patch while still following curves. This is especially valuable on bumpers and modern panels with sharp breaks where foam backing and tighter orbit prevent unintentional flat spots.
Technique matters. Keep pressure light—think the weight of your hand plus a little guidance—and let the abrasive do the work. A 10–12k OPM free speed is typically plenty with 3mm; if your pad spins happily with minimal load, you’re in the sweet spot. Overlap each pass by 50% in cross-hatch patterns, and use guide coat on primer or during texture reduction to see your progress in real time. You’ll know you’re dialed in when the finish looks uniformly frosted, and your next grit cleans up the previous one in one or two sets of passes.
According to a article, high-quality random-orbital sanders are offered in multiple stroke lengths specifically so technicians can switch between fast cut and fine finish—an intentional design choice you can use to your advantage.
5 mm Orbit: Speed, Leveling, and Primer Productivity
A 5mm stroke is about pace and flatness. It moves more abrasive across the surface per revolution, which translates into faster leveling—exactly what you need when knocking down high spots, flattening runs after slicing them with a nib file, or taking a block-sanded primer panel to a uniform, matte surface ready for sealer. If your goal is to erase peaks and blend planes on a broader scale, 5mm is the obvious starting point.
Workhorse grits for 5mm orbit in auto applications are P80–P180 for filler shaping and initial knockdown, P220–P320 for primer surfacer, and P400–P600 for final primer prep before color (adjust for your paint system’s recommendations). Because the stroke is longer, the scratch peaks are more pronounced; that’s good for cut but demands disciplined grit progression. Skipping steps (say, jumping from P320 straight to P800) can leave ghosts that reappear after polishing. A smoother handoff would be P320 → P400/500 → P800 on a 3mm orbit before polishing.
Dust extraction becomes more critical with 5mm. The longer orbit can trap larger particles under the disc, and if the pad rotation slows or stalls while the orbit continues, that debris can spiral into pigtails. Use high-flow vacuum with proper hole alignment in your discs and pad. Keep discs fresh—once the abrasive loads or the stearate is spent, you’re skating on dust instead of sanding with sharp grain.
Panel shape determines how far you push the 5mm. On flat hoods and doors, a 6" pad with a medium or hard backing plate and 5mm orbit yields straightness and speed. On tighter curves, switch to 5" or even 3" accessories to maintain control and consistent contact. Always finish 5mm work with a 3mm orbit at finer grits; that’s the bridge from “fast flattening” to “polish-ready” that prevents chasing residual scratches later. Use a dry guide coat between stages, and let the surface—not the clock—tell you when you’ve removed the previous pattern.
Choosing Your Setup: Pads, Grits, and Airflow
Orbit is the headline, but the supporting cast—pads, abrasives, and airflow—decides whether your plan works in practice. Start with backing plates. Hard plates transfer energy efficiently for 5mm leveling on flat areas; medium plates are a balanced default; soft plates or foam interface pads distribute pressure for curves and finishing with 3mm orbits. For denibbing, a small 1–3" spot pad on a 3mm orbit keeps correction local and safe.
Abrasive technology matters. Film-backed discs cut consistently and resist edge-tearing—great for finishing passes on 3mm strokes. Paper-backed discs are economical for heavy primer work with 5mm strokes but may load faster. Multi-hole patterns enhance dust extraction; your vacuum and pad must match the disc hole layout to unlock that benefit. If you see persistent pigtails, upgrade your vacuum flow and try a disc pattern better matched to your pad.
On pneumatic tools, airflow is non-negotiable. Many 5mm orbit sanders need steady, clean air around 12–16 CFM at 90 PSI to maintain pad rotation under light pressure. Undersized hoses, restrictive fittings, or water in the line translate into slower cut and more heat. Electric tools trade hose freedom for cord management, but modern brushless motors and speed controls can hold RPM better under light loads—use that to keep pressure minimal and finish uniform.
Grit progression is your map. For a typical panel: 5mm orbit with P320 on primer → 5mm with P400/500 → switch to 3mm with P800/P1000 → 3mm with P1500–P2000 → compound/polish. If you start on clear for texture control, try 3mm with P1500, then 3mm with P2000–P3000, followed by foam-pad compounding. Always confirm with consistent, raking light—LED bars or sunlight—to avoid surprises after you peel tape.
Actionable tips for cleaner, faster sanding:
- Use a dry guide coat every time you change grit or orbit; it instantly reveals lows, highs, and remaining scratch patterns.
- Keep pad rotation alive: apply only light pressure and listen—steady, soft spin noise means the pad is doing both spin and orbit.
- Add a 3–6mm foam interface when finishing with 3mm orbit; it reduces edge aggression and evens pressure on curves.
- Purge dust often: two quick air blasts or a vacuum pass between sets of strokes prevent pigtails and loading.
- Mark your disc change intervals (e.g., every two door skins) to avoid running dull abrasives that cook clear and slow you down.
Fine-Tuning Technique for Repeatable Results
Consistency is the real secret behind pro-level finishes. First, stabilize your stance and route your hose or cord over your shoulder so the tool can float. Whether you’re in 3mm or 5mm mode, aim for 50% overlap with smooth, medium-length strokes. On large flats (roof, hood), work in rectangles you can cover in 10–15 seconds per pass, then cross-hatch the area at 90 degrees. On complex shapes (bumpers, character lines), shorten your stroke and reduce pad size so the contact patch stays flat.
Mind your speed. Most RO/DA sanders operate between 8,000 and 12,000 OPM; use the lower end for finishing and the higher end for cutting, but let the disc and dust behavior guide you. If dust trails behind the pad, extraction is weak or pressure is high. If the pad squeals, you’re too flat and static; tilt 2–5 degrees or lift pressure to restore spin. For edge safety, roll off pressure as you approach a tape line or raised feature, and finish by feathering away from the edge rather than into it.
Lighting reveals truth. A soft overhead light makes almost any surface look perfect. Raking light does not. Aim a portable LED across the panel at a shallow angle and check after each grit. With a 5mm orbit at P320–P500, you should see a uniform matte with no shiny pockets. After a 3mm pass at P1500–P2000, the surface should shift from grainy to frosted-fine. If you can spot a directional scratch pattern, you either skipped a grit, stalled rotation, or need to spend one more cross-hatch.
Finally, be honest about panel history. Freshly cured 2K primer is forgiving and loves a 5mm orbit. A repainted, thin clear on an older fender is not—go 3mm, add foam, and lengthen your path. Matching your orbit size to the panel’s past is how you protect what’s there and deliver the texture you intended, every time.
Paint correction using — Video Guide
If you want to see precision sanding in a tight spot, watch a demonstration of touch-up paint repair where a Milwaukee M12 detail sander levels a rock chip before polishing. The walkthrough shows how a small, ergonomic tool can safely flatten a tiny high spot, then blend it back into the surrounding clear without leaving a halo.
Video source: Paint correction using Milwaukee M12 detail sander
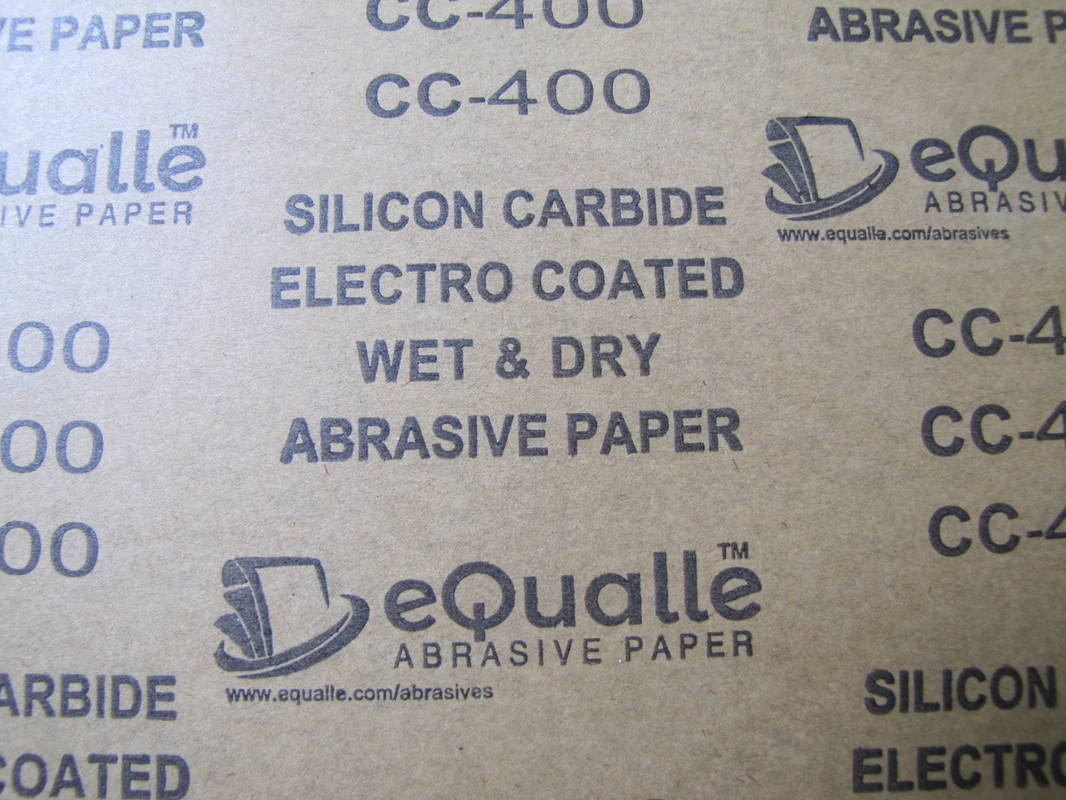
80 Grit Sandpaper Sheets (25-pack) — 9x11 in Silicon Carbide Abrasive for Wet or Dry Use — Durable coarse abrasive that evens out irregular surfaces and clears old coatings. Ideal for early sanding stages in woodworking, fiberglass, or metal preparation. (Professional Grade).
Frequently Asked Questions (FAQ)
Q: Is 3mm orbit always better for clearcoat finishing?
A: Not always, but it’s the safer starting point. A 3mm stroke creates a finer, more uniform scratch that polishes out faster with less risk of edge burn or deep marks. If a surface needs significant texture reduction, you may start with a 5mm pass at a finer grit, then switch to 3mm to refine.
Q: Can I finish a panel using only a 5mm orbit?
A: You can, but expect extra polishing time. A 5mm orbit leaves a coarser pattern at any given grit. If you must finish with 5mm, add one or two more grit steps (e.g., P500 → P800 → P1500) and ensure dust extraction is excellent to avoid pigtails.
Q: What disc size works best with 3mm and 5mm orbits?
A: Use 6" for speed and flat areas, 5" for control and curves. Pair 6" with 5mm orbit for fast leveling on hoods, roofs, and doors. Use 5" (or smaller) with 3mm orbit for bumpers, pillars, and tight contours where contact stability matters.
Q: Why am I getting pigtails even with fine grits?
A: Common causes include poor dust extraction, heavy pressure stalling pad rotation, loaded discs, or misaligned hole patterns. Reduce pressure, refresh the disc, align holes, and increase vacuum flow. Shorten your dwell time and keep the pad flat.
Q: How do I choose between pneumatic and electric for this work?
A: Pneumatic sanders are light and responsive, great for all-day use if you have adequate air. Electric units offer precise speed control and consistent rotation under light load. Either can excel—prioritize ergonomics, dust management, and the orbit sizes you need.