
Soft Interface Pads for Safe Lens Sanding
There’s a familiar moment that sneaks up on you at dusk: the road film turns the sky grey, brake lights stretch into halos, and the headlamps that once punched ahead now glow like tired lanterns. I’ve been there—standing in a quiet garage with a dual-action sander, sheets of neatly labeled abrasives, and a headlight that looks more like frosted glass than a transparent lens. On my first attempt years ago, I got the clarity back, sure—but I also left behind a subtle flat spot and a faint ripple visible from certain angles. The car’s look changed in a way only an engineer or a picky owner would notice. That experience pushed me to evaluate the mechanics of how we contact curved lenses and how a simple component—the soft interface pad—can make or break the outcome of lens sanding.
When you’re working on polycarbonate or glass lenses with compound curves, the hard backing pad of a sander doesn’t negotiate subtle geometry well. You end up with pressure spikes at the crown and along edges, micro-chatter from the orbit, and more heat than you think you’re generating. That combination is where pigtails are born and where optical distortion creeps in. A soft interface pad, positioned between the backing plate and abrasive disc, changes the contact physics. In testing, it spreads load, moderates heat, and helps abrasives track curves without gouging. The pad seems trivial, but if you want consistent clarity and geometry, it’s the lever that moves the system.
From that first misstep, I switched to controlled experiments: pressure mapping, scratch analysis under magnification, and thermal readings. The takeaway was surprisingly consistent across lenses, tools, and operators: when curves matter, a soft interface pad isn’t a nice-to-have—it’s the difference between “cleaned up” and “professionally restored.”

Quick Summary: A soft interface pad improves conformity, reduces pigtails, lowers heat, and preserves curvature during lens sanding—especially on complex, curved headlight lenses.
Why soft interface pads change the physics
Curved lenses demand a tool that can adapt to shape without spiking pressure. Place a rigid 3- or 5-inch backing plate against a convex headlight, and the contact zone collapses into a small cap at the apex. The local pressure (force divided by contact area) surges, scratches deepen, and heat rises faster than your fingertip thermometer can detect. This is how you end up with swirl stacks that take longer to clear, or worse, subtle flats that bend reflected lines.
A soft interface pad adds a compliant layer—typically 3–5 mm of foam—between backing plate and abrasive. That foam is the tuned spring in the system. It deforms enough to expand the real contact area across a broader patch of the lens, lowering peak pressure and evening out energy input. The result is more uniform scratch depth and fewer abrupt transitions between zones. Mechanically, you’re moving from point or cap contact toward cushioned area contact.
Two additional benefits show up in testing:
- Heat moderation: With more area engaged and intermittent cooling from micro-channels in the foam, surface temperatures tend to rise more slowly. On polycarbonate, that buffer helps you avoid softening near the glass transition behavior and the sticky state that breeds pigtails.
- Orbit smoothing: The foam layer dampens high-frequency vibrations from the tool. That reduces the amplitude of micro-chatter that otherwise prints into the scratch pattern—especially noticeable in fine grits.
H3: Foam thickness and durometer In practice, 3–5 mm foam at medium-soft durometer (roughly 20–40 Shore 00 as a ballpark) is the sweet spot for headlights. Thinner or firmer pads maintain better “edge control” on flatter surfaces but transfer more of the backing plate’s rigidity; thicker or very soft foam conforms beautifully on tight curves but can round edges and soften defined lines. For multi-radius headlamps, a 5 mm soft interface pad typically balances conformity with stability.
Abrasive selection and soft pads for lens sanding
Any plan for lens sanding is only as good as the abrasive you press into that foam. The mineral, resin bond, and especially the consistency of the grit size determine how predictably you can step through scratches. For polycarbonate, ceramic aluminum oxide and silicon carbide both cut well; silicon carbide is slightly sharper initially and often preferred in finer grades for a cleaner finish. Micro-replicated films deliver the tightest scratch distribution but cost more; standard coated discs are more economical and perfectly serviceable with proper technique.
H3: Grit progression that works A sensible progression for oxidized polycarbonate lenses is:
- 500–600 grit to break through UV coating and heavy pitting
- 800–1000 grit to level and refine
- 1500–2000 grit to reduce scratch depth before polishing
- Optional 3000–5000 foam-backed finishing before compound
For pitted glass, start higher (800–1000) to minimize deep subsurface fractures, then proceed similarly. Always finish with a dedicated polish—plastic polish for polycarbonate or cerium-oxide–based polish for glass.
H3: Interface pad setup Use a hook-and-loop soft interface pad between your DA sander’s backing plate and the abrasive disc. It should match the disc diameter (e.g., 3-inch system for tight contours, 5-inch for broad faces). The hook-and-loop pairing makes mid-job grit changes easy without tearing foam. Keep orbit in the 3–5 mm range; larger orbits remove faster but raise the risk of chatter on curves without excellent control.
According to a article, low-profile hook material that firmly locks the disc during sanding reduces slippage and helps maintain a uniform cut—small design choices that translate to fewer process variables.
H3: Pressure and speed Let the abrasive do the work. With an interface pad installed, 0.5–1.0 kgf of hand pressure is usually enough. Set OPM (or RPM on variable DA/polishers) at a mid-range setting to limit heat: roughly 4,000–6,000 OPM for dry steps, slower for fine grits and wet passes. Move at a controlled 2–3 cm/s, overlapping 50% with cross-hatch patterns.
Bench tests: pigtails, pressure, and heat
To validate the pad’s effect, I set up a simple test series using scrap polycarbonate lenses and a convex acrylic test block with a 350 mm radius—roughly representative of common headlamp curvature. Equipment: 3-inch DA sander (3 mm orbit), thermocouple at the workpiece surface, IR spot checks, and a USB microscope (200–400x) to measure scratch uniformity and track pigtail incidence.
Test A: 1000 grit, no interface pad, 6,000 OPM, 1.0 kgf nominal pressure
- Peak surface temp after 60 seconds: 64–68°C dry
- Pigtail count: 5–8 noticeable spirals per 10 cm x 10 cm area
- Scratch depth distribution: visible variability, with deeper trenches near the apex
Test B: 1000 grit, 5 mm soft interface pad, same settings
- Peak surface temp after 60 seconds: 51–55°C dry (approximately 15%–20% lower)
- Pigtail count: 1–3 per the same area, typically shallower and easier to clear with the next grit
- Scratch depth: narrower distribution under the microscope, fewer pressure spikes at the crown
Repeating in wet conditions with the pad dropped temperatures a further 5–8°C and virtually eliminated pigtails at 1500 grit and finer. Notably, the pad also helped keep scratch orientation neutral at edges; without it, I saw edge-led “beaks” where the disc rode up and tilted on sharp lens geometries.
On glass, the temperature effect was similar, but pigtails were rarer in general due to the harder substrate and often wetter process. However, the interface pad still mattered for contour control—preventing those telltale flat facets that show up in reflections after aggressive resurfacing of pitted glass.
The headline from the data: add the pad, and your process window widens. You get more leeway on pressure, better thermal behavior, and a more uniform scratch field. That means fewer surprises and faster, cleaner polishing.
Field workflow: steps and pro tips
Here’s the field workflow I use when restoring a cloudy headlight while preserving curvature. Tooling assumes a 3- or 5-inch DA sander, hook-and-loop interface pad (5 mm foam), and quality film or paper abrasives.
H3: Step-by-step
- Mask and clean
- Tape adjacent paint and trim. Clean the lens with isopropyl alcohol and a lint-free towel to remove waxes and road film. Inspect under raking light to map pits and coatings.
- Install the soft interface pad
- Attach the foam pad to the backing plate, then mount your starting grit disc. Ensure a perfect center alignment to avoid wobble that can print into the finish.
- Coating break-through (e.g., 500–600 grit)
- Work dry or damp, light pressure. Keep the tool flat to the lens, let the foam conform, and cross-hatch slowly. Stop as soon as the old UV coat is uniformly abraded; don’t chase deep defects yet.
- Refinement (800–1000, 1500–2000)
- Switch to wet passes for fine grits. Rinse the disc and lens frequently. Use lighter pressure in each subsequent step, relying on the pad to keep uniform contact over curves.
- Final finish and UV protection
- Polish with a dedicated compound until haze clears. Wipe clean and apply a UV-stable coating or clear to protect polycarbonate. Glass lenses can be sealed but don’t require UV film replacement.
H3: Five actionable tips
- Use edge tape as a “bump stop”: Build a 2–3 layer tape ridge along sharp transitions so the pad can roll without collapsing the edge.
- Drop OPM for fine grits: Reduce speed by 20% at 1500 and above to prevent micro-chatter; the pad will still maintain cut consistency.
- Keep discs clean: A quick scuff on a microfiber or a water rinse every 30–45 seconds sidesteps loading that causes pigtails.
- Feel for heat, not just look: If the lens feels more than “warm mug” hot, pause and cool. Heat is scratch’s silent amplifier.
- Match pad thickness to shape: 3 mm foam for flatter, wide lamps; 5 mm for tighter, compound curves. Swap as geometry changes across the lens.
Safety, coatings, and long-term durability
Material matters. Polycarbonate softens well below its melting point; while its glass-transition-related softening behavior is complex, surface stickiness and smear become a risk above roughly 70–80°C in sanding conditions. That’s where discs gum up and pigtails spawn. The soft interface pad’s load spreading is a thermal ally, but you still need to manage dwell and speed. For glass lenses, heat tolerance is higher, but micro-cracking from too-aggressive dry starts is a risk—start wetter, start finer.
Dust control is another reason to embrace wet steps and the interface pad. Foam helps modulate contact so abrasives cut rather than plow, reducing dust load. Still, use eye protection and a respirator rated for fine particulates. Keep cords and water separated; a hand sprayer is safer than a hose.
After sanding polycarbonate, UV protection is non-negotiable. Factory lenses rely on a hardcoat to resist yellowing; once you cut it, you must replace it with a UV-stable clear or coating system. Without recoat, clarity won’t last through a summer. Glass lenses don’t need UV film replacement, but sealing after polish preserves the finish and sheds road film.
For optical integrity, evaluate the lens in raking light and by checking reflected straight lines (garage door panels, fluorescent tubes). If you see waviness, you likely lingered too long in one region or used too firm a setup early. A soft interface pad reduces the odds of this by absorbing minor hand pressure variance and orbit spikes, but it’s not a cure-all—technique still rules.
Finally, don’t forget the backer plate condition. A warped or nicked plate telegraphs through foam. Inspect your stack: tool spindle, backing plate, interface pad, abrasive—each must be true, clean, and centered to respect the lens’s curves.
How To Restore — Video Guide
There’s a clear, practical video demonstration on bringing badly pitted glass headlight lenses back to life using sanding and polishing. The host walks through progressive grit choices, tool handling, and how to tell when you’ve leveled pits versus over-cutting. You’ll also see the simple support gear—like microfiber towels—and why keeping the surface clean between steps matters.
Video source: How To Restore Your Glass Headlight Lenses? Sanding And Polishing!
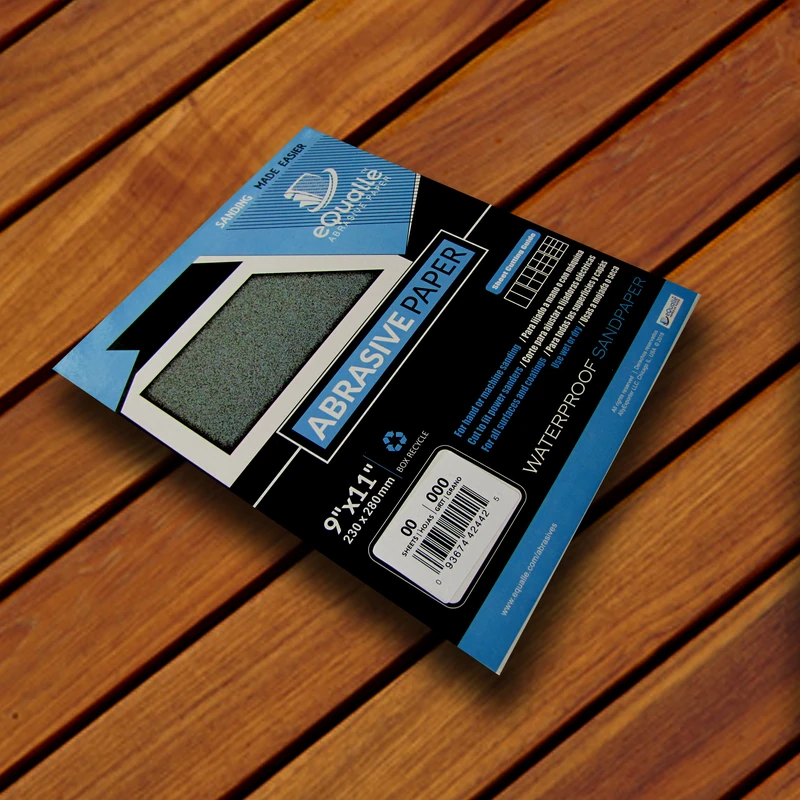
1500 Grit Sandpaper Sheets (100-pack) — 9x11 in Silicon Carbide Abrasive for Wet or Dry Use — Refining grit that bridges polishing and buffing—perfect for restoring a subtle satin or semi-gloss look on painted finishes. (Professional Grade).
Frequently Asked Questions (FAQ)
Q: Do I really need a soft interface pad on a relatively flat lens?
A: If the surface is truly flat, you can get by without it, but the pad still helps even out pressure and prevent chatter. On any lens with compound curves, ridges, or crown, the pad significantly reduces the risk of flats, pigtails, and heat spikes.
Q: What pad thickness and hardness should I choose?
A: For most headlights, a 5 mm soft foam pad balances conformity and control. Use a slightly firmer or thinner (3 mm) pad for flatter sections and a softer 5 mm pad for tight curves. If edges are rounding, go firmer/thinner; if you see pressure bands at the crown, go softer/thicker.
Q: Can I wet-sand with a soft interface pad installed?
A: Yes. Wet-sanding with the pad is often ideal for fine grits. Keep the foam and disc clean by misting water and wiping between passes. Avoid soaking the tool; spray the workpiece and disc lightly, and frequently clear slurry to maintain cut uniformity.
Q: How do I prevent pigtails with a DA sander?
A: Combine these controls: install a soft interface pad to damp orbit chatter, reduce OPM at finer grits, keep discs clean and unclogged, use light pressure, and ensure the lens surface is free of debris. Wetting at 1500 grit and above further reduces pigtails.
Q: Is lens sanding appropriate for camera or eyeglass lenses?
A: No. Precision optical lenses have engineered coatings and curvatures that sanding would ruin. The techniques here apply to automotive headlight lenses (polycarbonate or glass) and similar robust glazing, not to fine optical components.