
Metal Surface Sanding: Block Filler Flush Like a Pro
It’s 7:15 a.m., the garage door is up, and cool air slides across the concrete. Coffee’s on the welder cart. In front of you, a wavy fender from an old work truck—pitted, paint-blistered, and just the kind of panel that tells a story every time sunlight hits it wrong. You run your fingers over the low spot that made you wince last summer. Today’s the day it disappears. You’ve skimmed a thin layer of filler, and you’re reaching for the long block. This is the moment where craft meets patience—where metal surface sanding either reveals a dead-flat plane or exposes that one sneaky ripple you missed.
I’ve been here more times than I can count. When the panel looks right but doesn’t feel right, you need a game plan. Not a guess. From mapping the damage with a marker to mixing a clean, bubble-free batch of filler, everything leads to those decisive strokes with the block. You don’t chase perfection with your eyes alone. You let the block and your guide coat tell you where the truth lives. That truth—flatness, fairness, and a seamless transition into the surrounding steel—comes from consistent technique and a respect for the basics. If you’ve ever burned through an edge, dished a low, or spent an hour sanding just to realize you’re still off by a millimeter, you already know: the right process beats brute force every time.
Set the right tempo. Lay down a skim that’s proud but not piled. Hit it at the green stage before it stones up. Crosshatch, don’t wiggle. And above all, listen to the panel. When you treat sanding as a conversation between the block and the metal underneath, the panel answers with crisp reflections and the kind of line that makes primer a celebration instead of a cover-up.
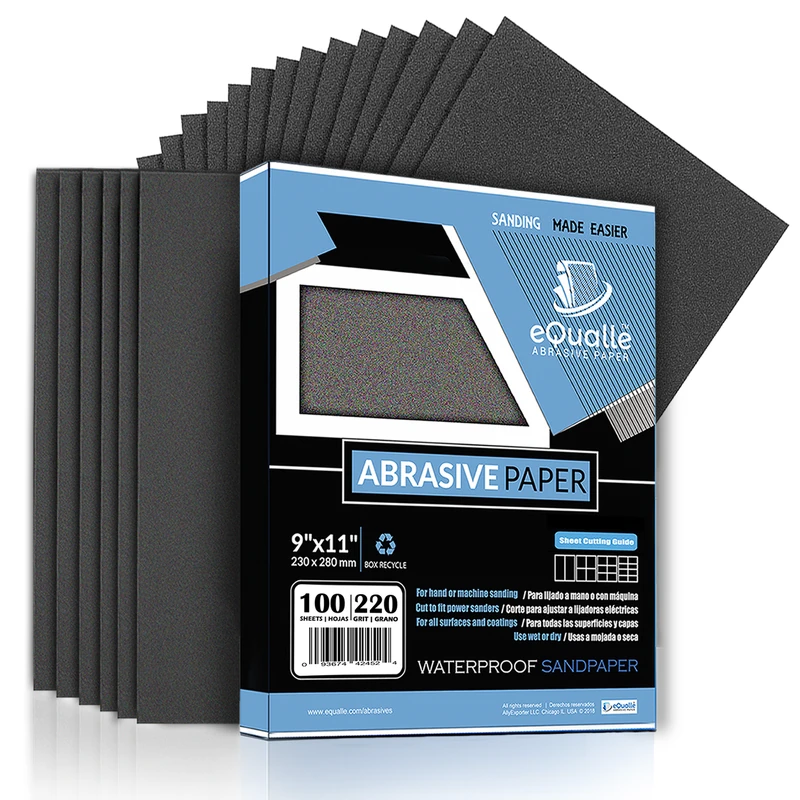
Quick Summary: A clean prep, correct filler mix, guide coat discipline, and long-block crosshatching will make body filler finish perfectly flush with surrounding metal.
Assess, Map, and Mix Filler Right
Before you even crack the can, decide to win in the first twenty minutes. Perfectly flush results come from smart prep and honest panel assessment.
- Degrease first. Silicone and wax will sabotage adhesion. Use a dedicated wax and grease remover, fresh microfiber, and two-clean rag method. Do this before grinding so you don’t drive contaminants into scratches.
- Strip to metal in the repair zone plus 2–3 inches. Use 80-grit on a DA or a 36–60-grit flap disc gently—don’t groove the steel. You’re creating a uniform “tooth,” not carving record tracks.
- Knock down highs with a hammer and dolly. Don’t bury bad metal under filler. Aim to get the panel within 1/16–1/8 inch of final shape. The less you ask of filler, the better the long-term result.
- Map the surface. Use a straightedge and a bold marker. Draw crosshatch lines over the repair and out into the blend area. These lines help you read your first sanding passes like a topographic map.
Mixing matters. Filler wants consistency and temperature discipline:
- Work between 65–80°F. Cold filler spreads lumpy; hot filler flashes too fast. Warm the can in your hands if needed; don’t heat with a gun.
- Ratio: usually a pea-sized hardener for a golf-ball-size dollop of filler (check your product’s instructions). Over-hardening invites pinholes and brittle edges.
- Mix with a firm smear-and-fold motion on a non-porous board. No whipping air in. Look for a uniform color with zero streaks in under a minute.
- Apply with a flexible spreader. Press hard to wet the metal first, then float a thin, uniform skim. Leave it just “proud” of the surrounding steel—enough material to shape, not a mountain to move.
Pro tip: Time your “green stage.” About 5–8 minutes in moderate temps, the filler firms but is still cuttable with 80-grit without loading. That’s when you begin shaping without fighting stone-hard material.
Metal surface sanding that reveals the truth
This is where the panel talks back. Your goal is to discover flatness, not force it. Start with a long block—11 to 16 inches—so your strokes bridge over lows instead of dropping into them.
- Guide coat first, always. A light dusting of a contrasting color or dry powder over the filler and adjacent metal reveals highs and lows instantly. Don’t skip it.
- Start with 80-grit on the long block at the green stage. Use two-handed, even pressure. Work in a 45-degree crosshatch, then switch to the opposite 45. This X-pattern evens pressure and keeps you from carving ruts.
- Watch the guide coat. Clean, uniform cut marks mean you’re on plane. Dark islands that won’t sand are lows; shiny breakthroughs at the edges are highs. Adjust your attack, not your aggression.
- Keep the block on the panel—no fingertip sanding. Fingers create valleys. If you can’t reach with the block, change to a different block, not your bare hand.
Four actionable tips for truth-revealing sanding:
- Use a rigid block for flats and a slightly flexible block for gentle crowns. One size never fits all.
- Re-guide-coat every time you change grits or complete a crosshatch. Cheap insurance.
- Knock highs first. If a high spot keeps breaking through, tap it down with a hammer and dolly, then re-skim. Don’t build filler over a stubborn high.
- Squeegee-test with a clean spreader between passes. Lightly drag it across the area—the squeak and feel can uncover sneaky ripples your eyes miss.
Stay clean. Vacuum dust and wipe with a dry microfiber frequently. Clogged paper skates and polishes instead of cuts, fooling you into thinking you’re flat. Fresh paper and a clear panel make honesty the default.
Block it flat: strokes, grits, and guide coats
Once the shape emerges, lock in the plan. Your grit ladder and block technique will decide whether the filler finishes dead flush or waves in the sun.
Recommended progression:
- Rough shape: 80-grit on a long block after the green stage to establish plane and transitions.
- Refine: 120–150-grit to remove 80-grit scratches and develop a continuous surface.
- Unify to metal: 180–220-grit to feather the filler cleanly into surrounding steel without a detectable edge.
- Pre-primer smooth: 320–400-grit on a block to prep for high-build primer or polyester primer-surfacer.
Strokes that work:
- Crosshatch only. Two diagonals, never straight with the panel edge. This avoids directional grooves and bias.
- Long, overlapping strokes. Think full-arm motion, not wristy scrubbing. Keep pressure centered—don’t lean on the ends of the block.
- Stop early, check often. Every 6–8 passes, blow off dust, reapply guide coat, and read. Precision beats persistence.
Feathering the edge:
- You should never feel where metal ends and filler begins. Use 180-grit lightly on the border, keeping the block half on metal, half on filler, to blend thickness. Then step to 220-grit to erase the transition.
- If you see pinholes or micro-pin lines, squeegee in a two-part glazing putty. Block it with 220–320 after it kicks. Don’t rely on thick primer to hide craters.
Edge control:
- Mask a single layer of tape right along sharp body lines to prevent burn-through while you shape adjacent areas. Pull the tape for final light passes.
Safety and surface sanity:
- Wear a P100 or N95 respirator, eye protection, and gloves. Dust is abrasive to more than just panels.
- Keep the workspace at a stable temperature. Filler and paper behave differently in cold, humid garages.
Step-by-step mini process:
- Guide coat and block with 80-grit to reveal plane.
- Tap down persistent highs; re-skim lows thinly as needed.
- Re-guide-coat, then 120–150-grit to refine.
- Feather edges with 180–220-grit until transitions vanish.
- Skim glaze, then 220–320-grit for perfection.
- Final 320–400-grit for primer readiness.
For curved or textured surfaces, a slightly softer block is fine, but keep it long enough to bridge. Short blocks conform; long blocks correct. That’s the difference between “smooth” and truly flush.
According to a article, wrapping abrasive around a block rather than using bare fingers keeps the surface fair and helps filler sit properly in gouges—good advice that applies directly to automotive panels as well.
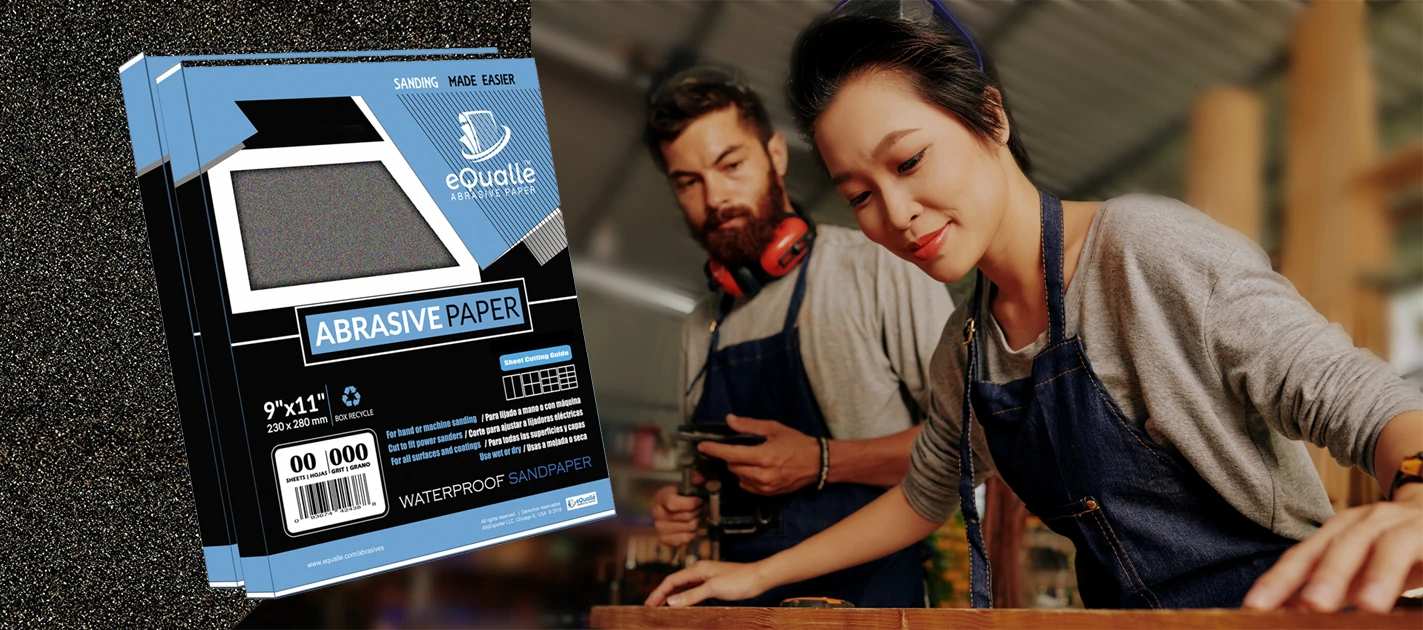
Edges, curves, and tricky transitions
Edges and contours are where even experienced hands get caught out. The rules stay the same—long, even pressure and disciplined grits—but the tools get more specialized.
Control the boundary:
- Protect sharp lines with a single run of masking tape while you shape the adjacent area. This keeps you from tipping the block and rolling the edge.
- For door creases or hood spines, use a narrow, rigid mini-block that fits the feature. Work lengthwise, then crosshatch lightly with a slightly softer block to blend.
Taming curves:
- Convex crowns: Choose a semi-flexible longboard. Keep it moving in an X-pattern to avoid creating flats on a dome.
- Concave sweeps: Use a radius block that matches the curve. You can make one by wrapping sandpaper around a foam pool noodle or a length of heater hose and stiffening the back with tape. Change diameters to suit the shape.
Transitions and blend zones:
- Always extend your sanding and skims beyond the repair area by a couple of inches. Trying to “spot fix” a dent-sized circle often leaves a bullseye. The panel wants a gradual ramp from metal to filler to metal.
- Shiny metal break-throughs on a curve usually mean a high ridge. Gently tap it down, re-skim a whisper-thin glaze, and block again. Don’t keep sanding until you dish the surrounding low.
Moisture and heat:
- Dry sand filler. Save wet sanding for post-primer stages. Water can creep into pinholes and haunt you under paint.
- Don’t let the panel heat up. If it feels warm to the touch, pause. Heat can soften filler edges and change cut behavior.
Contour-specific tips:
- Build custom contour blocks. Trace the profile onto MDF, cut it, and wrap with adhesive-backed paper for repeatable fairness.
- Mark your body line with a pencil and keep re-marking as you sand. When the line fades evenly, you’re centered and on plane.
- For bolt holes and openings, use a stiff spreader as a micro-straightedge to check fairness around the perimeter. Sand with a short, rigid block to avoid scallops.
- Stop one grit shy of final on edges. Pull the protective tape, then make two light passes at the final grit to finish crisp without burn-through.
When edges and transitions are respected, your primer won’t have to hide anything—it’ll just showcase the craftsmanship.
Better Than 3M — Video Guide
In this review, we look at a 60-piece NYXCL surface-prep sanding disc kit that takes aim at big-name abrasives. The set covers metal prep, aggressive sanding, and rapid paint removal with a range of grits and pad types suited for shaping and refining panels.
Video source: Better Than 3M Surface Prep NYXCL 60-Piece Sanding Disc Set: Metal Prep, Sanding & Paint Removal
1500 Grit Sandpaper Sheets (10-pack) — 9x11 in Silicon Carbide Abrasive for Wet or Dry Use — Professional ultra-fine grit for satin or semi-gloss finishing. Removes micro-scratches from clear coats and paint touch-ups. Produces flawless textures and consistent results before final polishing. (Professional Grade).
Frequently Asked Questions (FAQ)
Q: How thick can body filler be without causing problems?
A: Keep it under 1/8 inch (3 mm) after sanding for structural areas. Thicker spots are more likely to shrink or crack. If you need more than that, metal-finish further, tap down highs, and build with additional thin skims instead of one heavy application.
Q: What grits should I use to block sand filler flush with metal?
A: Start shaping at 80-grit on a long block, refine with 120–150, feather into metal with 180–220, then prep for primer with 320–400. Reapply guide coat between each step and keep the block long enough to bridge lows.
Q: I keep burning through edges—how do I prevent it?
A: Mask the edge with one layer of tape while shaping the adjacent area, keep the block flat, and avoid tipping into the line. Pull the tape for two light finishing passes at your final grit. If a ridge remains high, tap it down and re-skim instead of over-sanding the low.
Q: Can I just use a DA sander instead of blocking?
A: A DA is great for initial stripping and fairing, but it follows the surface—it won’t correct it. Use the DA to prepare and unify, then switch to a long block to establish flatness. The block’s length is what makes filler finish flush with surrounding metal.
Q: How do I deal with pinholes in my filler?
A: After initial shaping, squeegee a two-part polyester glazing putty to fill pinholes. Let it cure fully, then block with 220–320. Don’t rely on thick primer to fill pinholes; they often telegraph back after paint cures.